

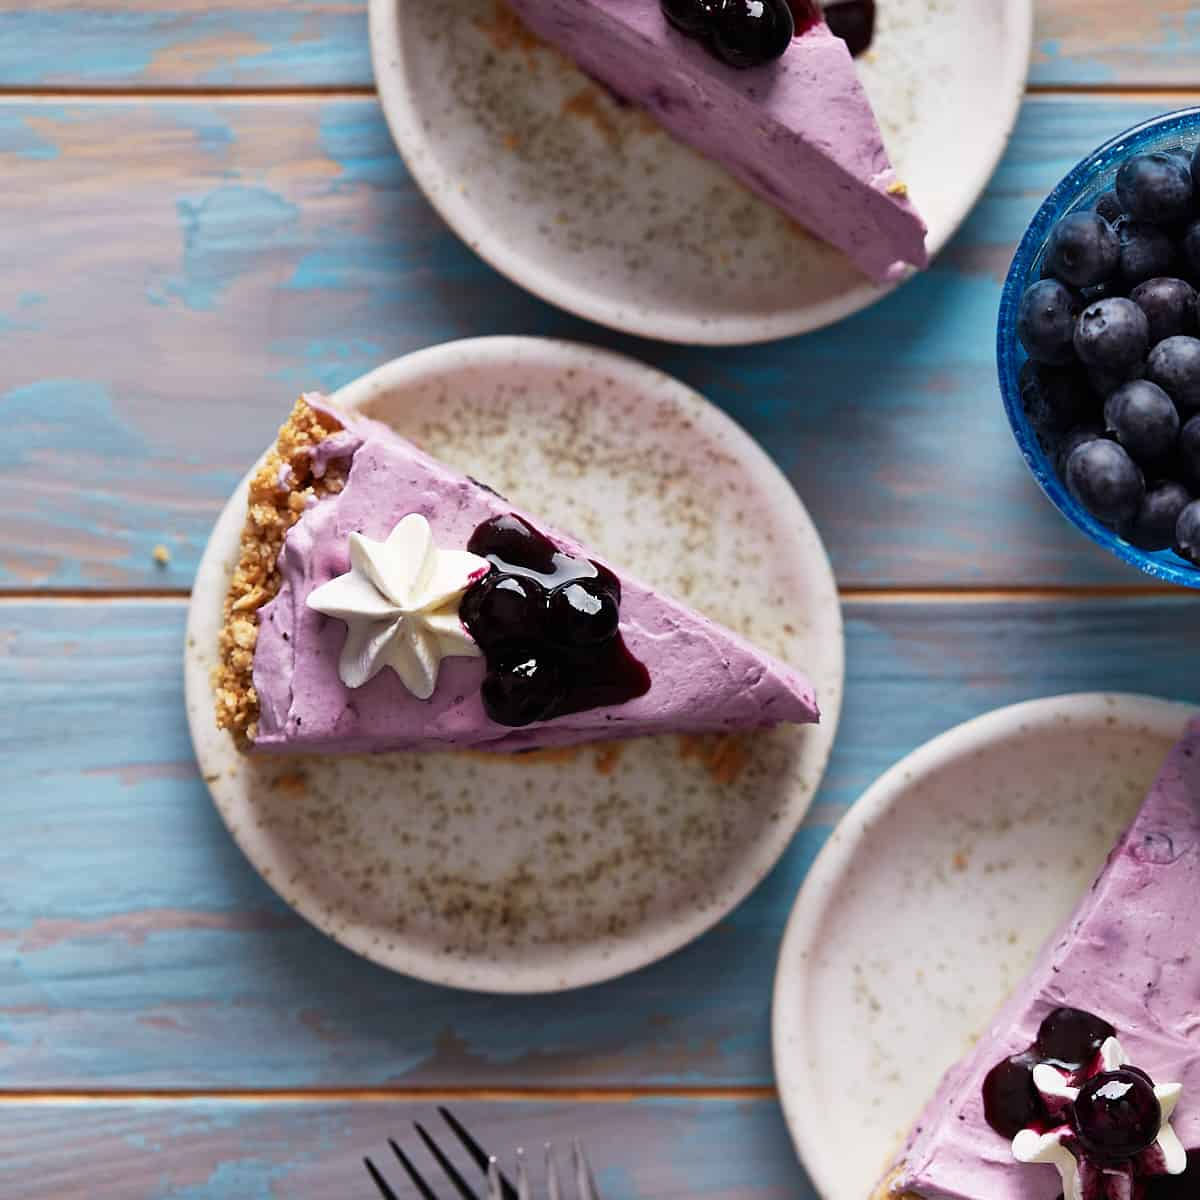
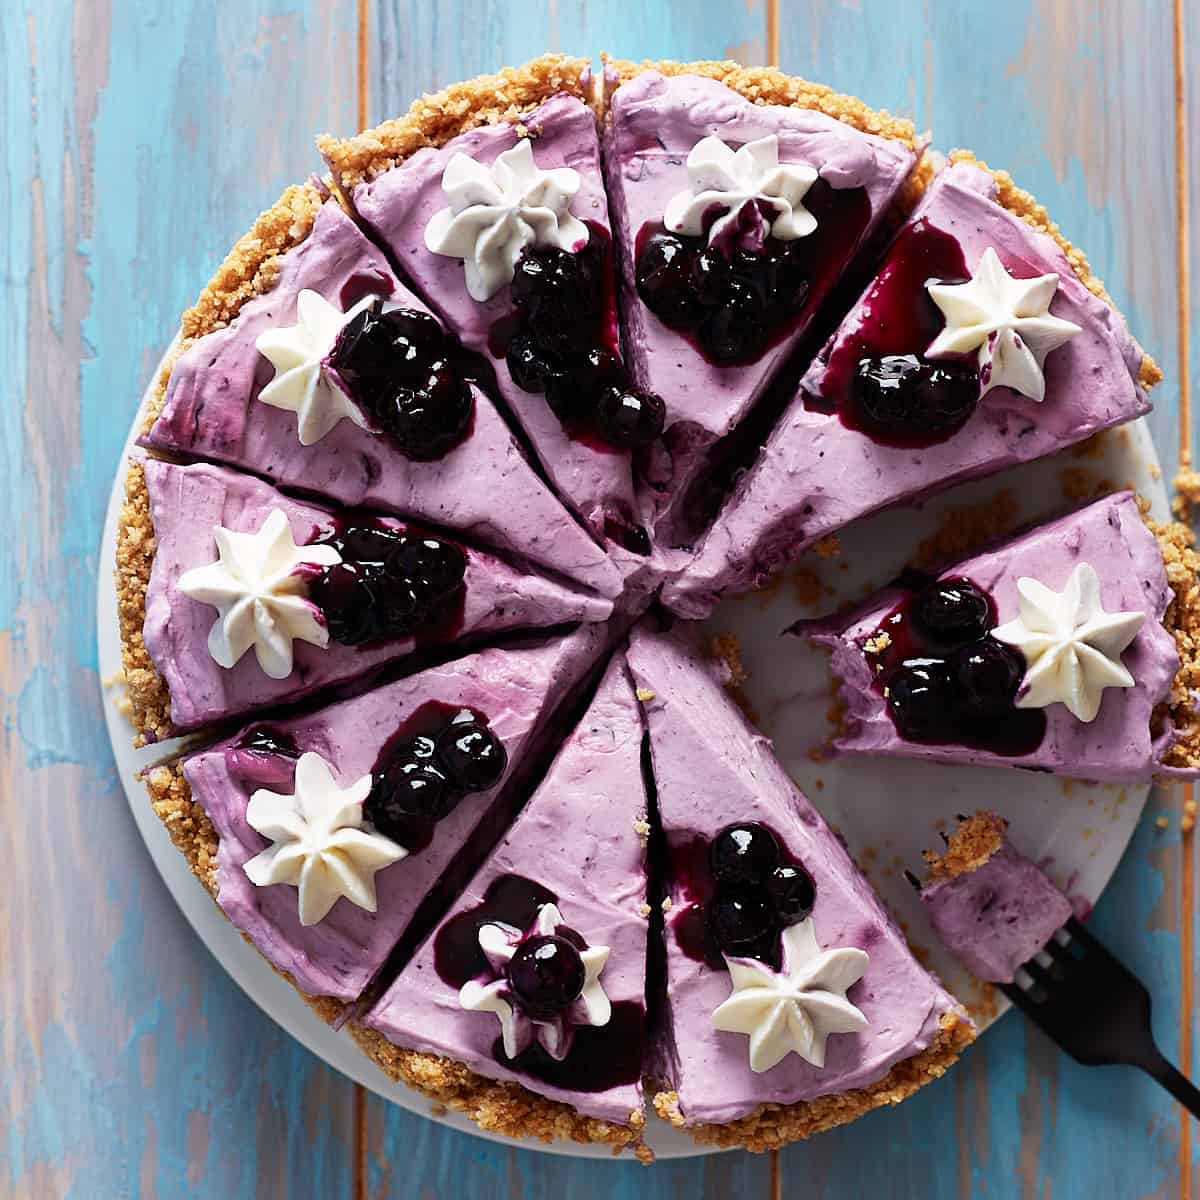
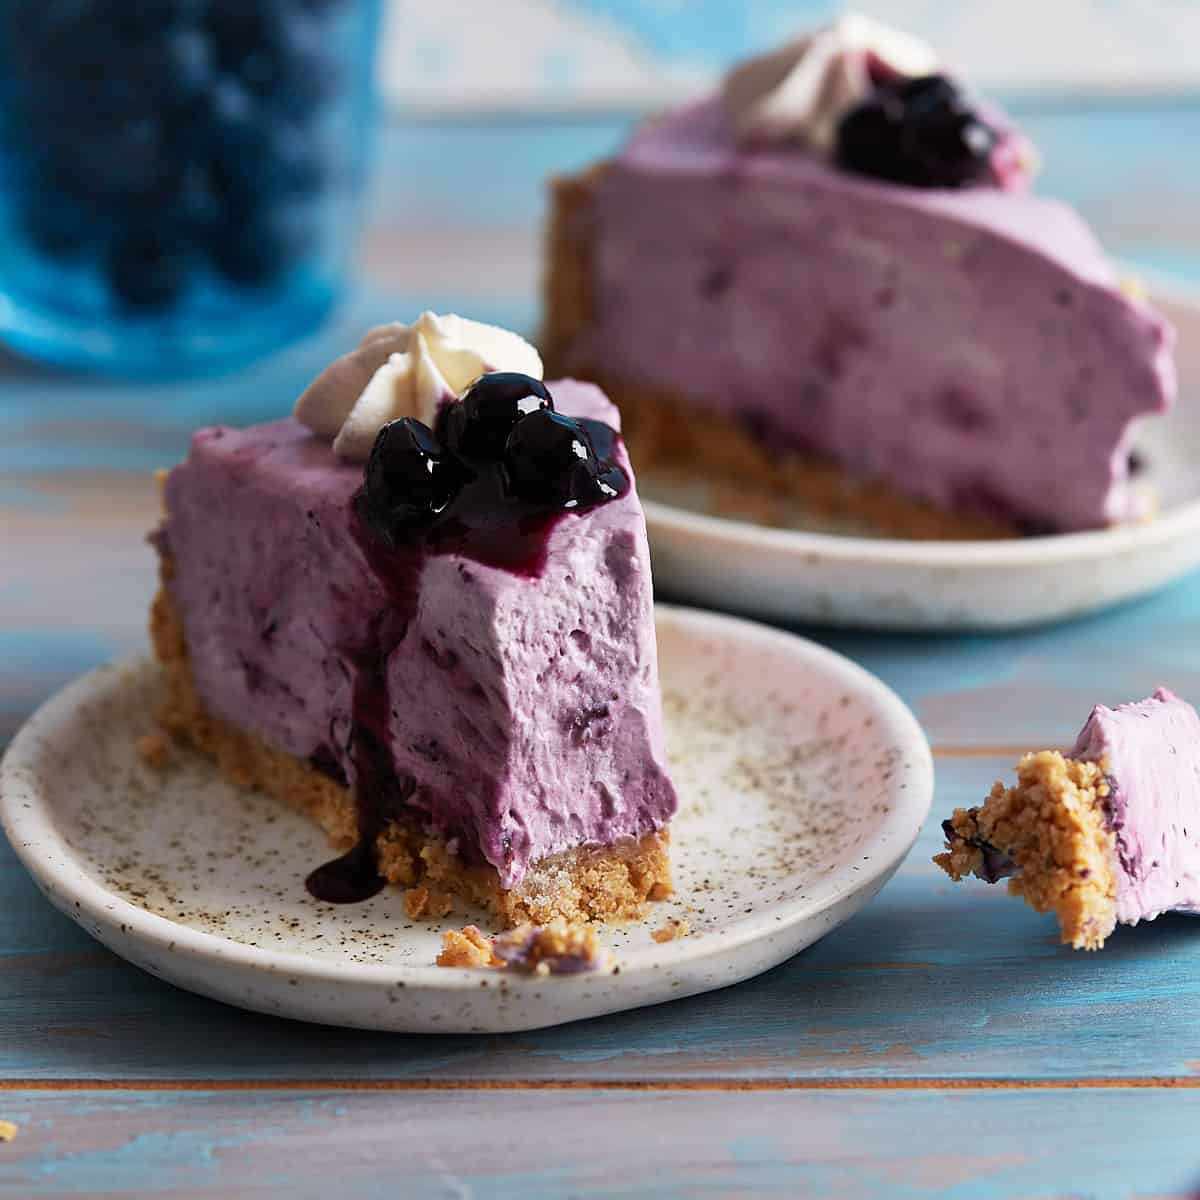
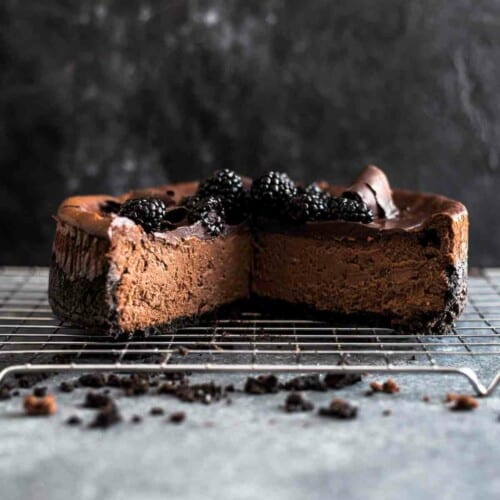
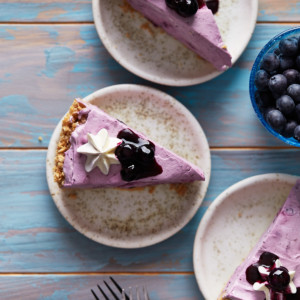
No-bake blueberry cheesecake is an irresistible treat for all occasions. Its soft and creamy filling has an incredibly intense blueberry flavor. Due to the combination of homemade blueberry sauce, cream cheese, and whipped cream, it's a light filling that perfectly matches the graham cracker crust. In case you love no-bake cheesecakes, you should try my velvety and rich no-bake chocolate cheesecake as well.
Jump to:
Why You Will Love This No-Bake Blueberry Cheesecake Recipe
- No Oven Required! This easy blueberry cheesecake recipe requires a little bit of cooking on the stove and other prep work but this dessert doesn't need an oven at all!
- Light and Creamy Blueberry Dessert Recipe. This dessert is sweet, silky and so good. It has a lighter texture than regular cheesecake which makes it feel lighter.
- Completely Homemade. From the crust, to the whipped cream, and of course the no-bake blueberry pie filling, each element of this dessert is made from scratch.
Looking for more easy blueberry desserts? Try this Easy Blueberry Bread next. And if no-bake desserts are your thing then you're going to love this No-Bake Strawberry Cheesecake and No-Bake Chocolate Cheesecake.
Ingredients
- Blueberries: You can use either fresh or frozen ones to make this no-bake blueberry dessert If you use frozen blueberries, thaw them before you use them. Whenever possible, I recommend using fresh blueberries, though.
- Lemon juice: Use freshly squeezed lemon juice rather than bottled one. Bottled lemon juice adds too much acidity to the filling, and it simply doesn't taste that good.
- Cornstarch: Acts as a thickening agent for the blueberry sauce. The sauce needs to be as thick as jelly once cooled, and cornstarch is helping you achieve this consistency.
- Graham crackers: If you don't have graham crackers available where you live, substitute with digestive biscuits (UK) or similar cookies.
- Heavy whipping cream: Depending on where you live, the name will vary. Just look for whipping cream or heavy cream that has a minimum of 36% fat content. Don't go with a light product.
- Cream cheese: Use either brick-style (US) or spreadable (UK). Let brick-style cream cheese soften at room temperature before using it. Use spreadable cream cheese straight out of the fridge since it's soft already.
Step by Step Video Tutorial
How to Make No-Bake Blueberry Cheesecake
Making the Homemade Blueberry Sauce
Step 1: Combine the cornstarch and water and stir until the cornstarch is dissolved. Set the mixture aside.
Step 2: Bring the blueberries, sugar, water, and lemon juice to a simmer In a heavy-bottomed pan.
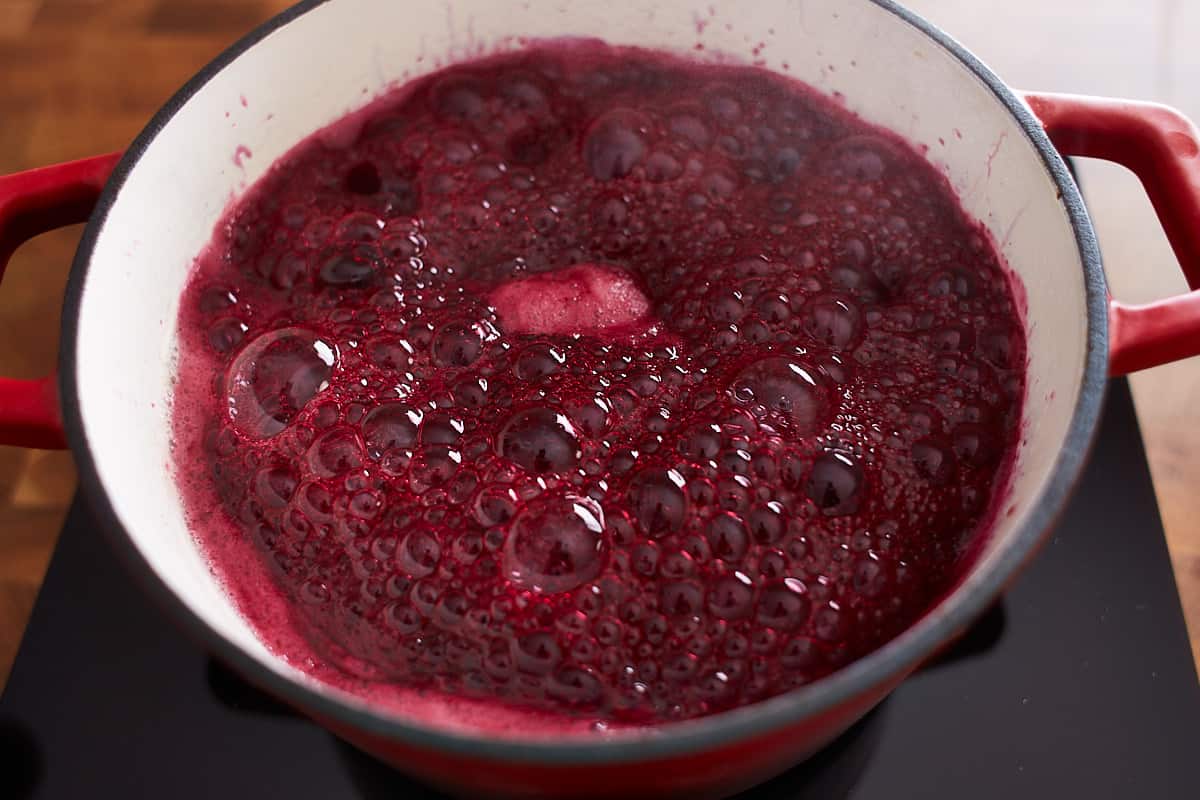
Step 3: Cook until the blueberries break apart and the sauce stops foaming. Be sure you stir constantly while it's cooking.
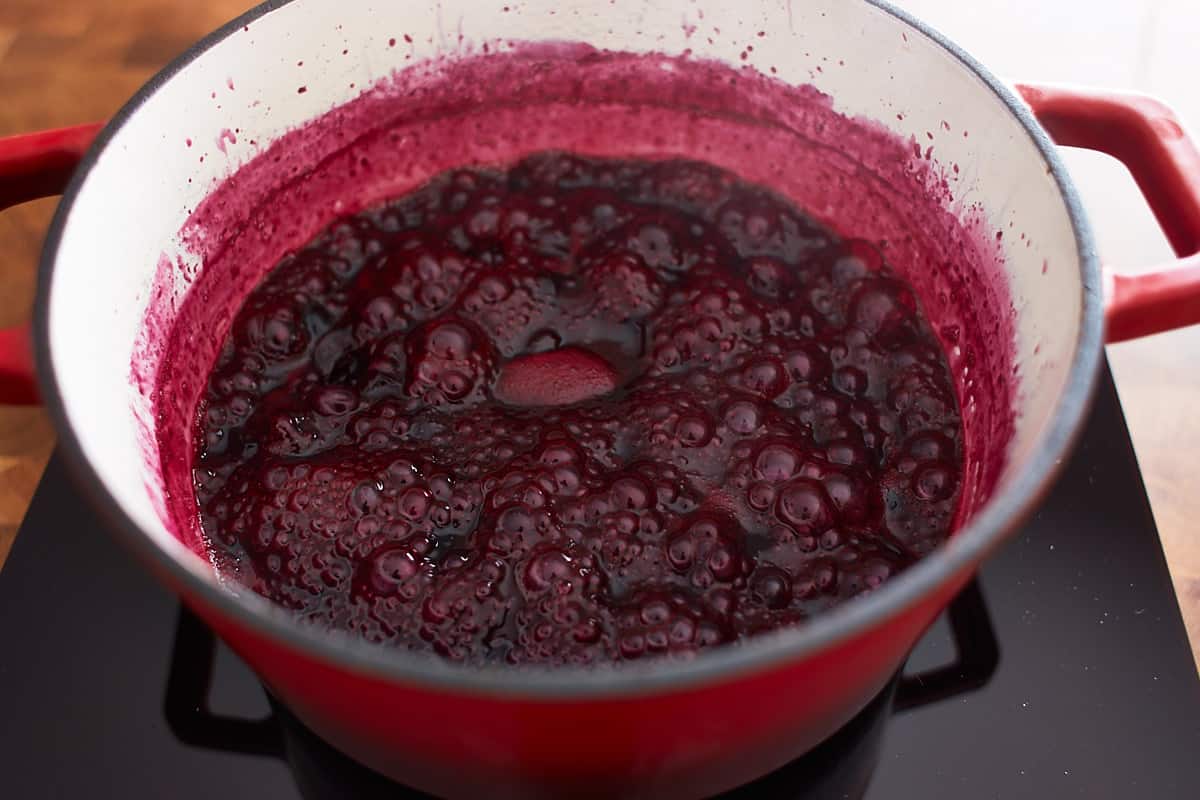
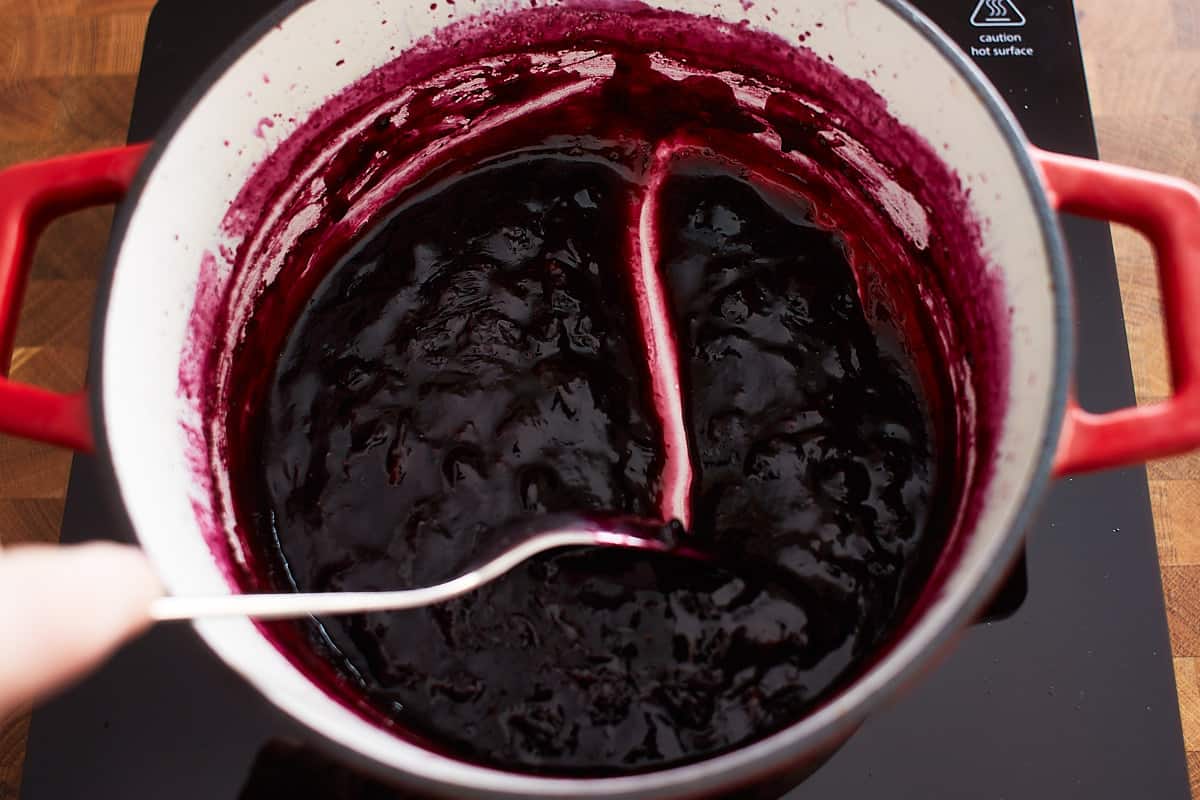
Step 4: Stir in the cornstarch mixture and bring the sauce to a boil. Cook until it has thickened and reduced. When you start seeing the bottom of the pan while stirring, and the lines stay visible for a few seconds, you know the sauce is done.
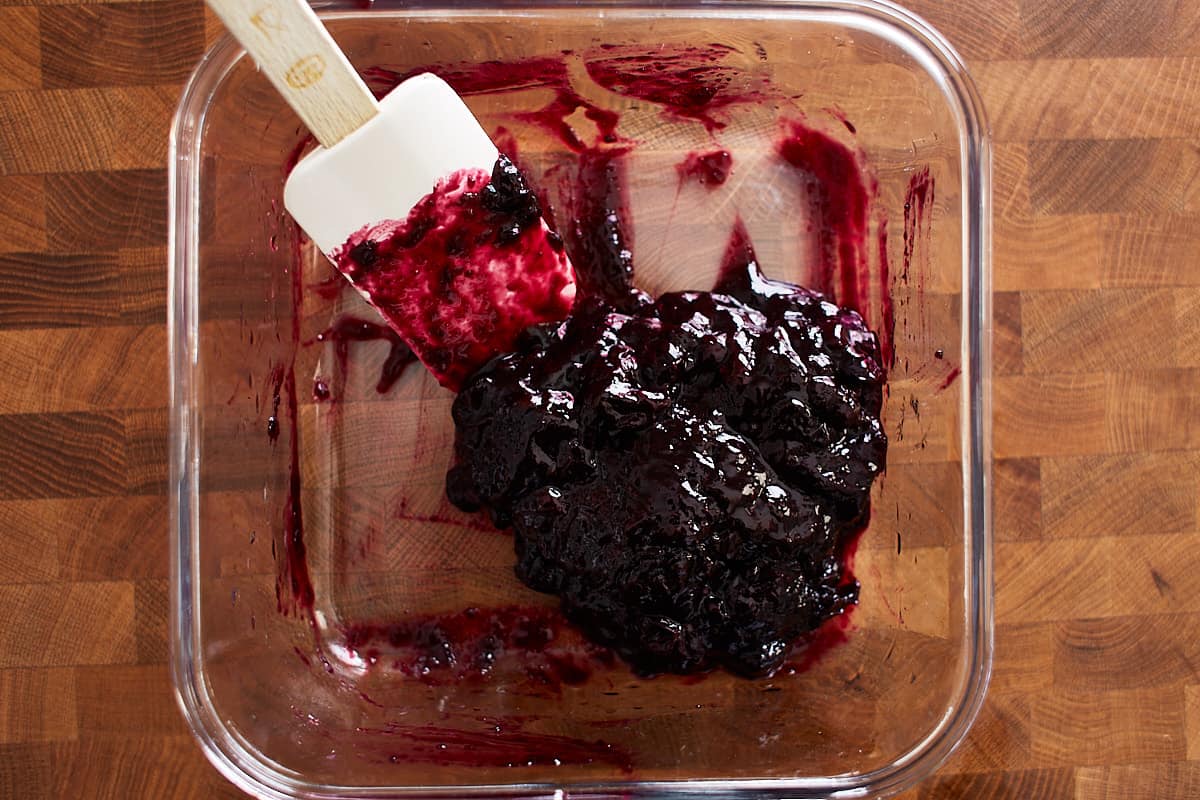
Step 5: Transfer the sauce to a shallow heat-proof bowl and let it cool uncovered. Cover the sauce and chill in the fridge for 1-2 hours or overnight. It thickens as it cools and once it's fully cooled it should look and behave like jelly.
Making the Cookie Crust
Step 1: Combine the graham cracker crumbs, sugar, and melted butter and stir until the crumbs are evenly moist.
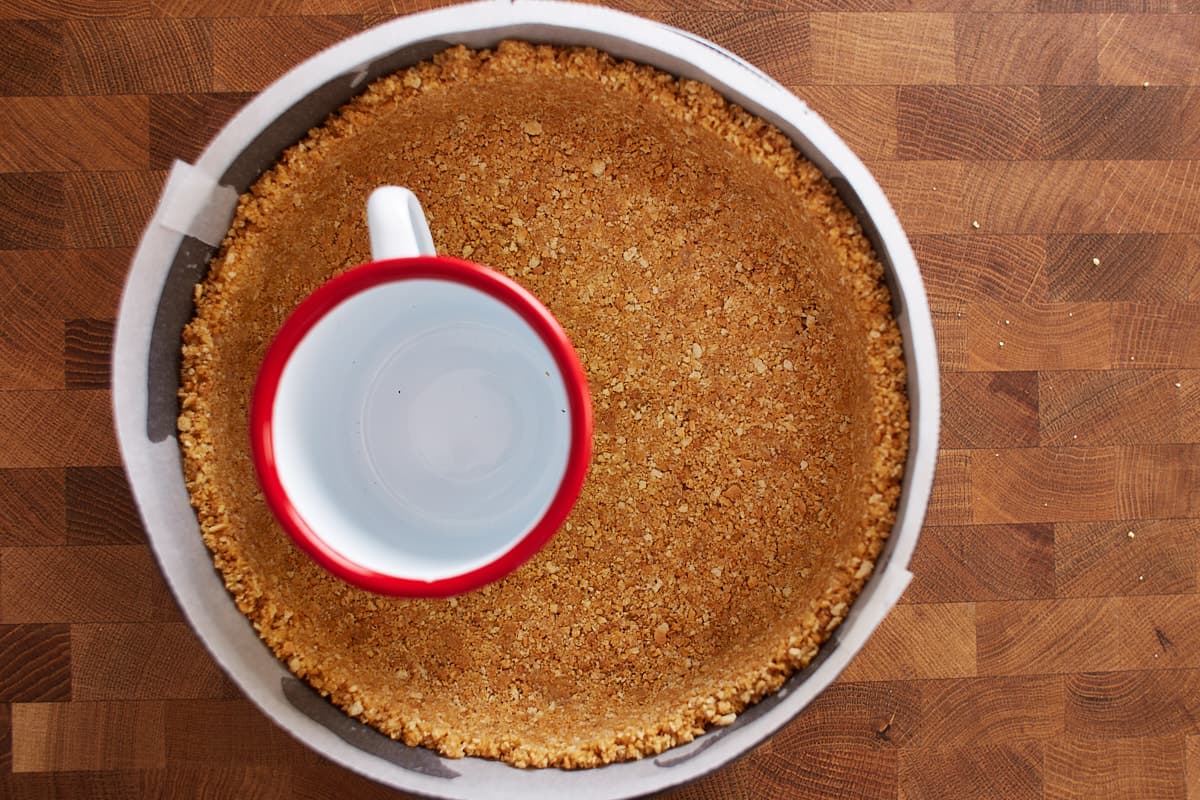
Step 2: Transfer the crumbs to a parchment paper-lined springform pan and press the crust into the bottom and halfway up the sides, using the base of a flat-bottomed cup. Freeze the crust until you are done with the filling.
Making the No-Bake Cheesecake Filling
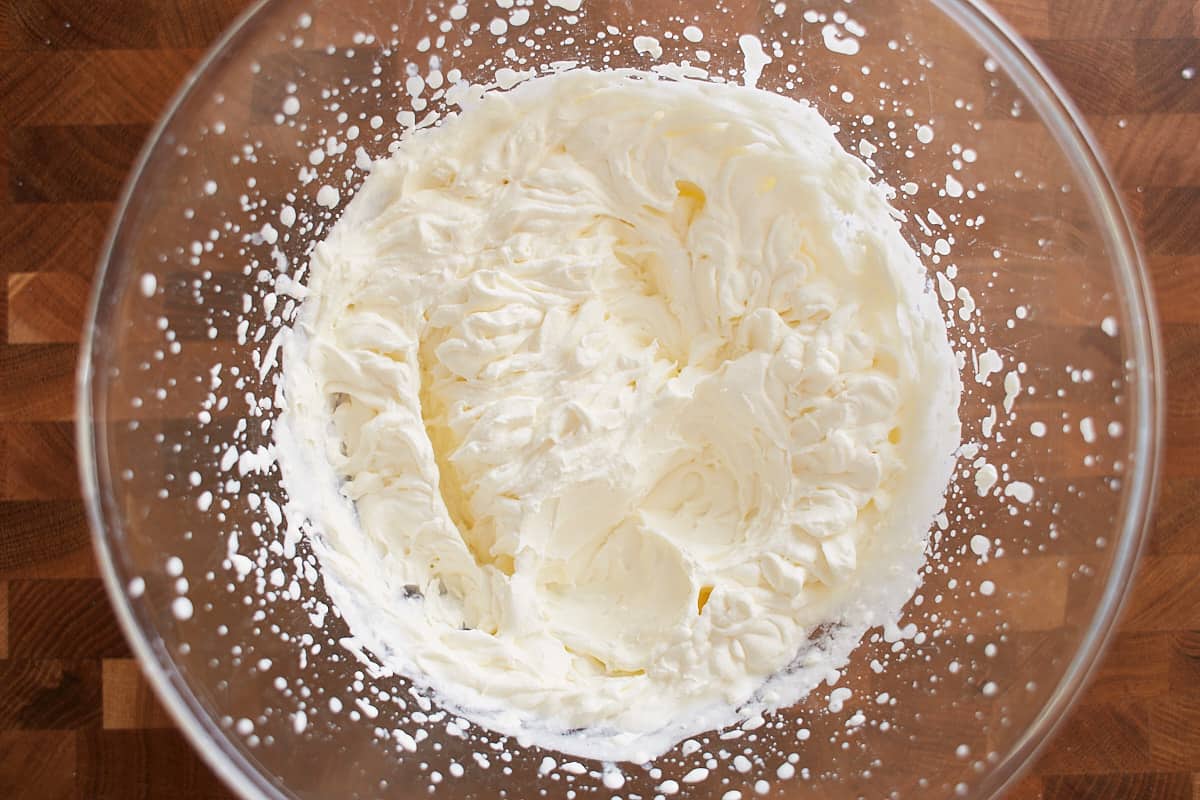
Step 1: Whip the whipping cream and sugar in a large mixing bowl until stiff peaks form. Transfer the whipped cream to the fridge until you are done with the next step.
Step 2: Mix the cream cheese, sugar, and vanilla in a large mixing bowl until creamy, combined, and no lumps remain. Add the chilled blueberry sauce (must be cold and as firm as jelly) and fold it into the cream cheese mixture until well combined.

Step 3: Gently fold one-third of the whipped cream into the blueberry mixture.
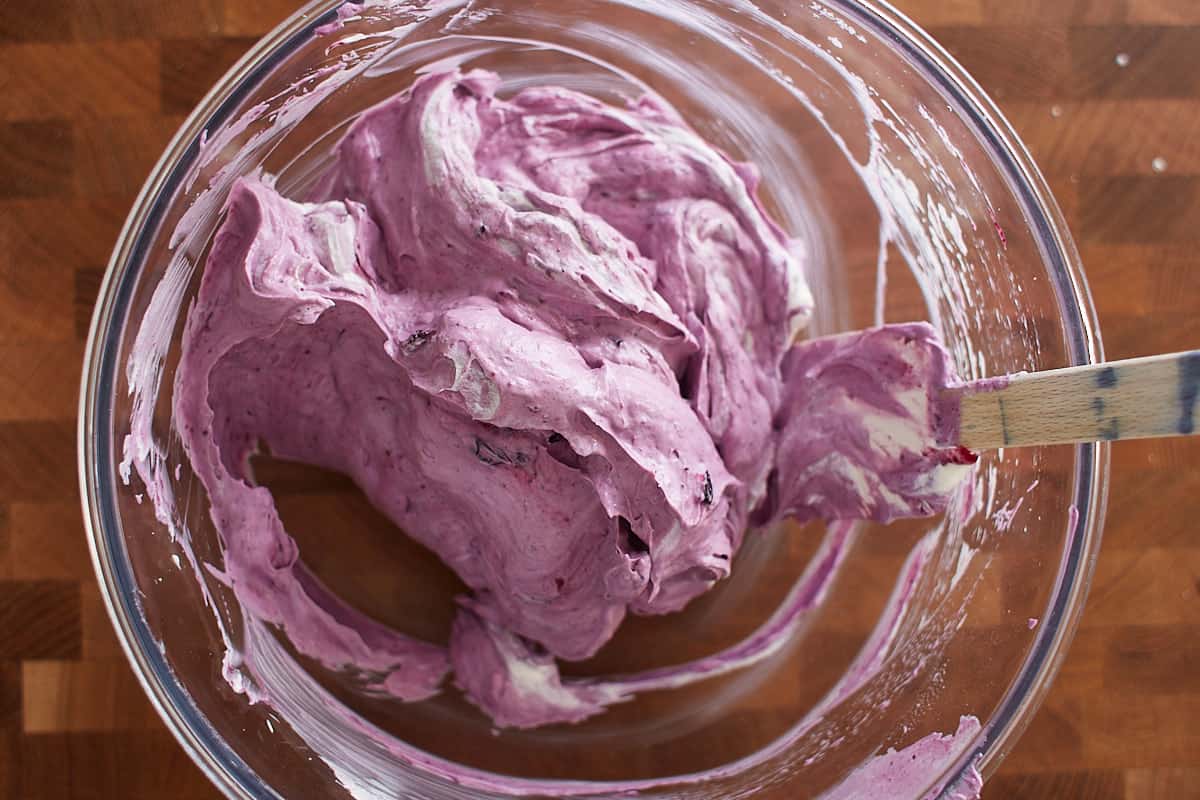
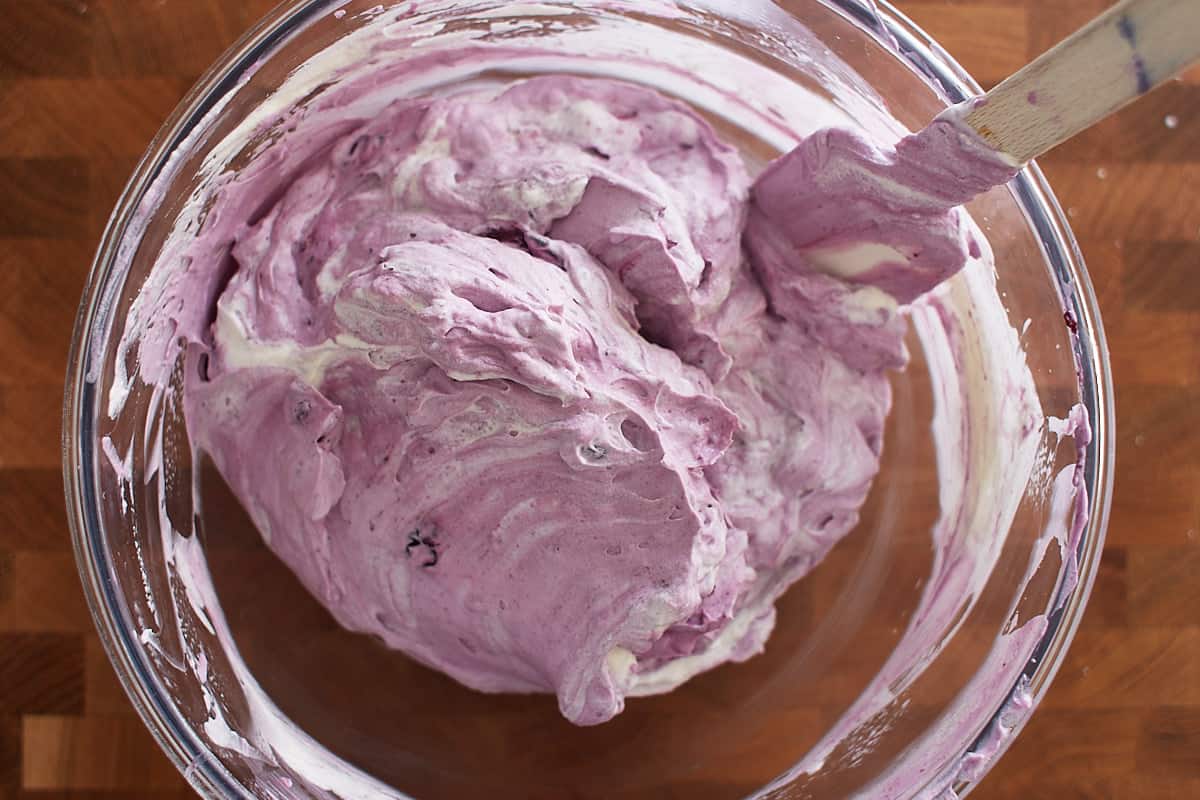
Step 4: Proceed with the remaining two-thirds of the whipped cream. Be careful that you don't overwork the filling. It's perfectly fine to have a few streaks of whipping cream throughout the filling.
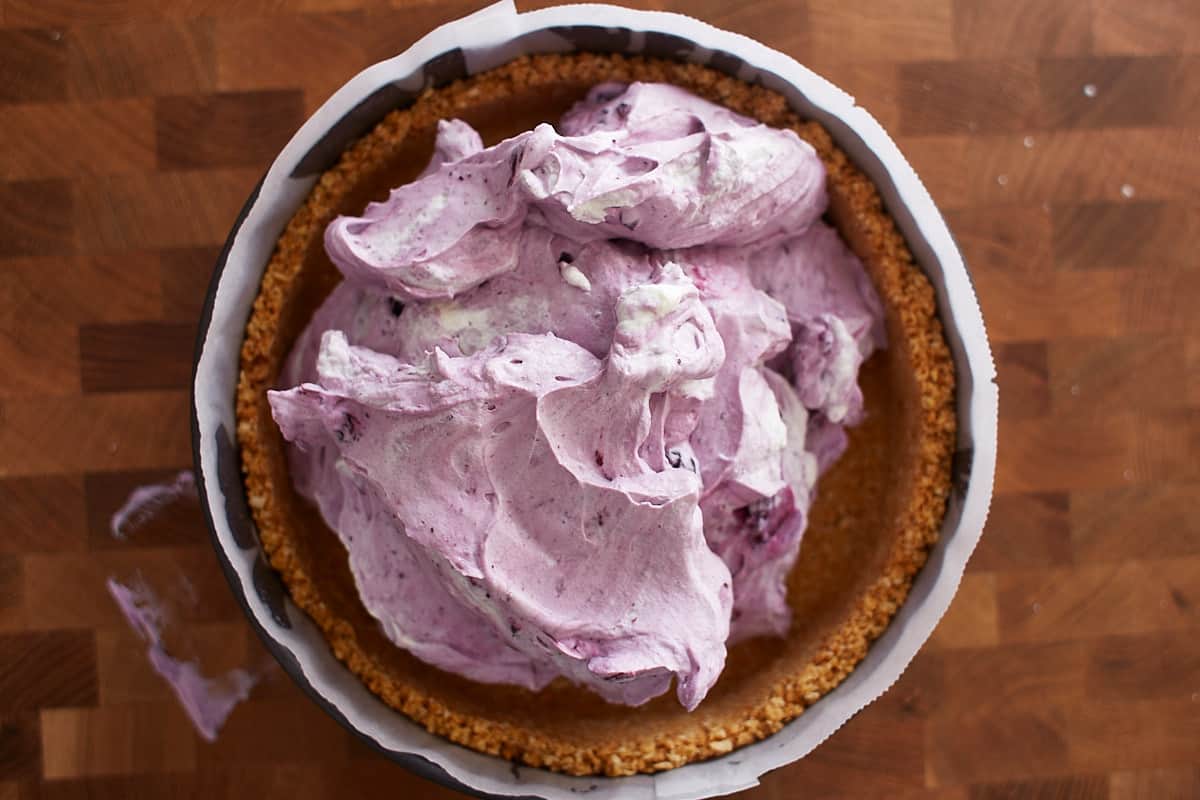
Step 5: Transfer the filling to the prepared crust and spread evenly but carefully without deflating the filling. Chill in the fridge overnight.
Tips for Success
- Don't Rush the Blueberry Sauce. Cook the blueberry sauce until it has thickened and reduced. When you start seeing the bottom of the pan while stirring, and the lines stay visible for a few seconds, you know the sauce is done.
- Chill the Sauce. Chill the blueberry sauce in the fridge before you add it to the filing. It must be cold and as thick as jelly.
- Whipping the Cream. This takes time and works best with an electric hand mixer or stand mixer. Make sure to whip the whipping cream until stiff peaks form.
- Fold Gently. Don't overwork the filling when folding the whipping cream into the blueberry mixture. Less is more.
- Refrigerate Overnight. Let the no-bake cheesecake set in the fridge overnight.
- Keep Refrigerated. Keep this blueberry cream cheese dessert in the fridge all the time. Don't let it sit at room temperature for longer than 15 minutes or the filling is getting too soft.
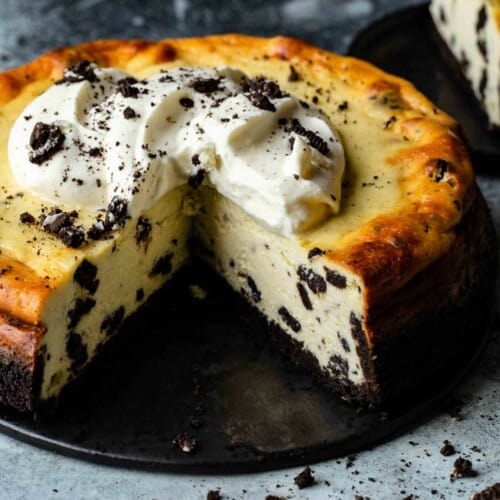
- Oreo Cookie Crust: This blueberry no-bake cheesecake recipe was originally made with an Oreo cookie crust and the combination is truly delicious. Make the crust as directed and swap the graham crackers for 36 Oreo cookies crushed into fine crumbs.
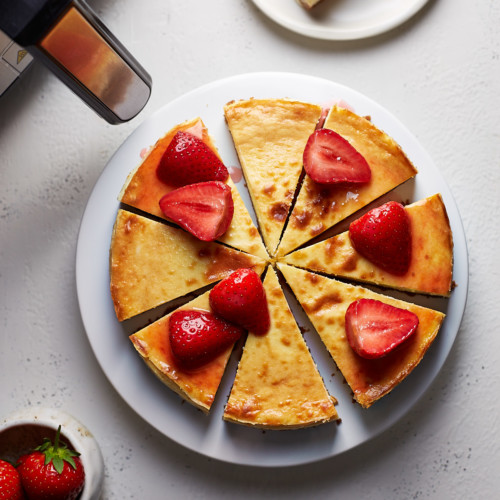
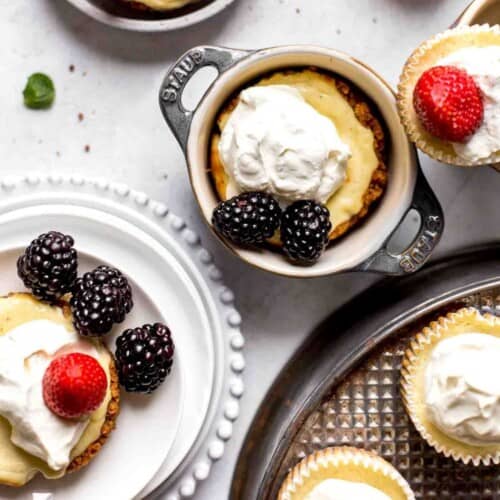
- Small Batch Cheesecake: Simply divide the recipe in half and make it in a 6" springform pan or use a muffin pan and make mini cheesecakes.
Recipe FAQ's
The filling is on the soft side and not as firm as a baked cheesecake but it should be firm enough to slice the cake. If it's too soft, it may be that the blueberry sauce wasn't cooked long enough or wasn't cold when you added it to the cream cheese mixture. The blueberry sauce should look and behave like jelly. If it is runny and soupy, it's better to cook it a little longer and maybe add a little more cornstarch and chill it again. The easier solution? Simply use 1 cup (290g) of blueberry jelly or jam for the filling instead. The other reason this may happen is the whipped cream wasn't whipped long enough to make stiff peaks. Be gentle folding it into the filling so you don't deflate the whipped cream. I highly recommend watching the video to see the consistencies of the components.
Start at one o'clock when working with the right hand and at eleven o'clock with the left hand. Then scrape the spoon down the side of the bowl until you are at the bottom of the bowl. Scrape along the side of the bowl until you see the spoon again. The spoon should now be at seven o'clock when folding with the right hand and at five o'clock with the left. Then fold over the top. Turn the bowl a little and repeat. Stop immediately when the filling is incorporated.
Yes, you can. After chilling the cake in the fridge as described, freeze it for 1 hour in the freezer. Then wrap with plastic foil tightly and store in a large freezer bag or container. To thaw, unwrap the cake and store it covered in the fridge overnight. Serve the next day.
More Cheesecake Dessert Recipes
If you love cheesecakes as much as I do, you will love the following recipes as well. They are loved by family, friends, and readers around the world.
If you tried this Blueberry Cream Cheese Pie Recipe or any other recipe on my website, please leave a 🌟 star rating and let me know how it went in the 📝 comments below. Thanks for visiting!
Recipe
No-Bake Blueberry Cheesecake
Ingredients
blueberry sauce
- 1 tablespoon cornstarch
- 2 tablespoon water
- 2 cups blueberries, fresh or thawed
- ⅓ cup granulated white sugar
- ½ cup water
- juice of 1 lemon
crust
- 2 cups (7oz) graham cracker crumbs
- ½ cup unsalted butter, melted
filling
- 1 cup heavy whipping cream (36% - 39% fat content)
- 2 tablespoon granulated sugar
- 3 cups cream cheese, softened
- ½ cup granulated sugar
- 1 teaspoon vanilla extract
Instructions
- Combine the cornstarch and 2 tablespoon (30ml) water and stir until the cornstarch is dissolved. Set aside.
- In a heavy-bottomed pan, bring the blueberries, sugar, ½ cup (120ml) water, and lemon juice over medium-high heat to a simmer. Cook for about 5 minutes until the blueberries break apart, and the sauce stops foaming. Stir constantly. Then stir in the cornstarch mixture and bring the sauce to a boil. Cook for about 2-3 minutes until it has thickened and reduced. When you start seeing the bottom of the pan while stirring, and the lines stay visible for a few seconds, you know the sauce is done. Transfer the sauce to a shallow heat-proof bowl and let cool uncovered for 30 minutes. Then cover and chill in the fridge for 1-2 hours or overnight. It thickens as it cools.
- To prepare the crust, line the bottom and the sides of a 9-inch (23cm) springform pan with parchment paper and set aside. In a medium bowl, combine the graham cracker crumbs, sugar, and melted butter and stir until the crumbs are evenly moist. Then, transfer the crumbs to the prepared pan and press the crust into the bottom and halfway up the sides, using the base of a flat-bottomed cup. Freeze the crust until you are done with the filling.
- In a large mixing bowl, using an electric mixer fitted with a whisk attachment, whip the whipping cream and 2 tablespoon of sugar on medium-high speed until stiff peaks form, about 2-3 minutes. Transfer it to the fridge until you are done with the next step.
- In another large mixing bowl, mix the cream cheese, ½ cup sugar, and vanilla on medium-high speed until creamy, combined, and no lumps remain about 2 minutes. Add the chilled blueberry sauce (must be cold and as firm as jelly) and fold it into the cream cheese mixture until well combined.
- Gently fold one-third of the whipped cream into the blueberry mixture. Proceed with the remaining two-thirds of the whipped cream. Be careful that you don't overwork the filling. It's perfectly fine to have a few streaks of whipping cream throughout the filling. Better fold less than more. Transfer the filling to the prepared crust and spread evenly but carefully without deflating the filling. Chill in the fridge overnight. Store in an airtight container in the fridge for up to 2 days or freeze for up to 1 month.
Notes
- Don't Rush the Blueberry Sauce. Cook the blueberry sauce until it has thickened and reduced. When you start seeing the bottom of the pan while stirring, and the lines stay visible for a few seconds, you know the sauce is done.
- Chill the Sauce. Chill the blueberry sauce in the fridge before you add it to the filing. It must be cold and as thick as jelly.
- Whipping the Cream. This takes time and works best with an electric hand mixer or stand mixer. Make sure to whip the whipping cream until stiff peaks form.
- Fold Gently. Don't overwork the filling when folding the whipping cream into the blueberry mixture. Less is more.
- Refrigerate Overnight. Let the no-bake cheesecake set in the fridge overnight.
- Keep Refrigerated. Keep this blueberry cream cheese dessert in the fridge all the time. Don't let it sit at room temperature for longer than 15 minutes or the filling is getting too soft.
- Oreo Cookie Crust: This blueberry no-bake cheesecake recipe was originally made with an Oreo cookie crust and the combination is truly delicious. Make the crust as directed and swap the graham crackers for 36 Oreo cookies crushed into fine crumbs.
- Small Batch Cheesecake: Simply divide the recipe in half and make it in a 6" springform pan or use a muffin pan and make mini cheesecakes.
You can find the video in the post above. If you don't see a video, please check your browser settings.
Nutrition
This recipe was originally published on March 21st, 2019 but has been reworked and improved based on readers' feedback.
Inas
Best cheesecake ever
Thank you so much for the great recipe.
I tried and everything was great the test and the texture, everyone in my family liked 😊