
What if I told you that there was an elegant French dessert that can surely impress any guest, but will only take 5 ingredients and 15 minutes to prepare? Would you believe me?
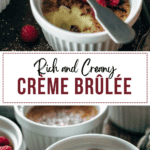
In this article, I can’t wait to share with you my Crème Brûlée recipe. Its name, creme brûlée, directly translates to “burnt cream”. It is a French custard dessert with a smooth and creamy consistency. Don’t forget about the rich and crispy sugar crust! It will be as if you’re in Paris yourself.
As an added bonus, I will also teach you the technique that makes authentic Crème Brûlées achieve that almost silk-like creamy texture.
Do you enjoy custard desserts? Then don’t forget to check out my Spanish flan recipe as well.
Jump to:
Video Tutorial
Ingredients
- 2 vanilla beans
- 2 ¼ cups heavy whipping cream (540ml)
- 5 egg yolks
- ¼ cup granulated white sugar (50g)
- 9 teaspoons brown sugar
Kitchen Tools & Equipment Needed
- Sharp kitchen knife
- Medium saucepan
- Spatula
- Utility mixing bowls
- Ramekins
- Hand mixer or wire whisk
- Baking pan
- Measuring cups
- Refrigerator or freezer
- Cooling rack
- Kitchen torch
- Air-tight containers
Essential Ingredients for This Creme Brûlée Recipe
You may skip ahead to the actual creme brûlée recipe, but I’d like to take this moment to talk about the key components that go into this perfectly creamy custard. I have divided them into four: cream, eggs, sugar, and other ingredients.
Cream
It is not a surprise that the main ingredient of this creamy custard is cream. You will find that some crème brûlée recipes may vary when it comes to the cream they use. I use heavy whipping cream in mine.
You might ask: “Is heavy whipping cream the same as heavy cream?”. Yes. According to this post by the Food Network, they are identical. They only have different labels due to them being sold by separate brands.
What makes heavy cream crucial for this recipe is its high-fat content. This plays a significant role in making the cream mixture silky, smooth, and less likely to curdle.
There are certainly other high-fat alternatives out there that can serve as a substitute for heavy cream in your custard mixture if you wish to experiment a bit with the creme brûlée recipe.
For instance, there are recipes out there that recommend using cream cheese for a denser texture and richer taste.
Can I substitute light cream for heavy cream?
I don’t recommend using light cream since it can risk your custard not thickening properly. At the very least, light cream will make it very challenging for you to achieve a rich and velvety consistency.
Eggs
Another essential ingredient in making creme brûlée is egg yolks. Now, I have seen some recipes recommend including some egg whites. This is an option if you find the creaminess too indulgent.
However, if you are going to take this route, just make sure to whisk them into your egg mixture fully else risk having pieces of cooked egg white in your creme brûlée.
As for me, I prefer to stick to a pure egg yolk mixture. I can always use the discarded egg whites for other recipes anyway. This reminds me, have you tried my lemon meringue tart recipe yet?
In any case, egg yolks are particularly important in making creme brulees for three reasons. First, egg yolks have a significant amount of fat that can add to the custard dessert’s creaminess.
Second, egg yolks contain lecithin. It is an emulsifier that helps water and fat bind together better. This is critical to achieve that smooth, silky texture.
Lastly, the protein content of egg yolks serves as an effective thickening agent for your custard.
Sugar
The third important ingredient in any creme brulee recipe is sugar. After all, the caramelized sugar crust is one of the aspects that distinguish the creme brûlée from other flans and custards.
I will be using two types of sugar in this recipe. I will be adding white granulated sugar to my cream mixture. Meanwhile, I prefer using brown sugar to achieve the burnt sugar topping for my creme brulees.
You can also use white granulated sugar to achieve that crisp topping, especially if you don’t like brown sugar’s taste.
I just personally prefer brown sugar in my caramelized topping as I find that distinct flavor profile more sophisticated and indulgent.
I also suggest using brown granulated sugar. It’s not too coarse or clumpy, which makes it easier to achieve the crisp caramelized crust that I want.
Others
Finally, you may also add other sweet flavors to your creme brûlée. A popular option is vanilla bean. For this recipe, I am going to use two vanilla bean pods to add that vanilla flavor to my custard cream.
Again, you may find other recipes recommending other substitutions. A popular example is to use other vanilla products such as vanilla extract or vanilla bean paste. You’ll find that there are different types of vanilla out there as well.
I don’t recommend using other forms of vanilla. In my experience, no vanilla product can ever replace the flavor and aroma that a freshly scraped vanilla bean can bring to a creme brulee. As for the type of vanilla, I prefer to use Bourbon vanilla over other types.
Don’t limit yourself to vanilla. Feel free to infuse your creme brulee with other flavorful ingredients such as citrus zest, cinnamon, or nutmeg just to name a few. You can make this creme brulee your own.
Anyway, now that we have a better understanding of the different elements that go into making creme brulee, we can move on to the fun part: the recipe!
Step By Step Guide to Making the Creamiest Crème Brûlée
1. Do the Prep Work
Aside from making sure that all your ingredients and tools are right on hand, there are two other things that you need to prep before we start mixing our custard base.
First, preheat the oven to 320°F (or 160°C). Second, extract the seeds from your whole vanilla beans.
Just in case you skipped my ingredient guide above, I want to reiterate that if you don’t have access to whole vanilla beans right now, then you can get that vanilla flavor from products. Vanilla extract and vanilla bean paste are good examples.
However, as I said, nothing can replace the quality of flavor coming from a freshly scraped vanilla bean一not even pure vanilla extract.
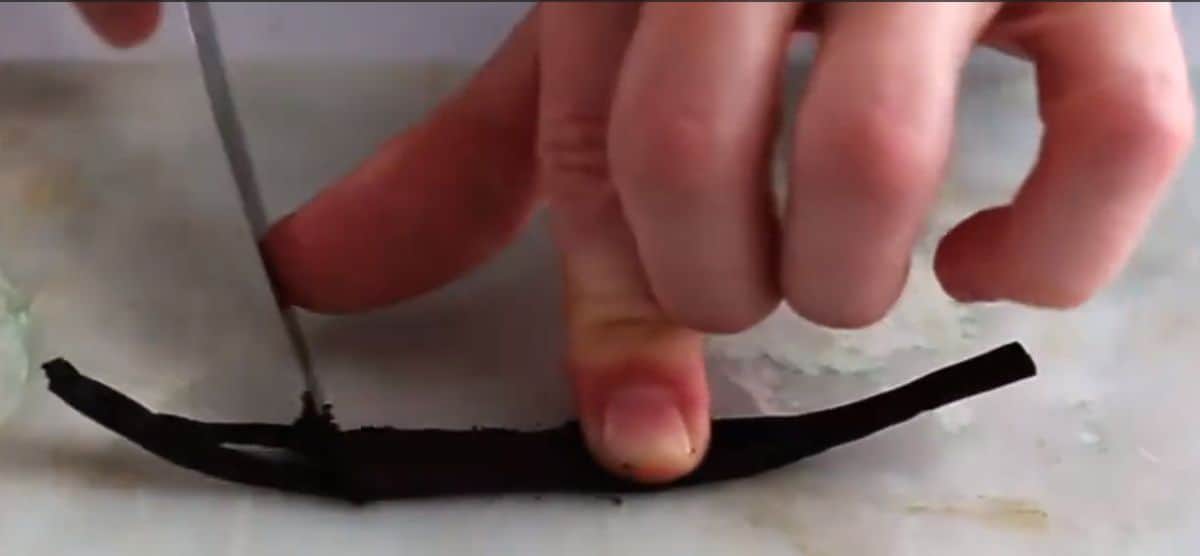
Moving on to the recipe, get your vanilla beans and cut off their ends. Then, cut through the middle part of your vanilla beans lengthwise with the tip of your sharp knife.
It doesn’t matter whether you cut your vanilla beans through or not, both will work. Open your vanilla bean pod and scrape off the seeds with the back (or dull) side of your knife.
2. Heat the Cream and Vanilla Mixture
Using a medium saucepan, heat your heavy cream and your vanilla bean pods together over medium-low heat for 3 to 4 minutes.
You may add your vanilla extract or vanilla bean paste substitute here if you’re not using fresh vanilla bean pods.
Anyway, once you’re done heating, discard vanilla bean pods and let the mixture cool down for 5 minutes. In the meantime, let’s move on to the next step in our creme brûlée recipe.
3. Prepare the Custard Base
The next step in making this classic French dessert is to prepare the custard base. It contains two elements: the heavy cream mixture (we have just imbued with the rich flavor and aroma of vanilla bean) and the egg yolk mixture (that we’re going to do next).
I have explained in my ingredient guide why my egg mixture is made of just egg yolks.
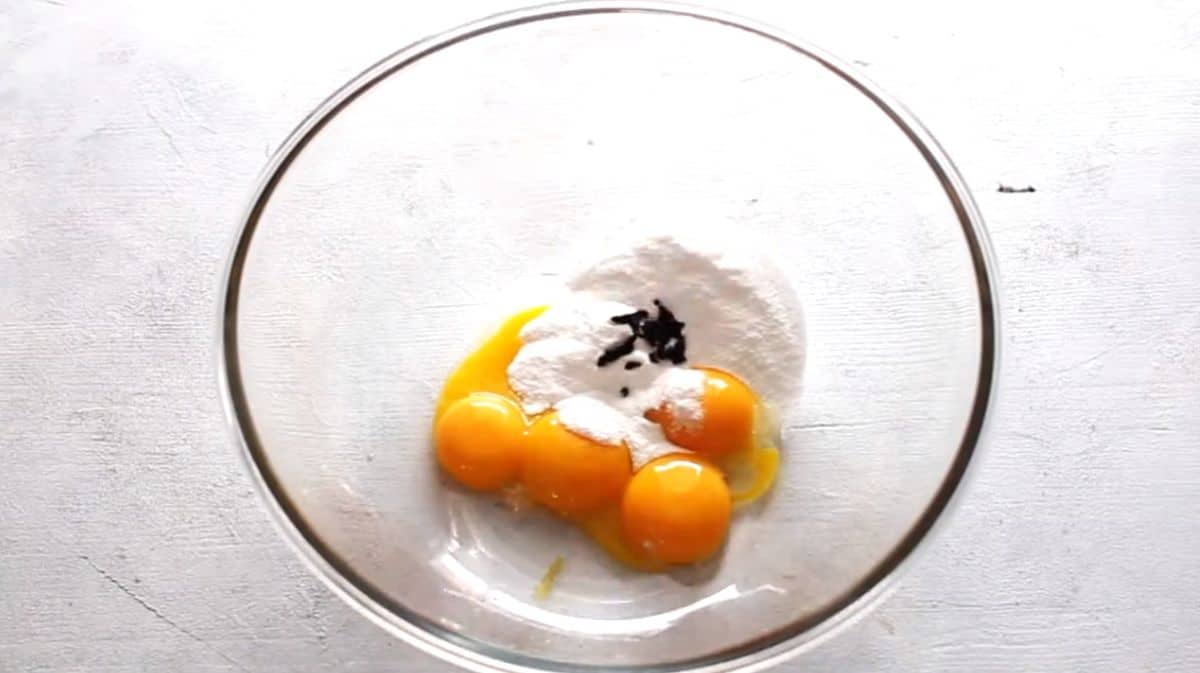
Equip your handheld or stand mixer with a whisk attachment. Then, in a large mixing bowl, add your egg yolks, sugar, and vanilla seeds.
Again, you may use vanilla extract or vanilla bean paste as a substitute.
Mix your egg mixture for about 2 to 3 minutes or until you have achieved a beautiful and even pale yellow color.
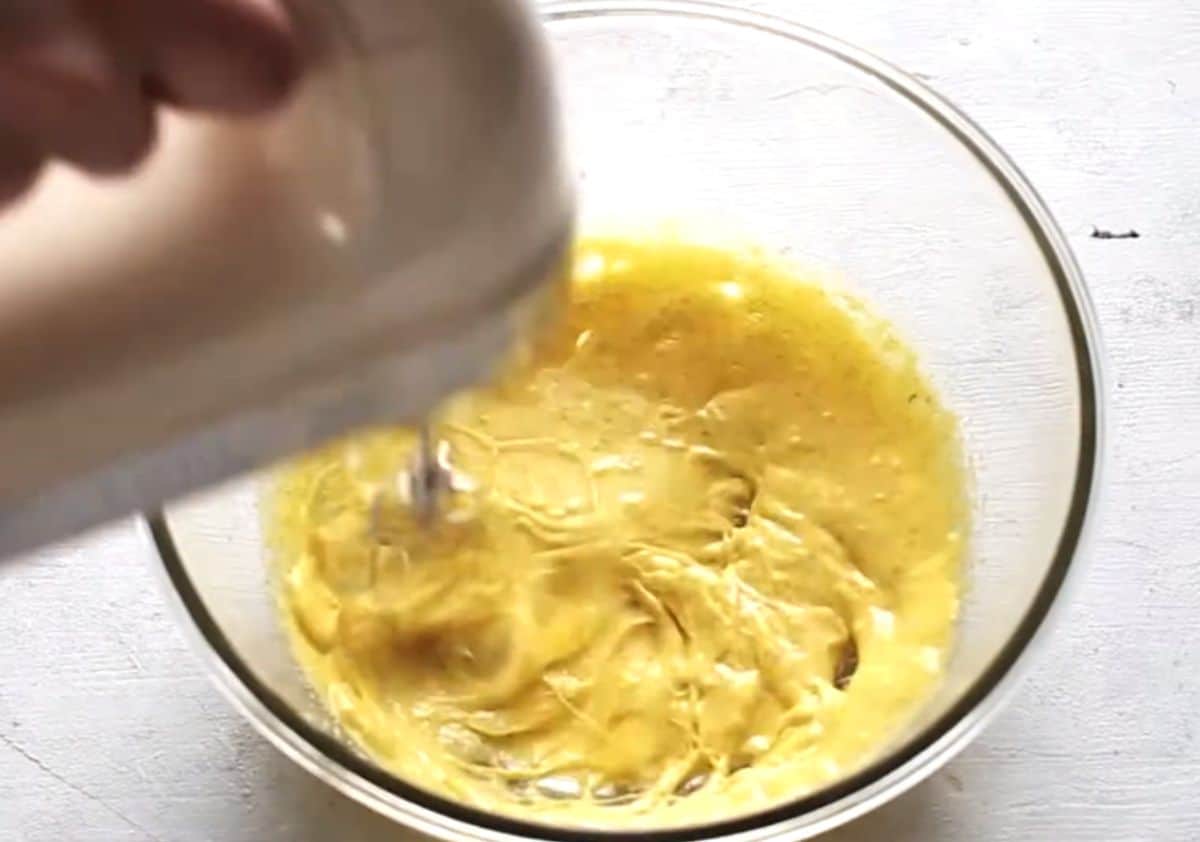
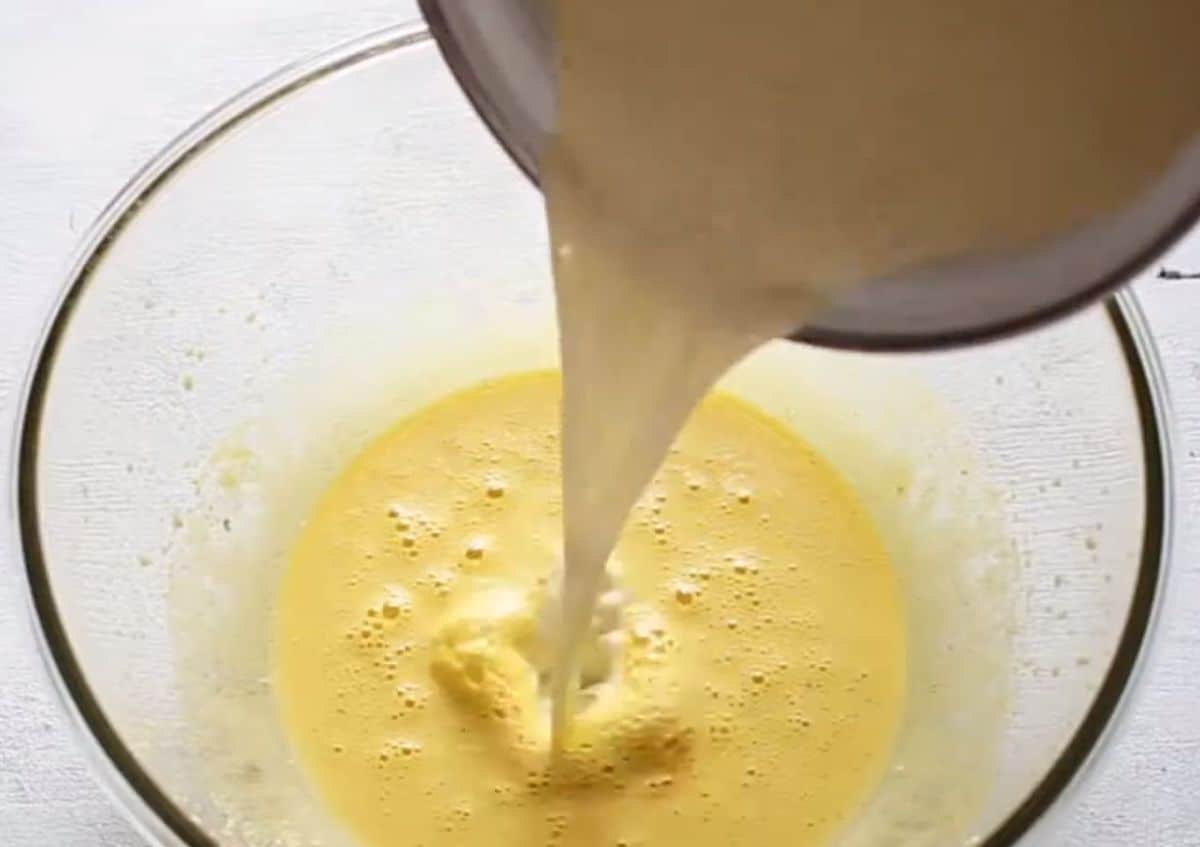
Our custard mixture is almost complete. The only thing left to add is the hot cream we prepared earlier. Don’t forget to remove the floating vanilla bean pod if you haven’t done so yet.
Stir. Make sure that the heavy cream and egg mixtures combine thoroughly.
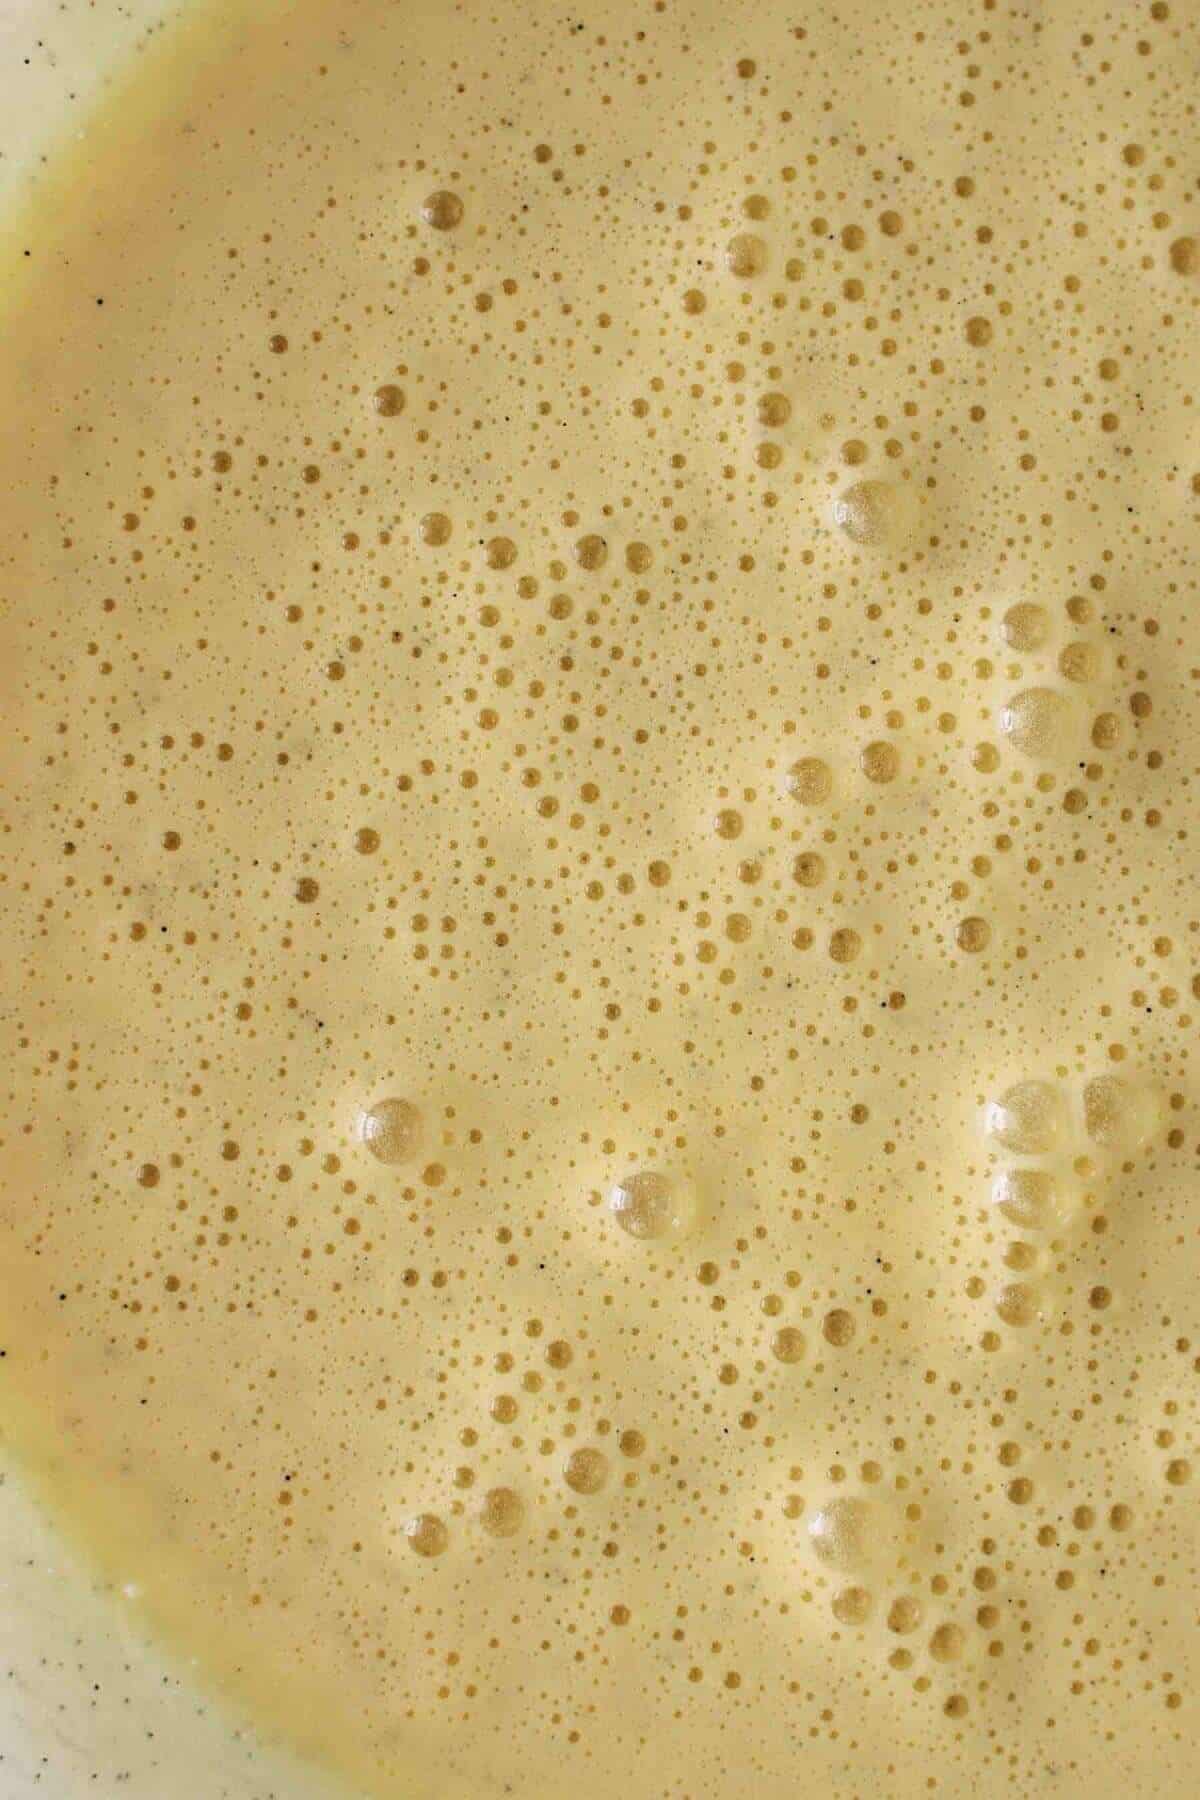
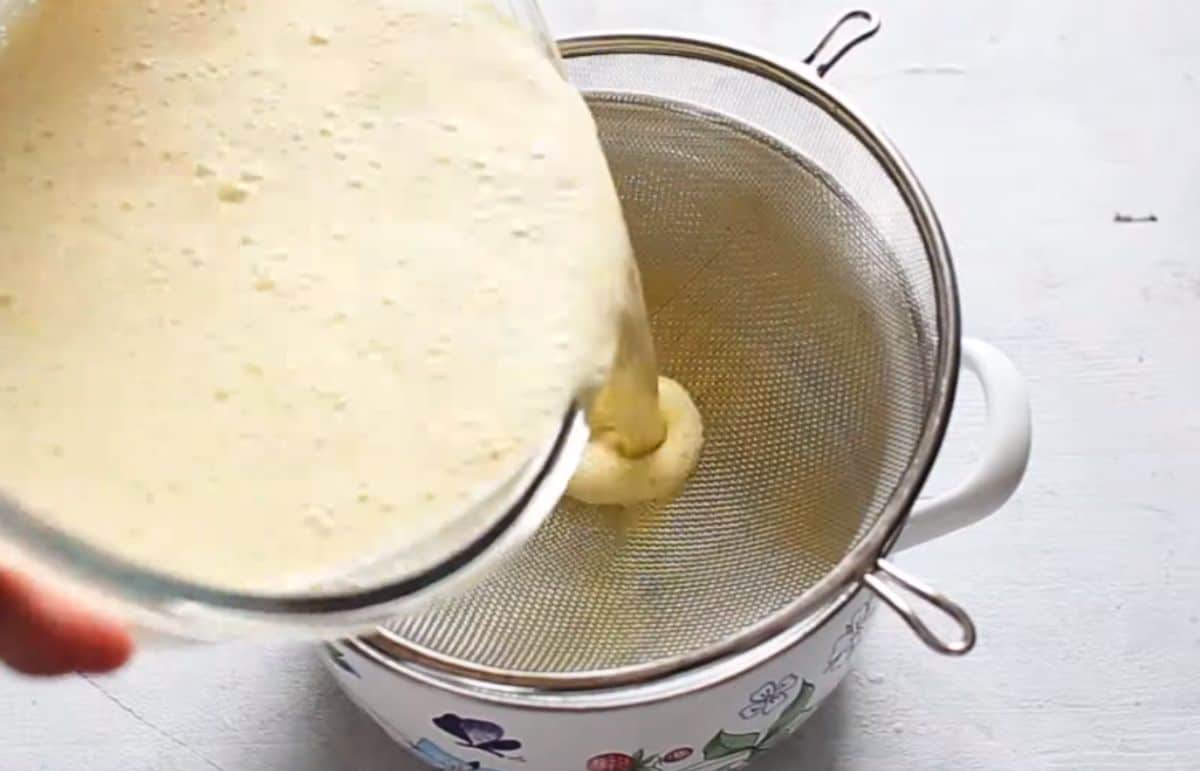
Then, pour the mixture through a fine mesh strainer. Doing so will remove any rough particles and air bubbles that can interfere with the smooth, velvety texture we’re working to achieve.
This extra step is the secret behind a perfect crème brûlée.
Quick Tip: Transfer your sieved custard mixture to a large measuring cup. You will find this step helpful when we’re dividing this base into equal individual dessert cups in the next step.
4. Bake Your Crème Brûlées
During the introduction, I promised that I am going to share with you the method behind authentic creme brulees. Here it is.
For the purposes of this recipe, I am going to use a bain-marie. It is a technique that involves placing your baking vessels in a water bath.
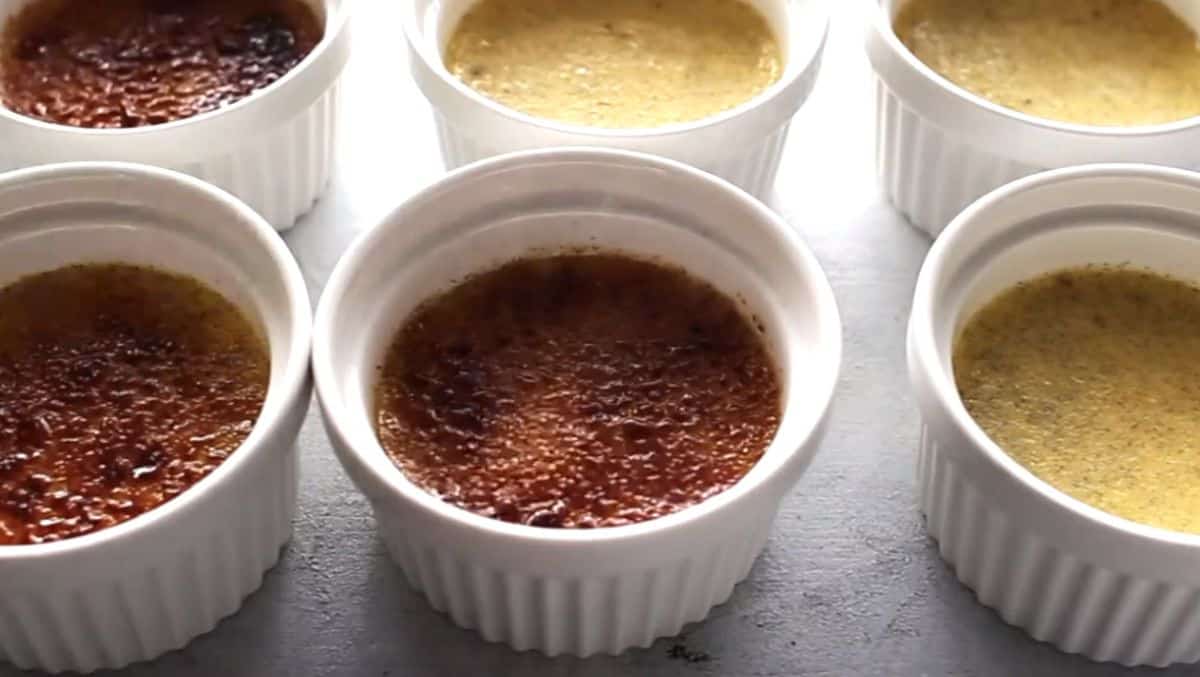
In this case, I am going to use six 1-cup-sized ramekins.
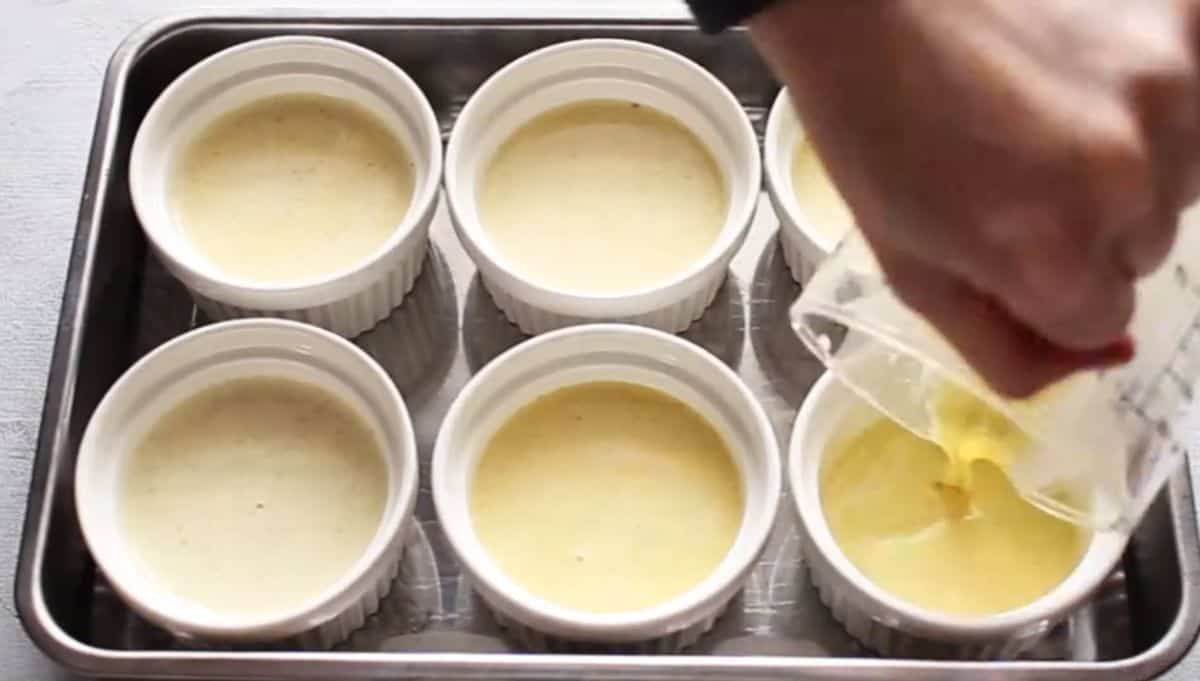
Divide your custard mixture into six equal parts. If you didn’t transfer your custard mixture to a large measuring cup as I suggested earlier, then another technique that I like to do to make sure that all of my custard cups are even is to fill them all up halfway up the sides of the ramekins first.
I then pour a little bit on each of the cups in a methodical manner to ensure better accuracy when it comes to the equal portioning of the mixture. I repeat this process until the mixture has been completely distributed.
Then, carefully transfer ramekins to a 9 x 13-inch baking pan and fill this container up with water until the water bath has reached up to a third of your ramekin’s height.
Feel free to adjust the water bath according to the size of your chosen container. For instance, if you’re using a deep and large baking dish, then it might be more ideal for your water bath to only go halfway up the sides of your ramekins instead of up to a third.
If you don’t have a large baking dish or baking pan, then you may use a roasting pan as well.
The important thing to keep in mind when you’re preparing the water bath is to immerse your ramekins into enough liquid that will keep the air inside your oven moist and prevent your elegant dessert from drying out and cracking.
The hot water bath will also help in baking your custard more evenly.
Handle your ramekins gently too. You don’t want to form new air bubbles after you have carefully strained them out in the previous step. You also don’t want to slosh water into your ramekins.
Once ready, you may now bake your custard for 45 to 55 minutes. Be careful not to overbake your crème brûlée. Pay attention to the level of your hot water too, as you wouldn't want it to dry out.
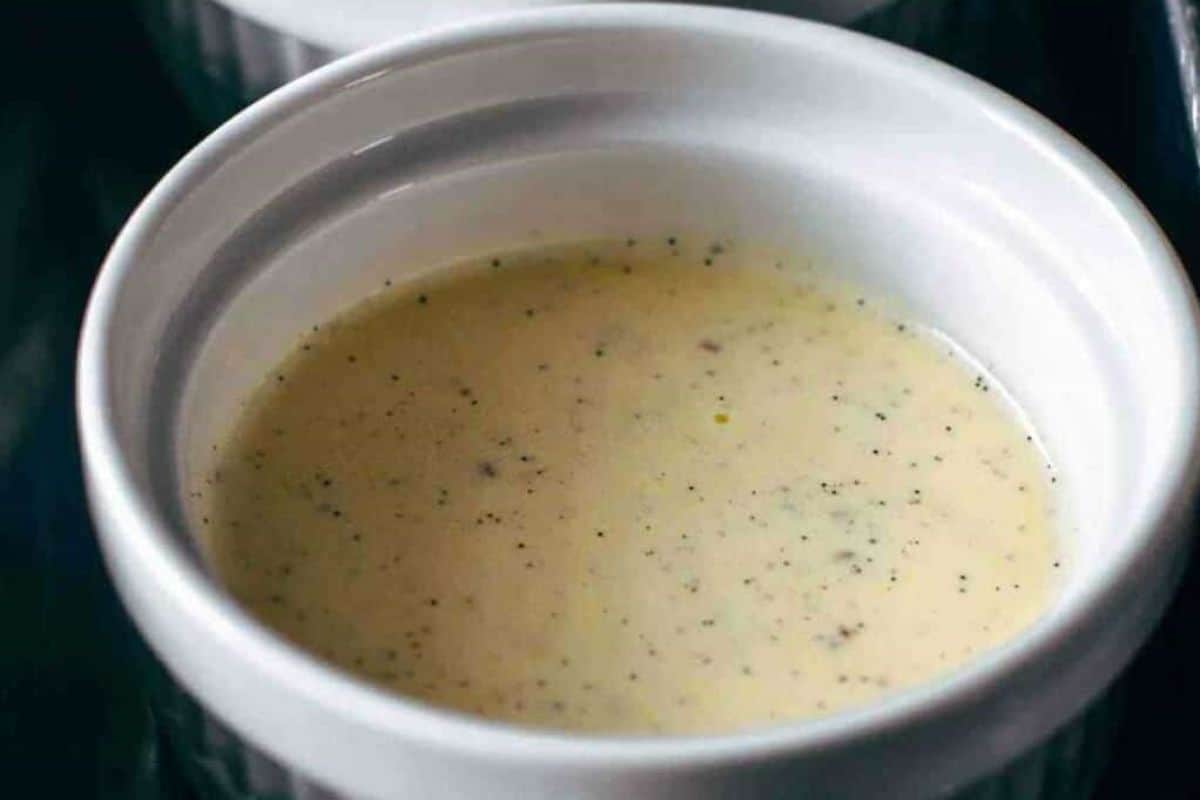
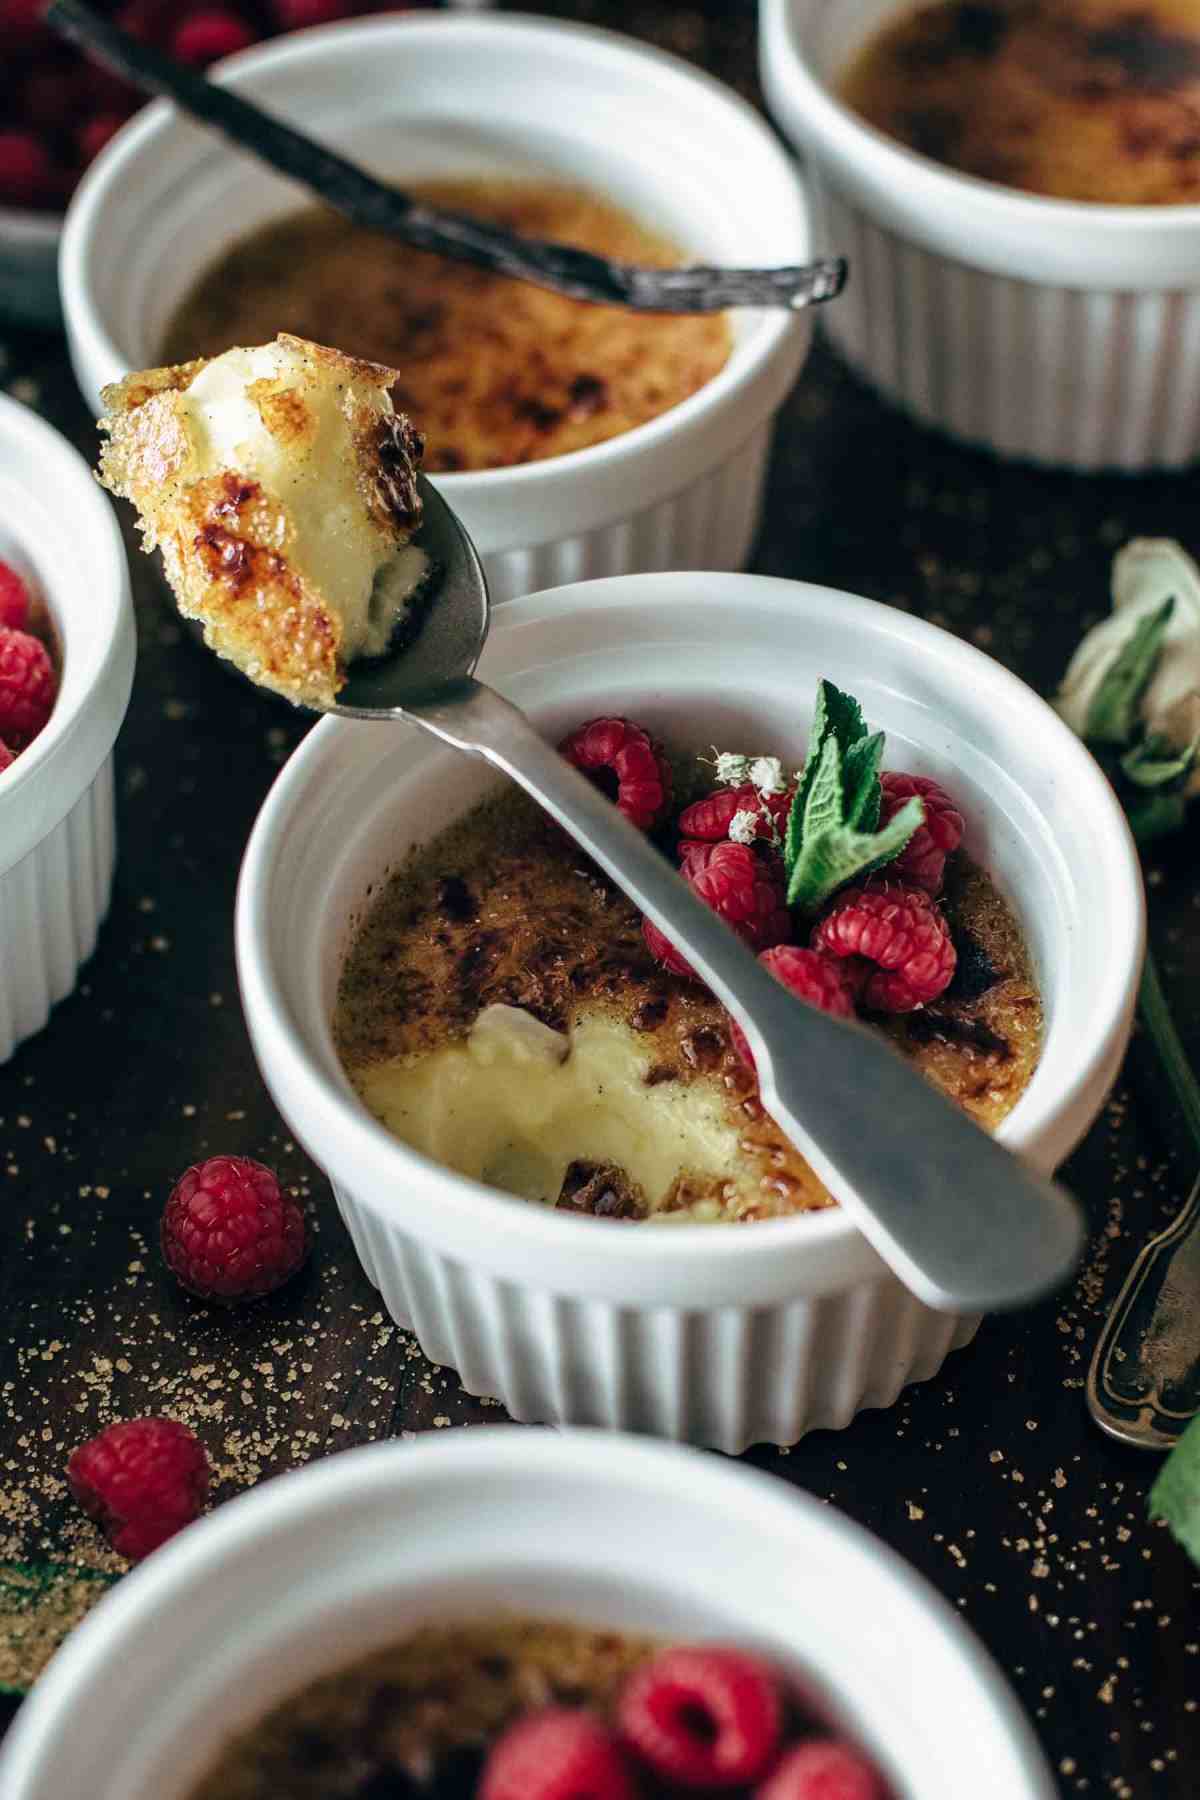
The objective is to achieve a wobbly consistency, similar to pudding or jelly when moved. You may gently tap the side of each of your ramekins to check whether your custard jiggles or not.
5. Chill Your Crème Brûlées
Patience is key when it comes to making crème brulee. While you might be tempted to move on to the next step after seeing how perfect your elegant dessert turned out, we are still not done!
The next step is to chill your custard. Chilled custard is crucial to achieve that thick, evenly caramelized burnt sugar crust that gives creme brûlée its iconic name.
To do so, remove your baked custard cups from the oven first. You’d want to remove them from the baking dish water bath as well.
After all, leaving them in hot water will make it slower for your custard to cool to room temperature.
Some even transfer their cups to a cooling wire rack to further hasten the process. Don’t have a wire rack? Then you may use other similar kitchen tools as alternatives to help your custard cool to room temperature.
You may use an oven rack as a substitute. If you find that your oven rack doesn’t have enough vertical clearance underneath for optimal air circulation, then you may simply set it atop a few stable objects to elevate it.
Placing your ramekins atop a cool baking sheet is also an option. I recommend choosing a baking sheet that will fit your fridge. It can serve as a tray for your further convenience.
Once they have cooled down to room temperature, cover each of your cups with plastic wrap. This will keep excess moisture off the surface of your custard bases as they chill.
Chill your crème brûlée cups for at least 4 hours but not more than 2 days.
6. Create the Torched Sugar Crust
Take your crème brûlée cups out of the fridge and remove the plastic wrap. We will now move on to what is technically the last step of our recipe: making that crisp sugar topping.
I like to place my ramekins atop a baking sheet during this process because I find that they don’t slide around as much, and it can also serve as a catch tray for stray sugar crystals.
Another optional thing that I like to do is to pat the surface of my custard with a paper towel to remove any excess moisture that slipped past the plastic wrap (such as condensation).
Sugar absorbs water, and when that happens, it will require more heat to caramelize sugar. This will then increase the risk of ending up with a bitter burnt sugar top. Even worse, your sugar topping might not even end up fully caramelized!
As I have mentioned, I will be using brown granulated sugar for my recipe. That’s because I find its strong and intense caramel flavor is a perfect complement to the rich and delicate taste of vanilla. It has a finer texture too.
If you prefer a more mellow flavor profile, then feel free to substitute it with white granulated sugar.
Sprinkle each custard with 1 and ½ teaspoon of your preferred type of sugar and melt them with a kitchen torch.
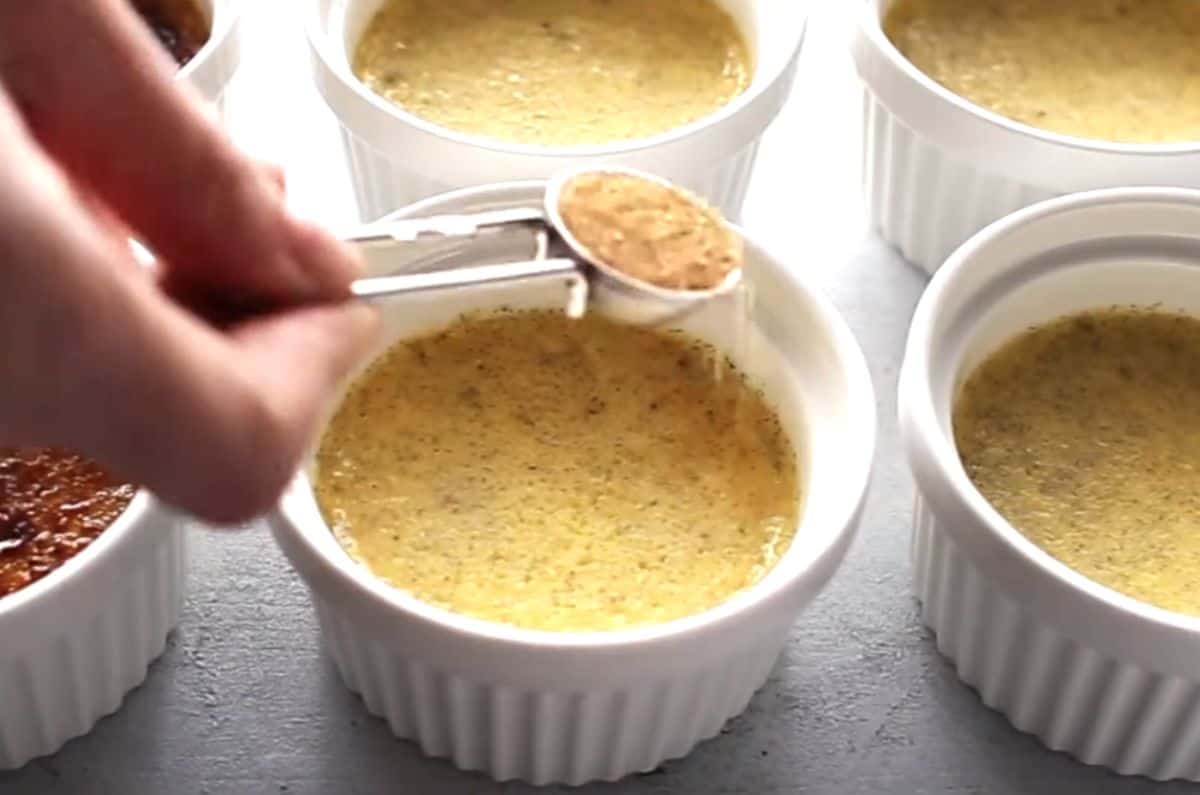
I try to spread them as evenly as I can to achieve that beautifully flat hardened sugar surface.
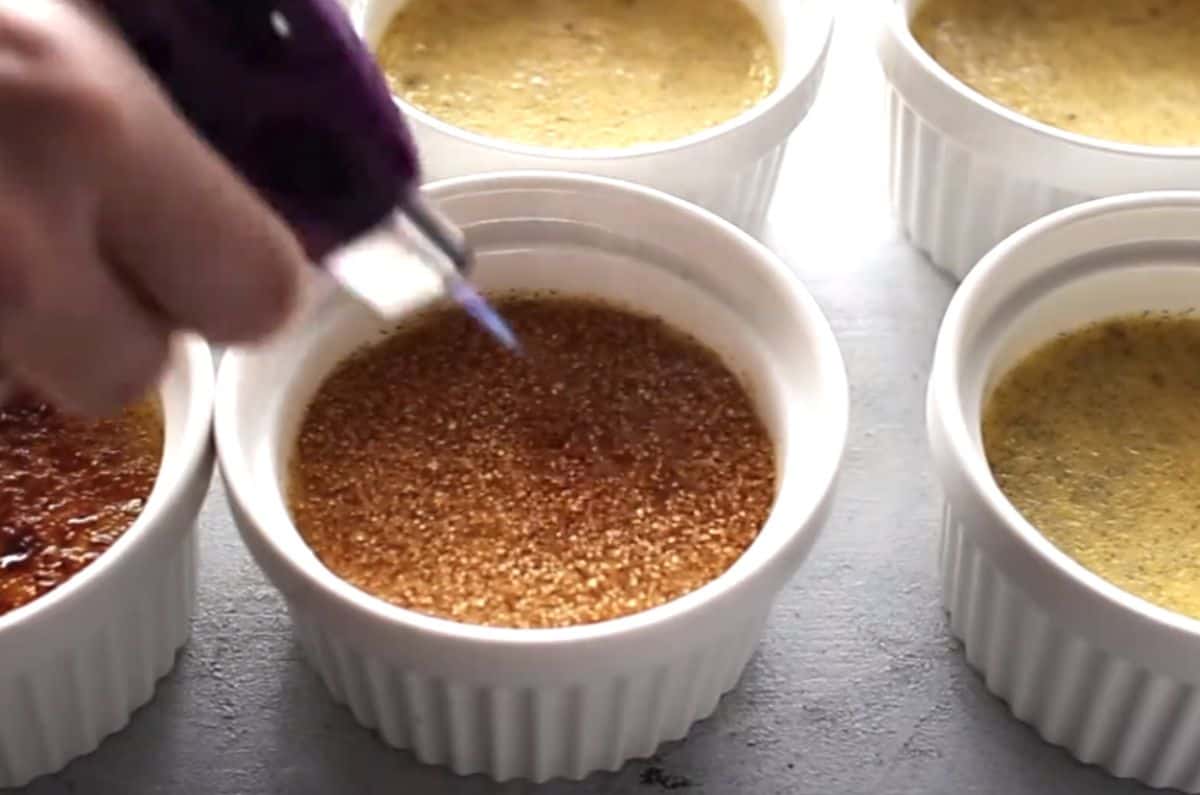
Another tip I can give you is to work fast and methodically when using your kitchen torch. Don’t point your torch longer than necessary on any particular spot as they might burn and turn bitter.
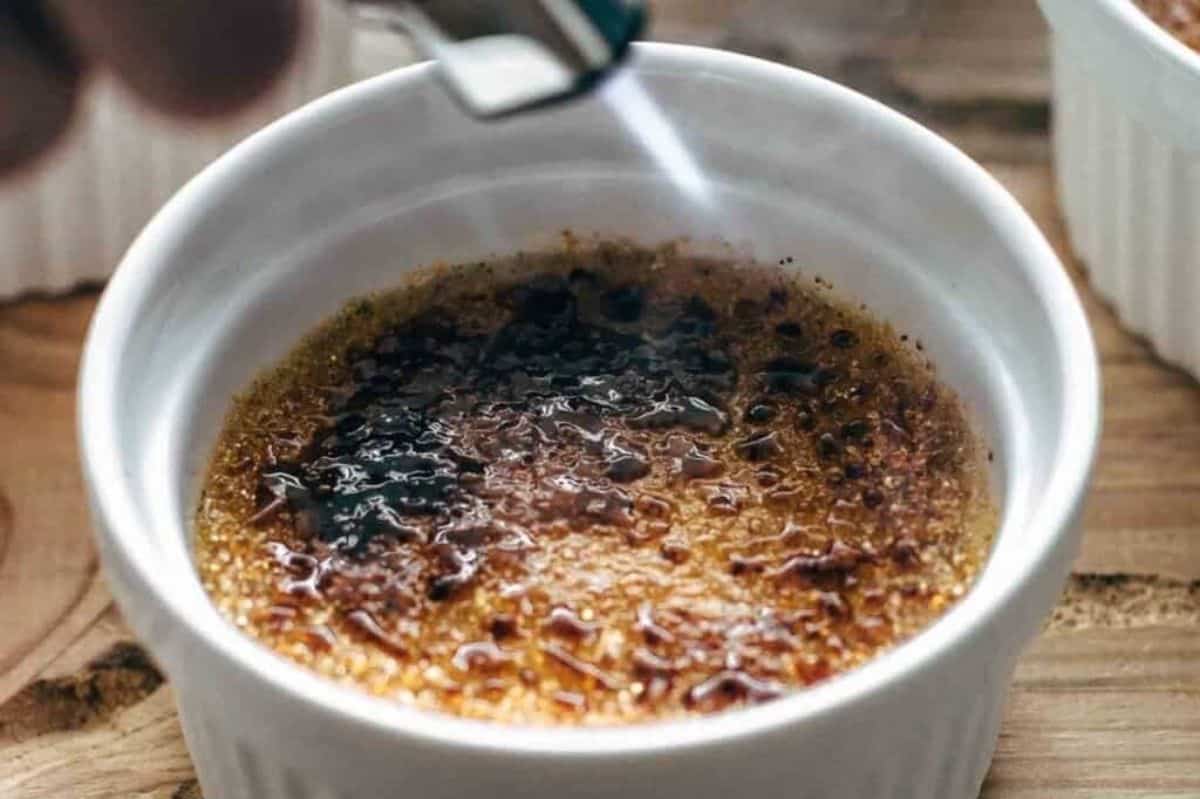
In my experience, moving the torch in a circular manner as the sugar melts also helps create a more even and crisp crust.
Is there a special kind of torch needed for making creme brûlée?
No, you don’t need a special torch for making the caramelized crust of your crème brûlée. You can get a regular kitchen torch used for other dessert cuisine such as meringue and s’mores.
There’s also an alternative method if you don’t have a torch. However, I just want to mention a quick disclaimer. I don’t recommend this technique since I’ve found that it can easily ruin the creamy consistency of the custard if not done with careful precision.
You can also broil your crème brûlées after you have sprinkled them with your granulated sugar. You may use a baking dish or baking sheet for this. Position them on an oven rack that’s closest to the broiler and heat your ramekins for a few minutes or until the sugar melts.
7. Enjoy the Crème Brûlée
Don’t serve immediately. Instead, you want to give your crème brûlée around 5 minutes to cool down before serving.
If you really don’t intend to serve immediately, or if you want to store leftovers for later, then know that it’s not ideal for a couple of reasons:
- Crème brûlée doesn’t have a long shelf-life. It only lasts up to 3 days when refrigerated.
- Your sugar topping won’t be crisp anymore if you refrigerate your crème brûlée beyond 30 minutes after torching.
And that’s it! You have successfully created a classic French dessert with only cream, egg yolks, sugar, and vanilla.
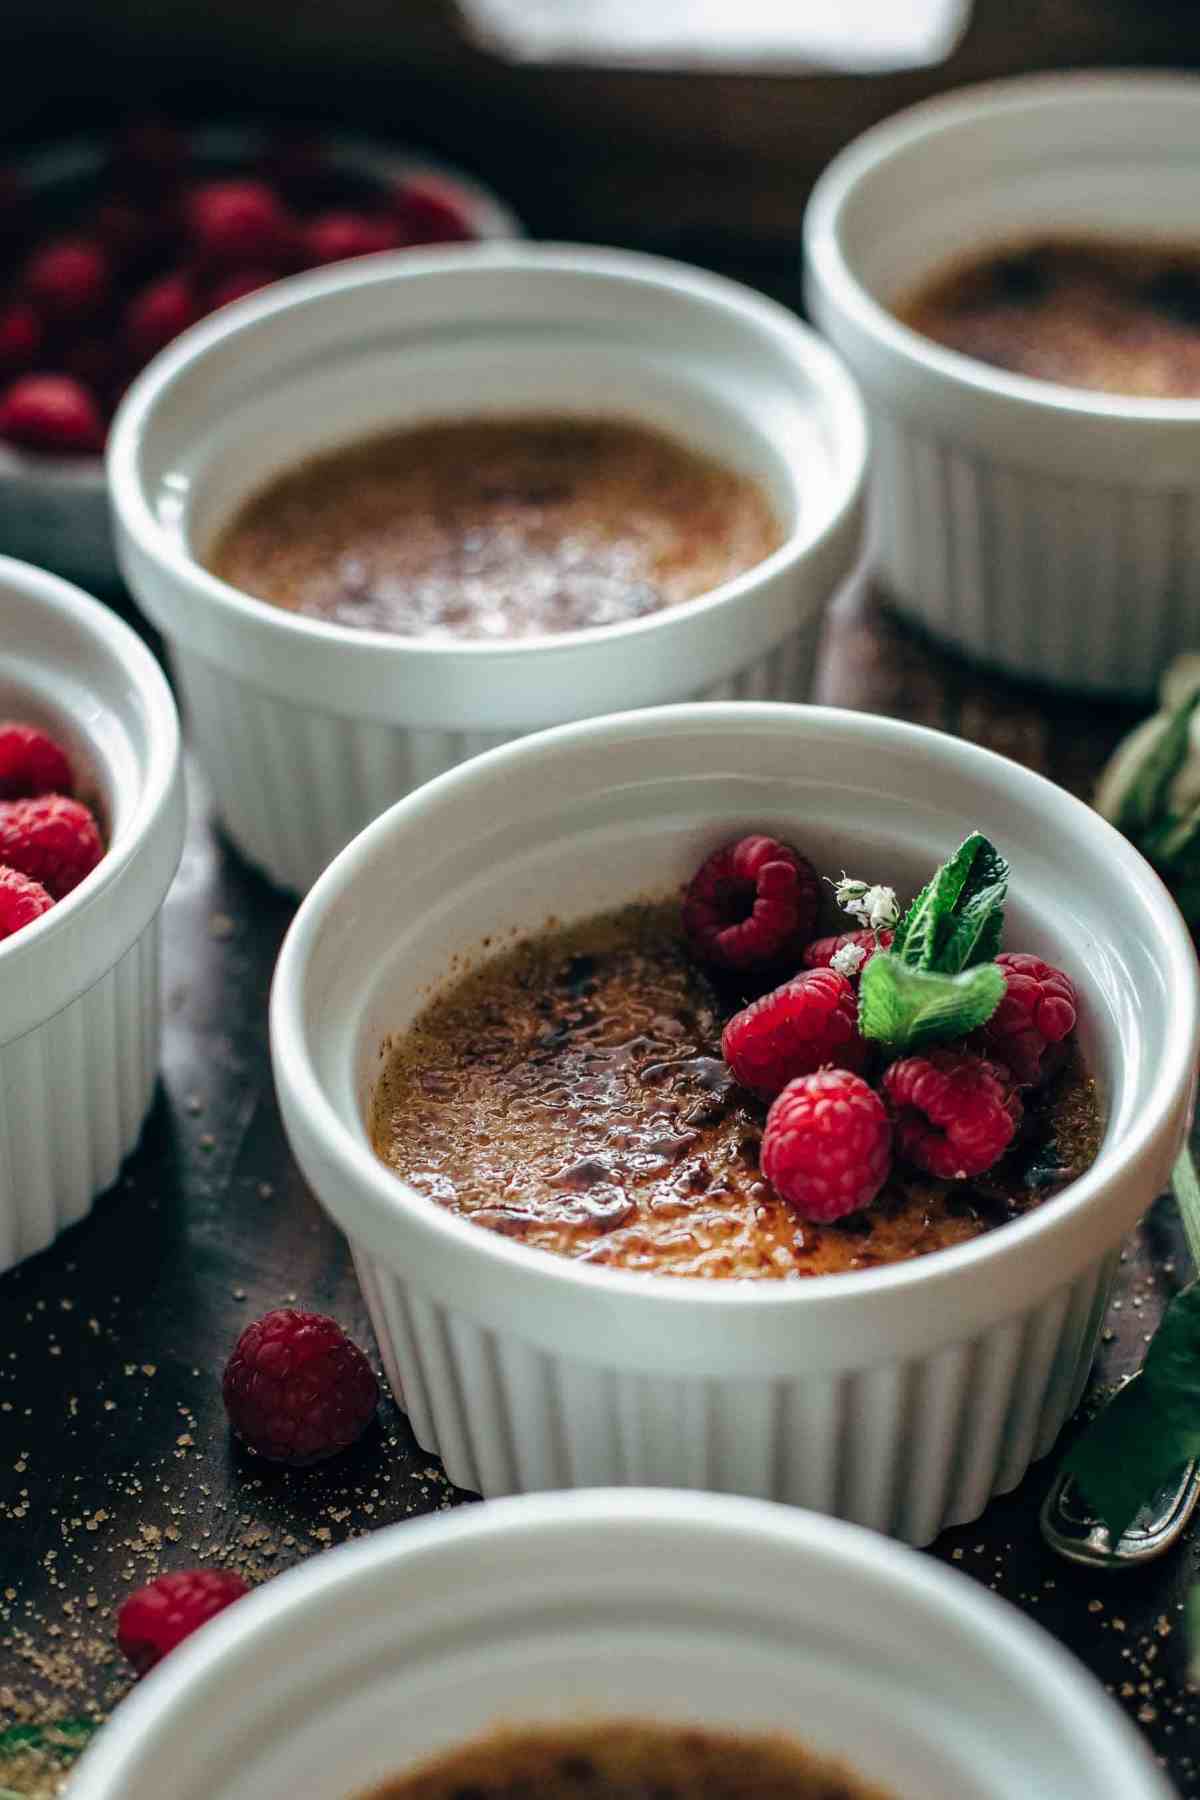
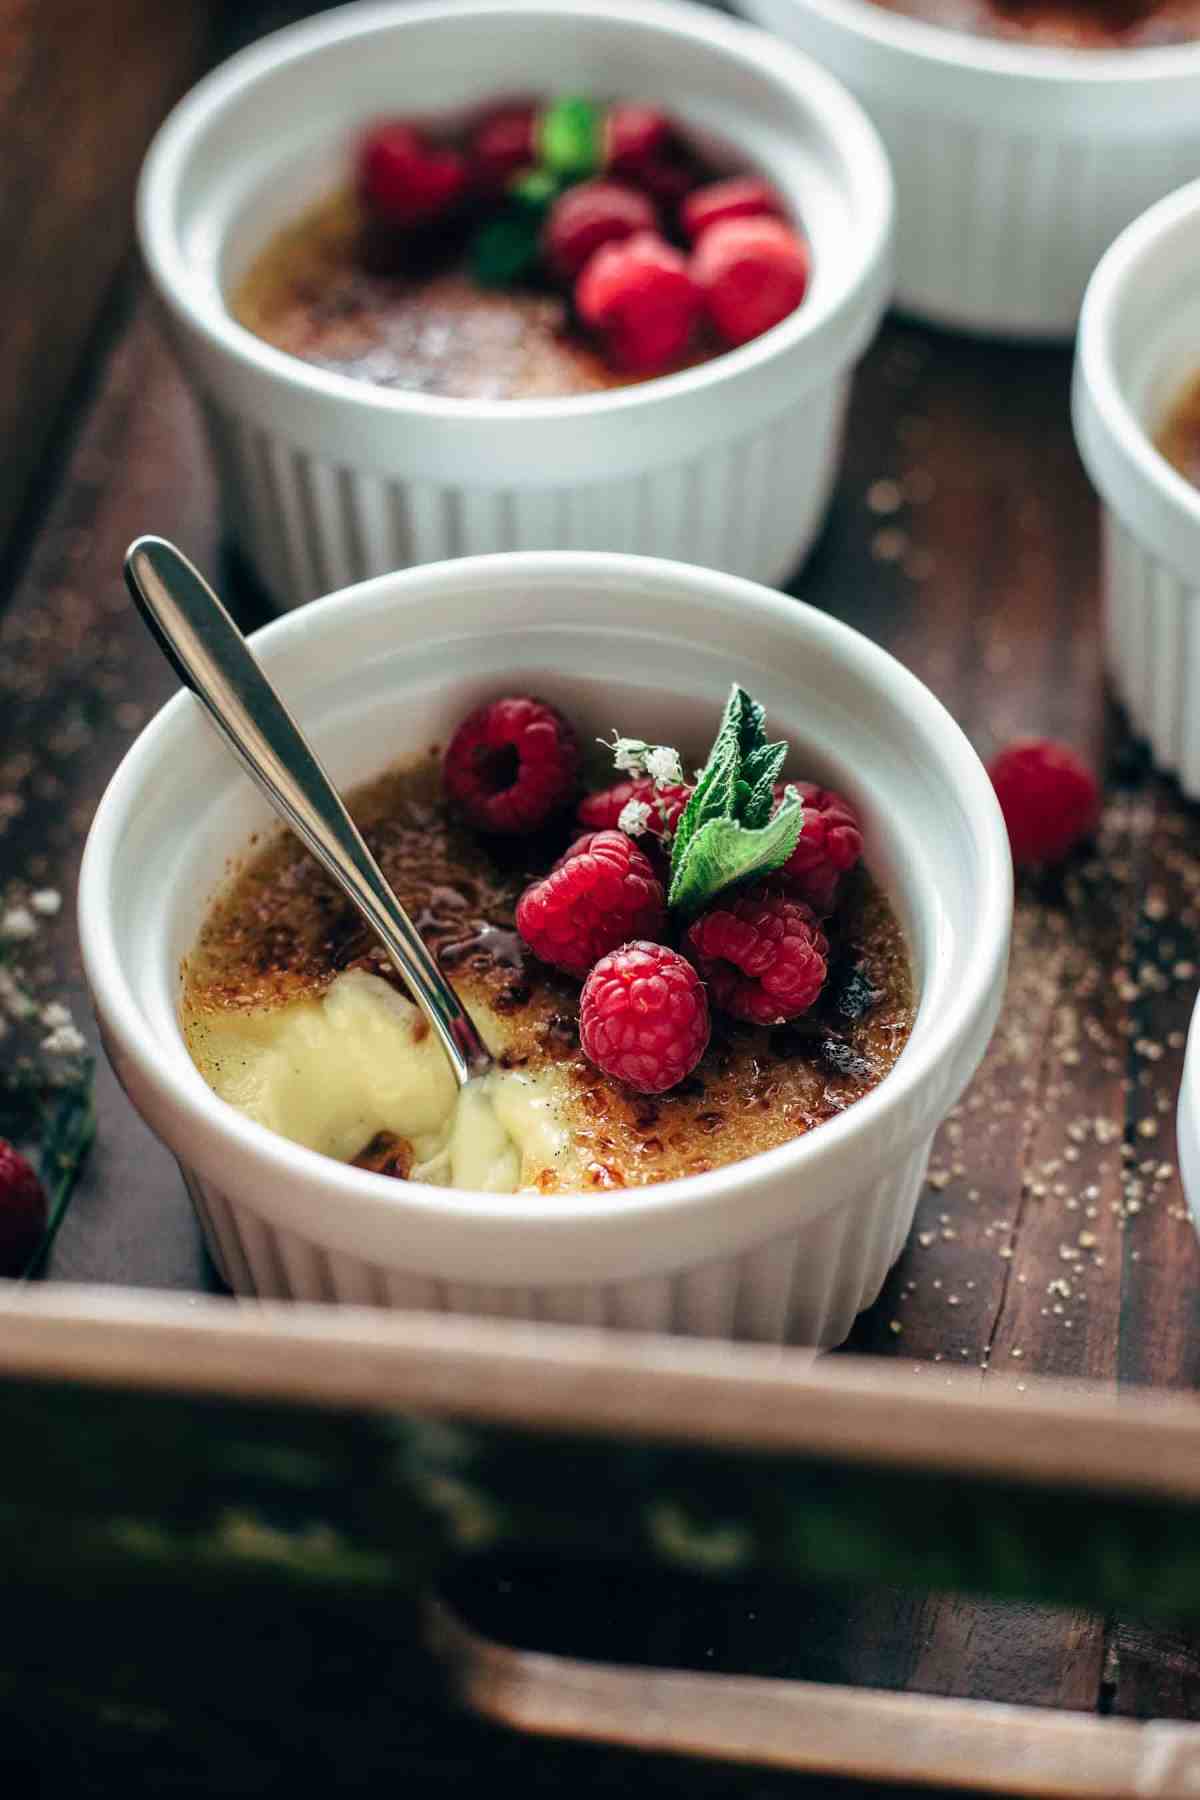
You can certainly serve your crème brûlée as is. There’s a quiet elegance around the golden simplicity of caramelized sugar. However, you can also garnish it to further add flavor and beauty.
As you can see in my photos, I chose to add raspberry and mint to mine. I have found that the raspberries’ acidity helps balance the richness of the heavy cream while making the sweetness of sugar and vanilla more vibrant.
Meanwhile, the refreshing color and taste of fresh mint sparks the dish alive.
Crème Brûlée FAQs
You whisk yolks, cream, and sugar together to make a custard mixture. This is then baked, sprinkled with more sugar on top. The sugar crystals are then burnt to create a crust of caramelized sugar.
There are different European countries that claim to be this dessert’s origin. However, it is interesting to note that the oldest recipe for creme brûlée was found in a 1691 French cookbook.
It is easy to achieve the glaze on top of your creme brûlée. Just sprinkle a nice and even layer of sugar on top of your custard, then torch it in fast, methodical, circular motions to achieve the golden crispy crust.
I recommend chilling your freshly baked custards for at least 4 hours to set them. Failing to do so before torching can result in overcooking and curdling.
Wrapping Up Our Creme Brûlée Recipe
Creme brûlée is clearly one of the most impressive and elegant desserts out there, so it’s surprising to many that it’s actually easy to make. I also like how it requires only four to five ingredients一and I’m pretty sure you already have most (if not all) of them in your pantry!
By the way, this smooth and sexy creme brûlée isn’t the only French dessert you can make at home. You'll find other recipes of Parisian delights on the website, such as this decadent chocolate soufflé and these divine croissants.
Are you missing some ingredients? Don’t lose heart. We have ingredient substitution references and tips for air fryer use that can come in handy in your kitchen adventures.
Lastly, don’t forget to tell me how your creme brûlées turned out in the comments section below. It always brings me joy when people try my recipes.
Happy baking!
Recipe

How to make Crème Brûlée
Ingredients
- 2 vanilla beans
- 2 ¼ cups heavy whipping cream (540ml)
- 5 egg yolks
- ¼ cup granulated white sugar (50g)
- 9 teaspoon brown sugar
Instructions
- Preheat oven to 320°F (160°C).
- Cut off both ends of the vanilla beans. Then place the tip of your sharp knife on one end and cut the vanilla bean through the middle of the bean lengthwise. Although you don't need to cut it all the way through, it's ok when you do so. Then open the vanilla bean and scrape out the seeds with the back of your knife.
- In a medium saucepan heat the cream and the scraped vanilla beans over medium-low heat for 3-4 minutes. Don't boil. Let cool 5 minutes.
- Meanwhile, in a large mixing bowl mix with a handheld or stand mixer fitted with a whisk attachment, egg yolks, sugar, and vanilla seeds until pale yellow for about 2-3 minutes.
- Add heavy cream but remove the vanilla beans before. Stir to combine.
- Pour through a fine mesh strainer to remove almost all air bubbles. Divide into six 1-cup-sized ramekins equally.
- Place ramekins in a 9x13" baking pan and fill up with water until the ramekins stand ¾ in water. Bake for 45-55 minutes (I baked mine exactly 50 minutes). The Crème Brûlée should wobble like a pudding or jelly when move. Don't overbake.
- Then remove from water bath and let cool to room temperature. Chill 4 hours in the fridge.
- Before serving, sprinkle each Crème Brûlée with 1 + ½ tsp brown sugar and melt the sugar with a kitchen torch to get a crispy top.
- Let cool 5 minutes before serving. Store leftovers (without the sugar crust) in the fridge up to 2 days.
You can find the video in the post above. If you don't see a video, please check your browser settings.
Albert Bevia
I love using the bain-marie technique when making desserts like these, I´m loving this creme brulee you have created, so many great tips you gave too! can´t wait to try this
Sabine
Thank you so much, Albert! I'm happy that you like this recipe.