

Sink your teeth into the delightfully savory world of air fryer stuffed chicken breast roll-ups, your soon-to-be favorite culinary creation. As an enthusiastic home chef, I've crafted a dish that elevates humble ingredients to star status.
Chicken breasts hugging a luscious filling of herbs and cheese, each roll-up emerging from the air fryer with golden edges and a molten heart. This isn't just another meal; it's a festive foray into fuss-free gourmet dining.
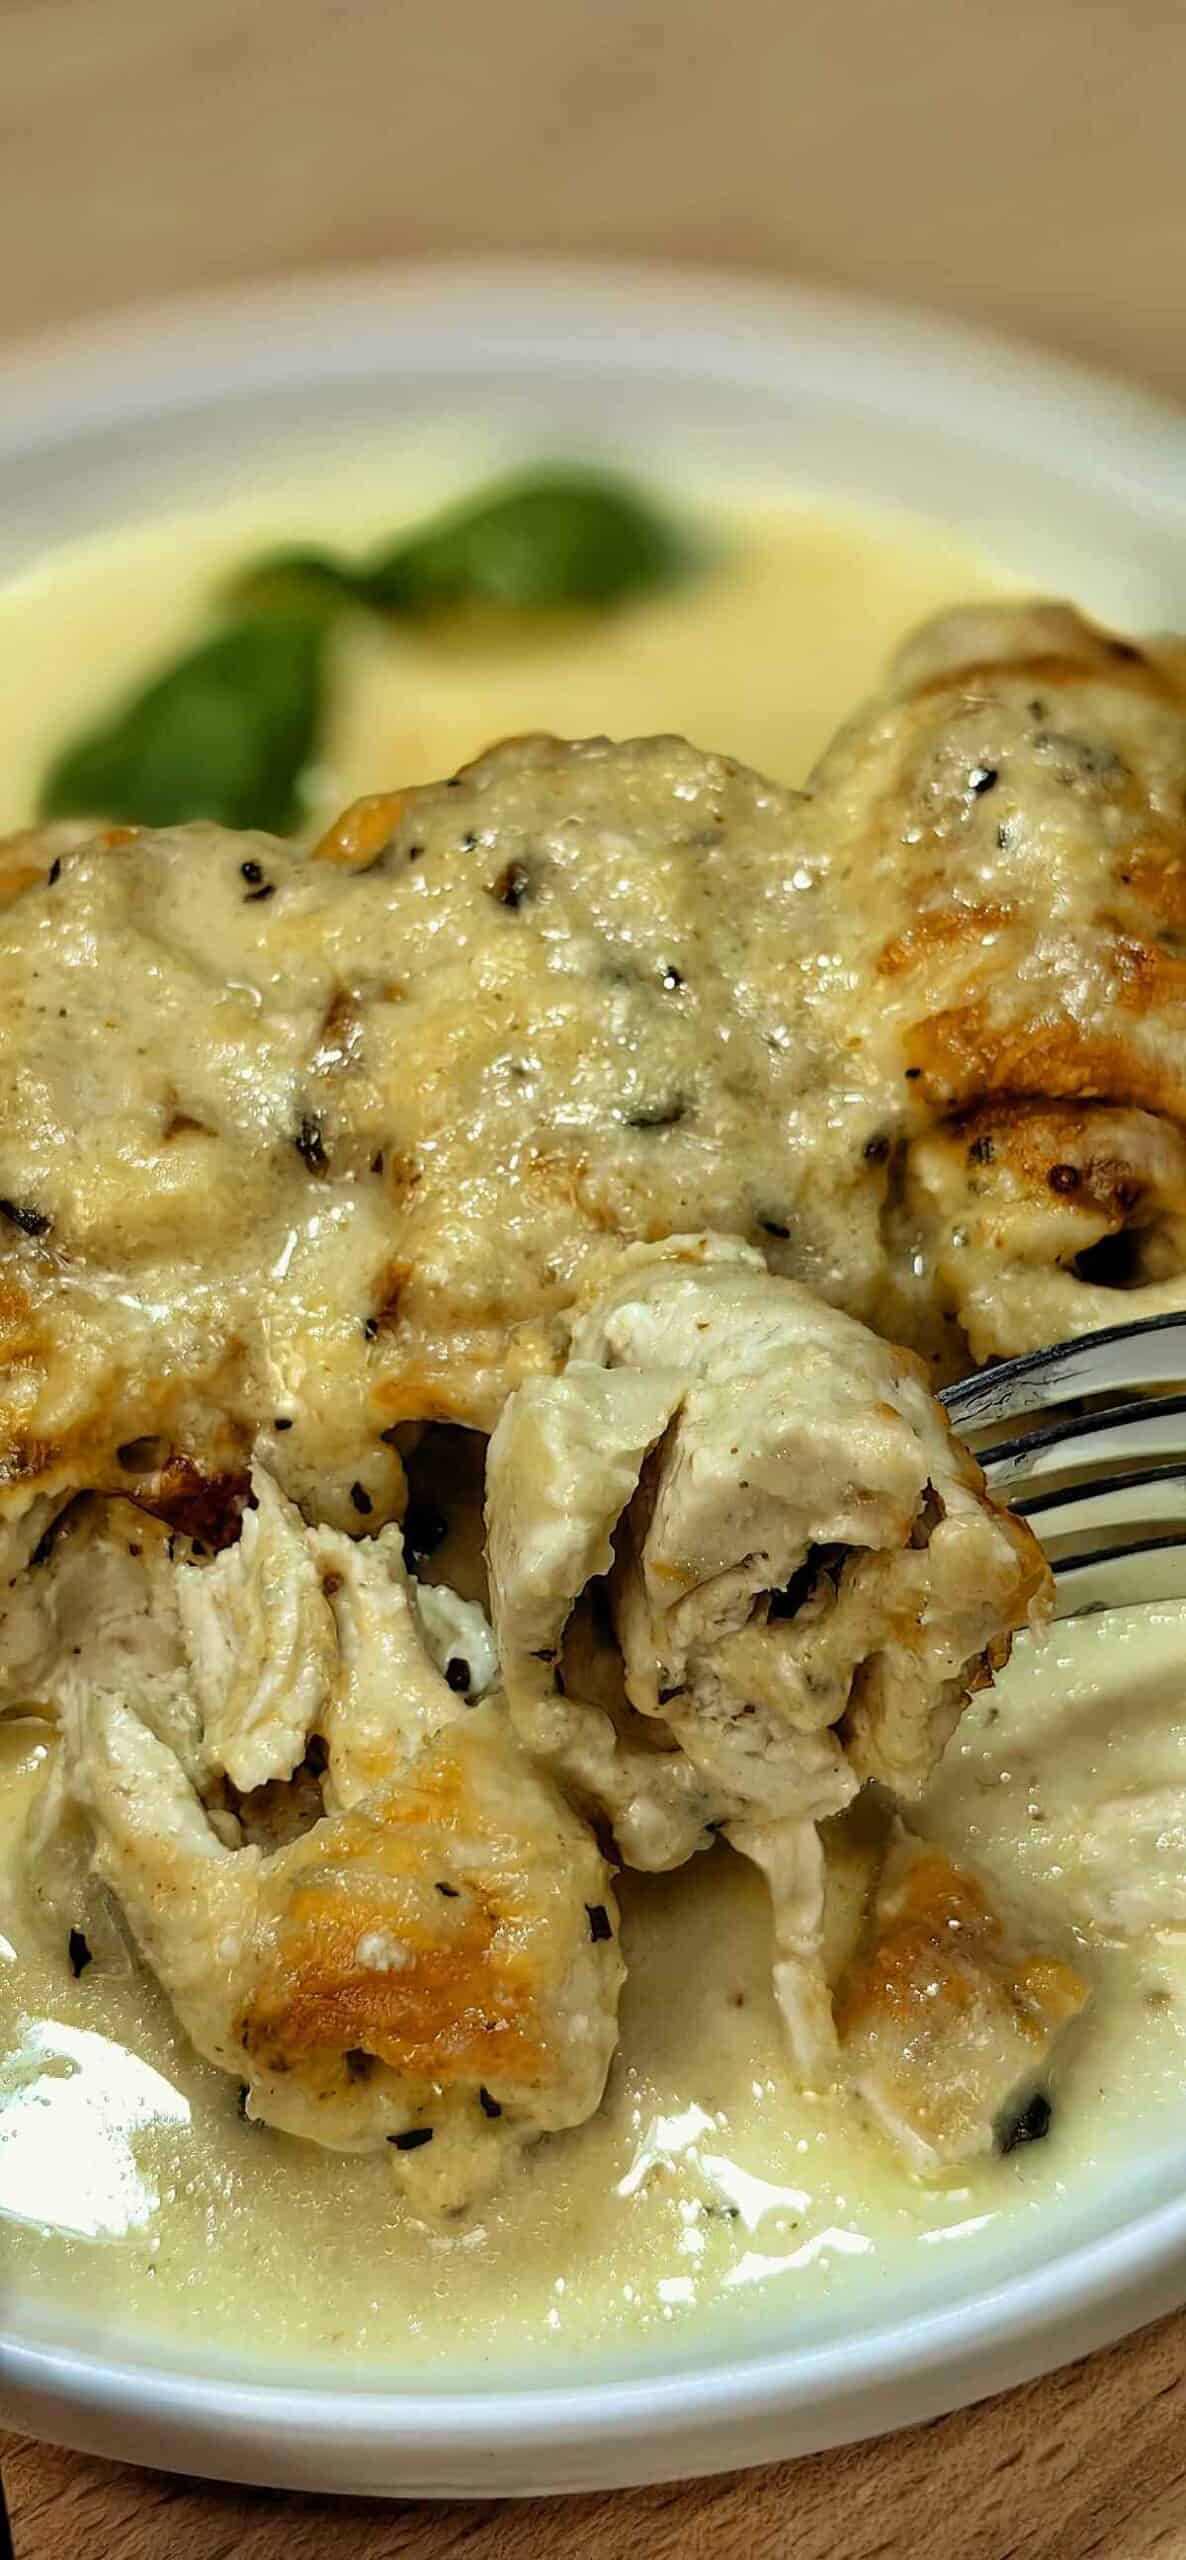
Get ready to have your taste buds dance with joy—and prepare to be the dinner hero when you serve up these irresistible spirals of deliciousness.
Jump to:
Video Tutorial
Ingredients
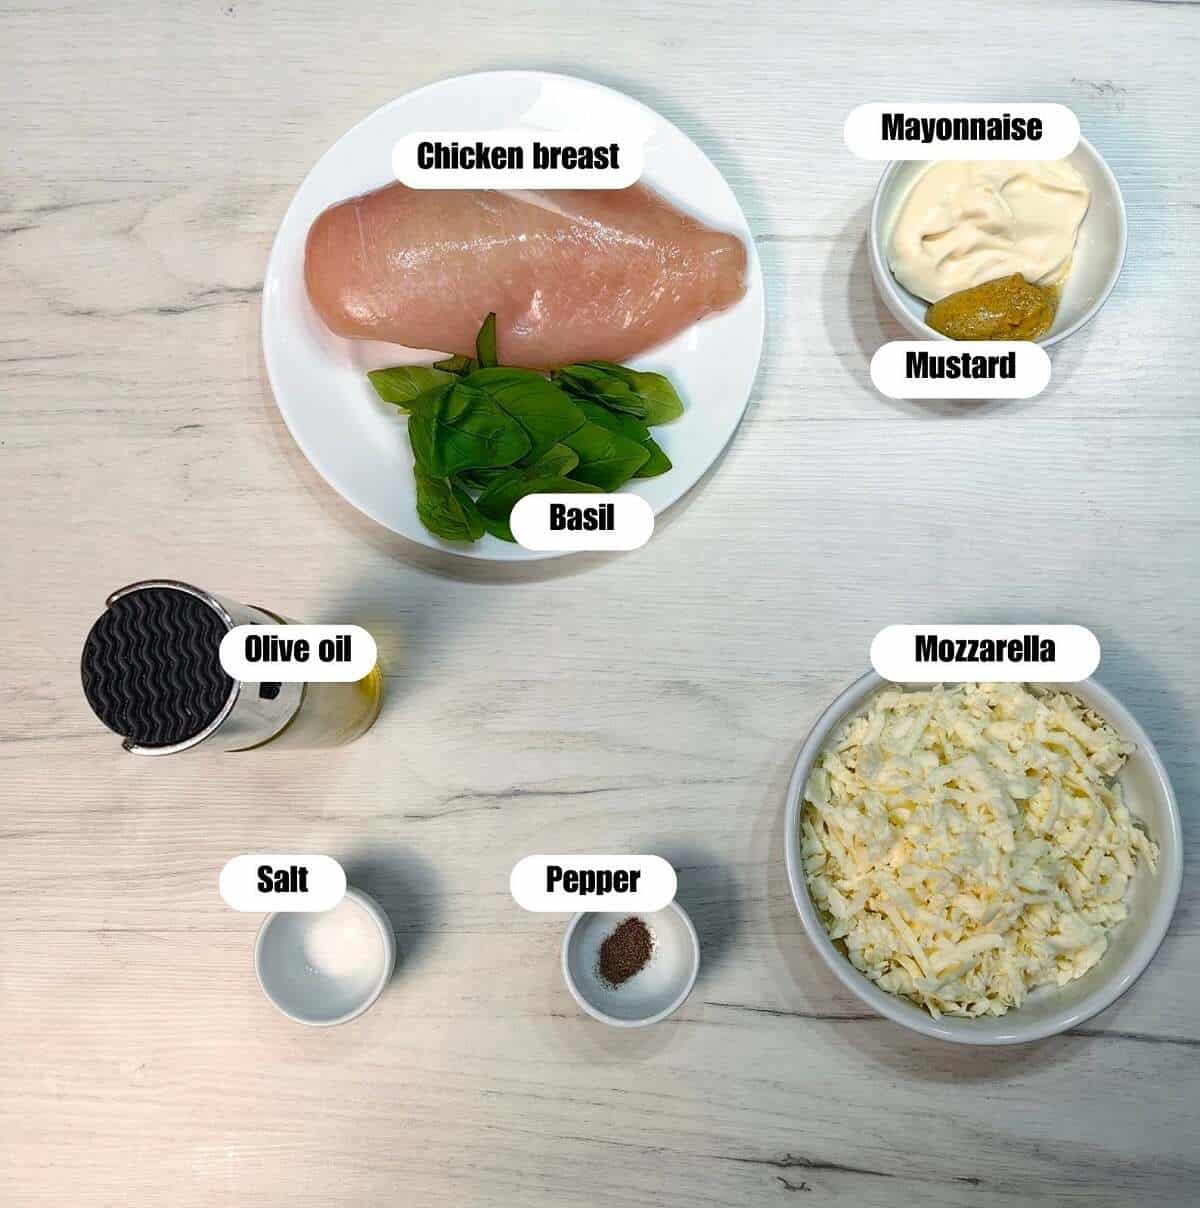
- Chicken breast
- 2 tablespoons mayonnaise
- 1 teaspoon mustard
- 2 tablespoons fresh basil, chopped
- 4 tablespoons mozzarella cheese
- Olive oil (to taste)
- Salt (to taste)
- Pepper (to taste)
Kitchen Tools and Equipment Needed
- Air fryer
- Knife
- Cutting board
- Mixing bowl
- Meat mallet
- Plastic wrap
- Baking dish
- Serving platter
How To Make Stuffed Chicken Breast in Air Fryer
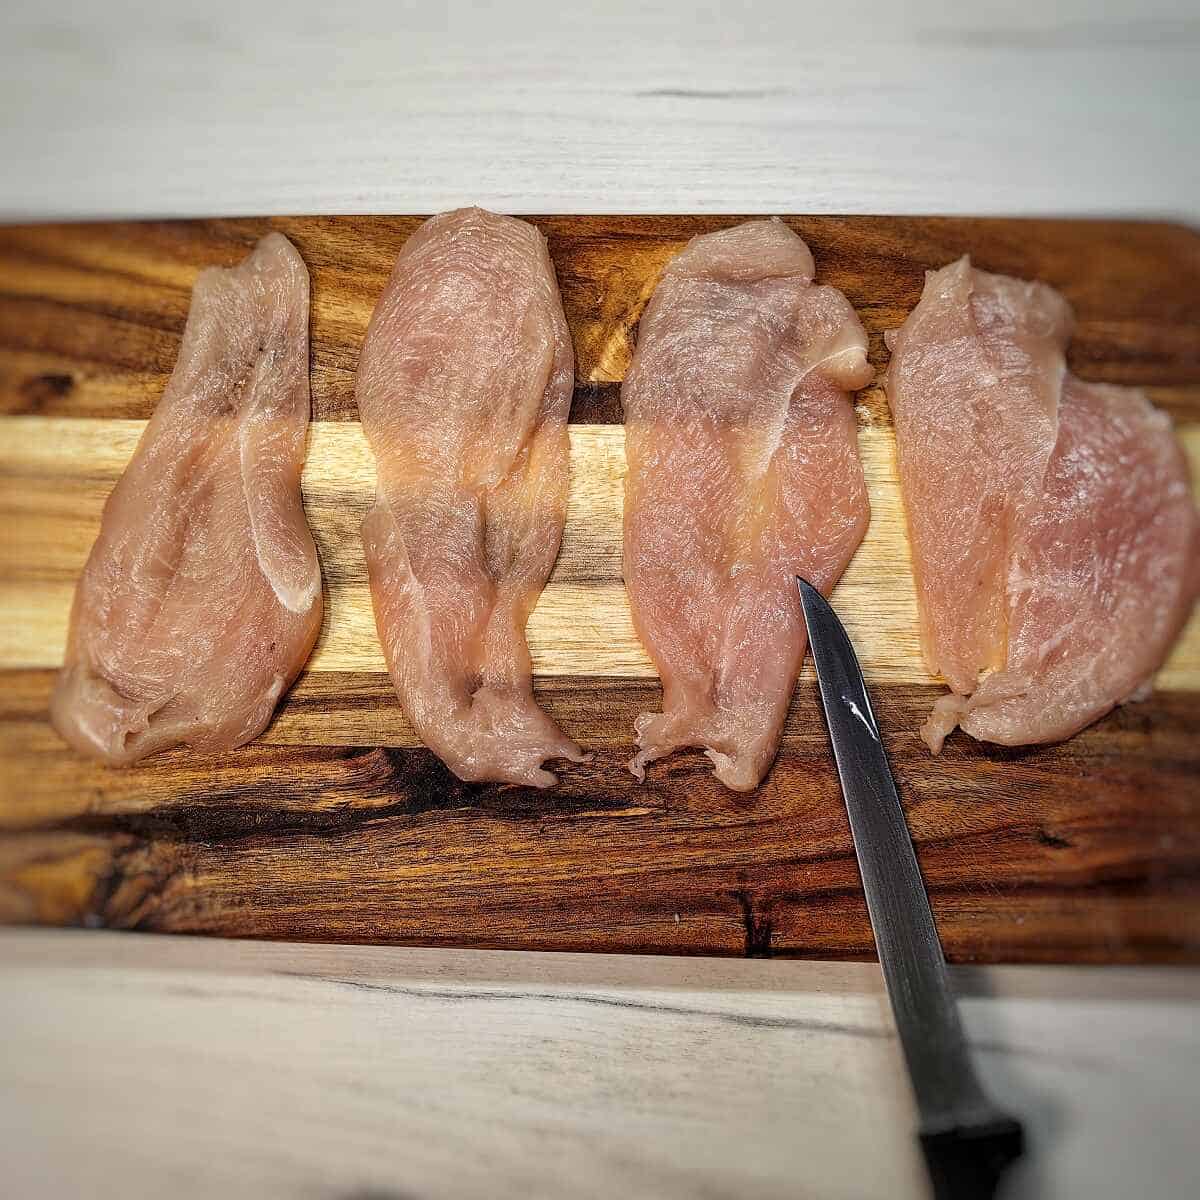
Divide the chicken breasts into four equal parts. On a cutting board, slice each breast horizontally to create two thinner slices, and then slice these once more for even smaller pieces.
Tip: Don't fuss over exact sizes; they'll cook evenly in the end.
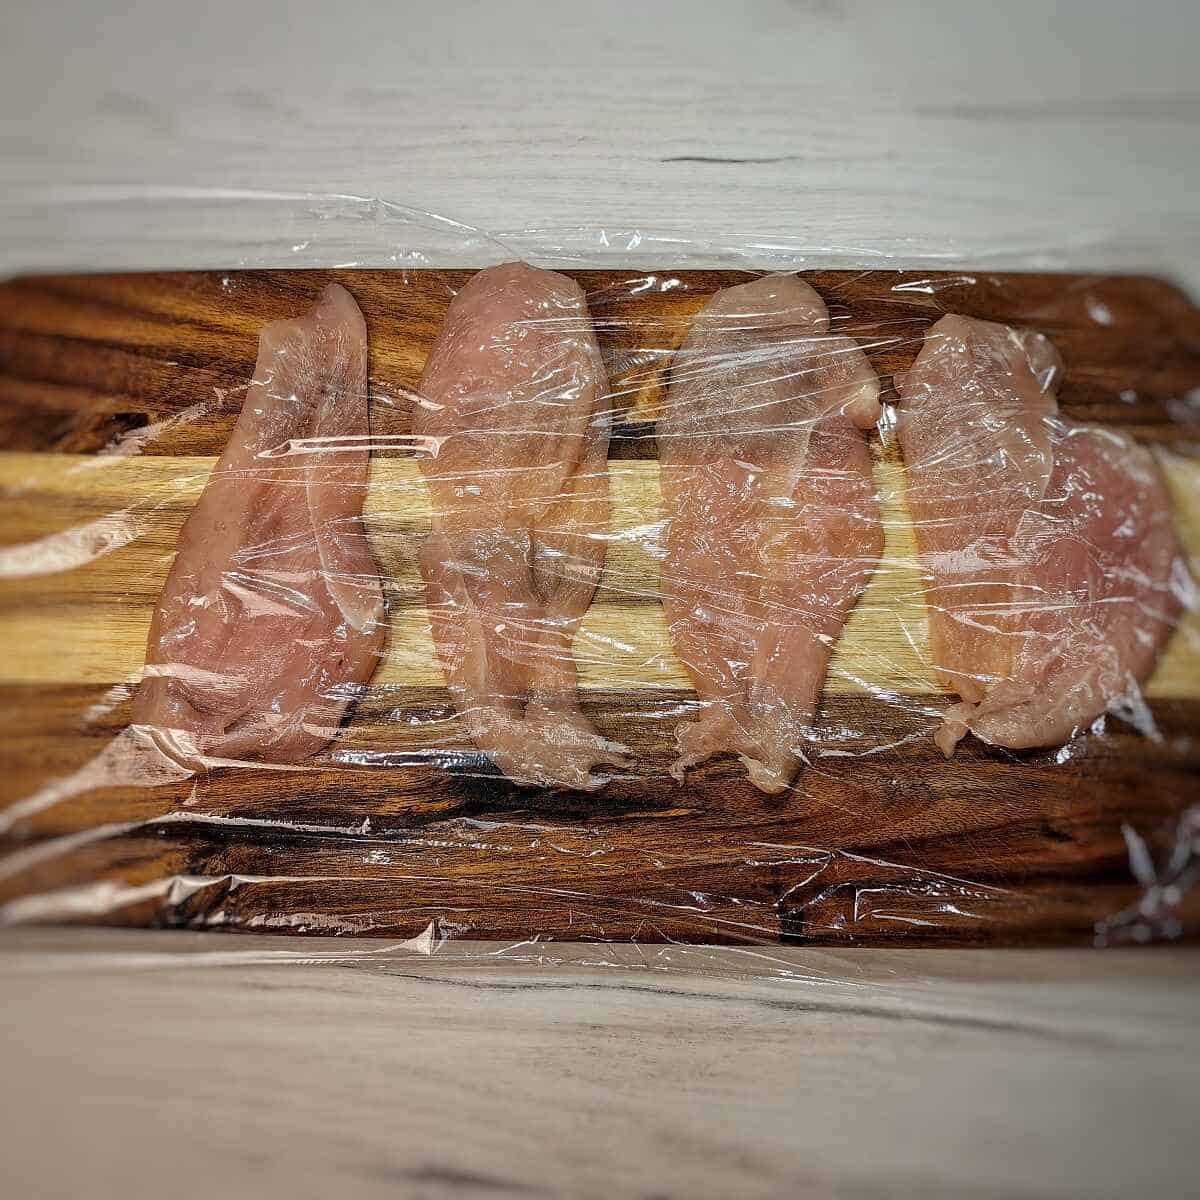
Place the chicken on your board, cover with plastic wrap, and lightly pound them out to an even thickness.
Mix together the mayonnaise, mustard, and chopped basil in a mixing bowl. Add a pinch of salt and pepper, stirring until it's all smoothly combined.
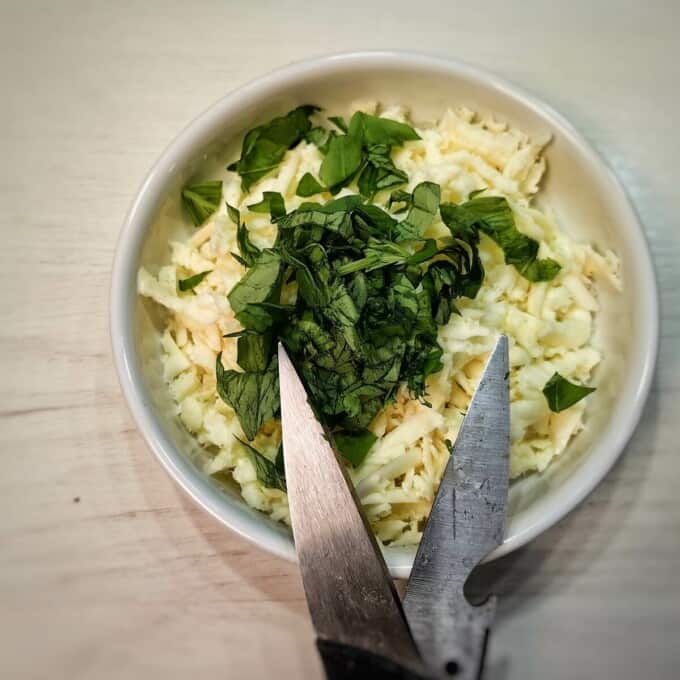
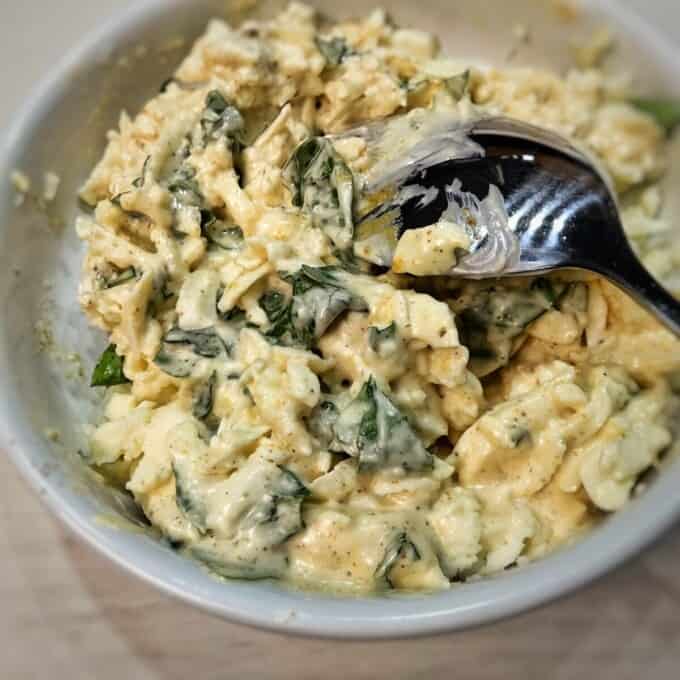
Take this herby mixture and spread it onto each chicken piece. Roll each one tightly and put them in a baking dish.
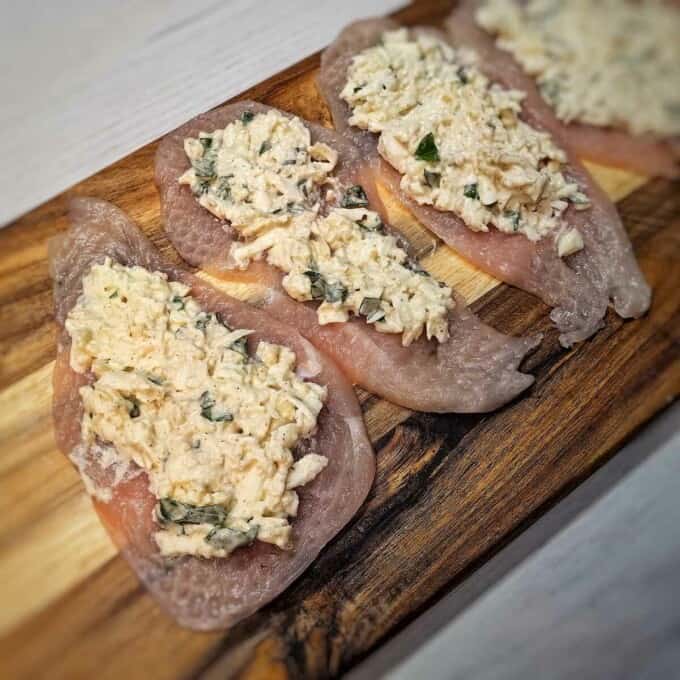
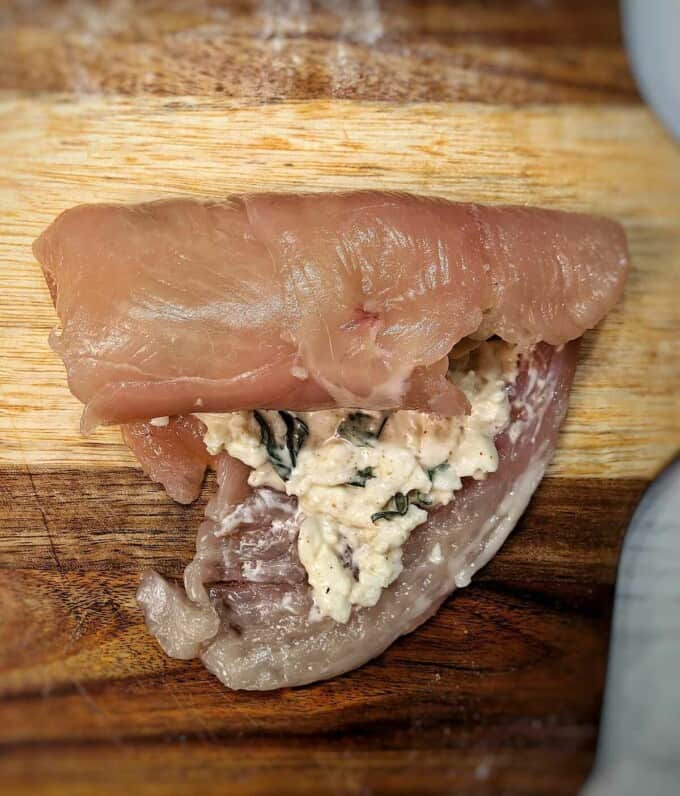
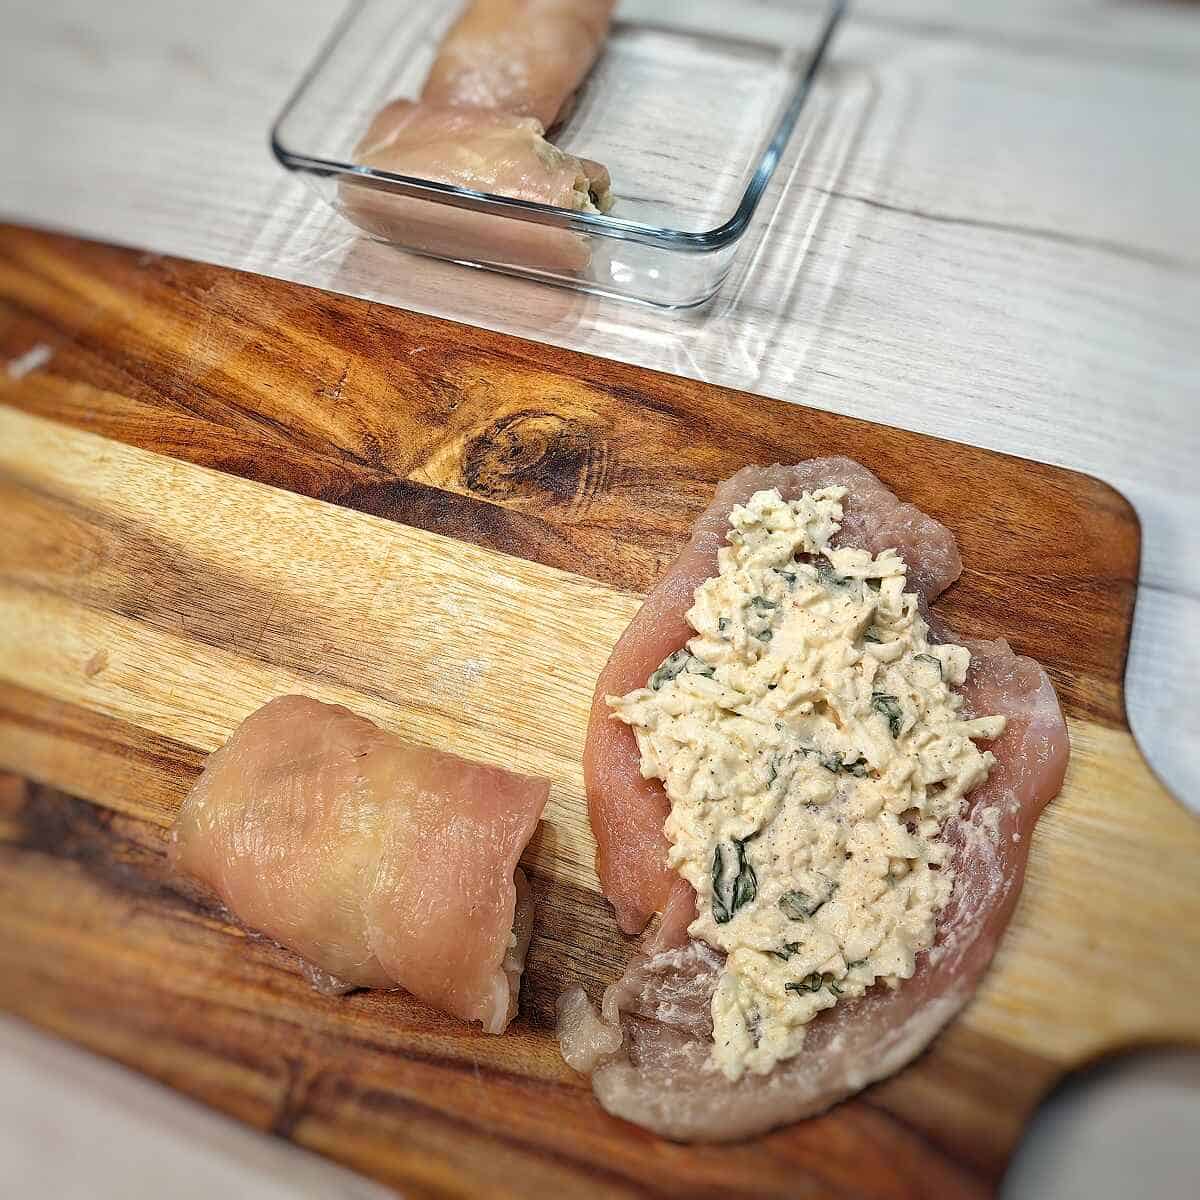
Preheat your air fryer to 360ºF (180ºC). I use the Instant Vortex Plus XL.
Put the chicken roll-ups in the basket of the air fryer. You can drizzle them with a little olive oil or give them another brush of the mayo mix for more flavor.
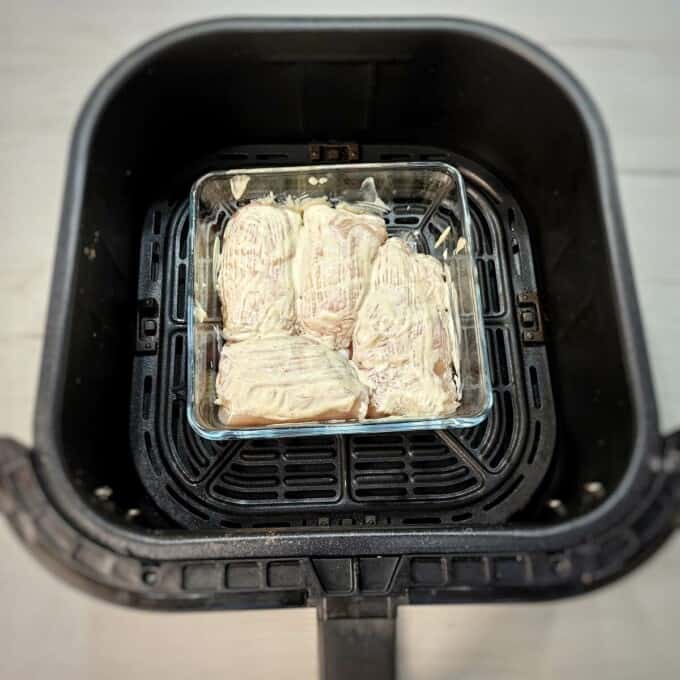
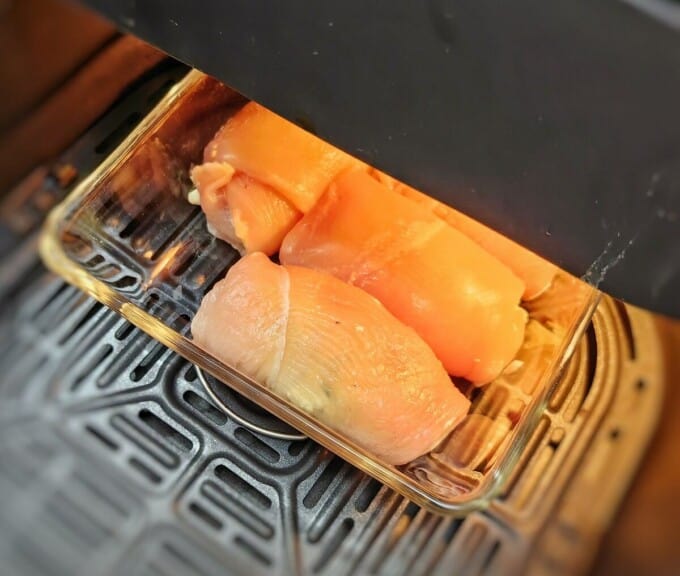
Air fry for about 20 minutes. The chicken should cook quickly and reach an internal temperature of 144°F (62°C).
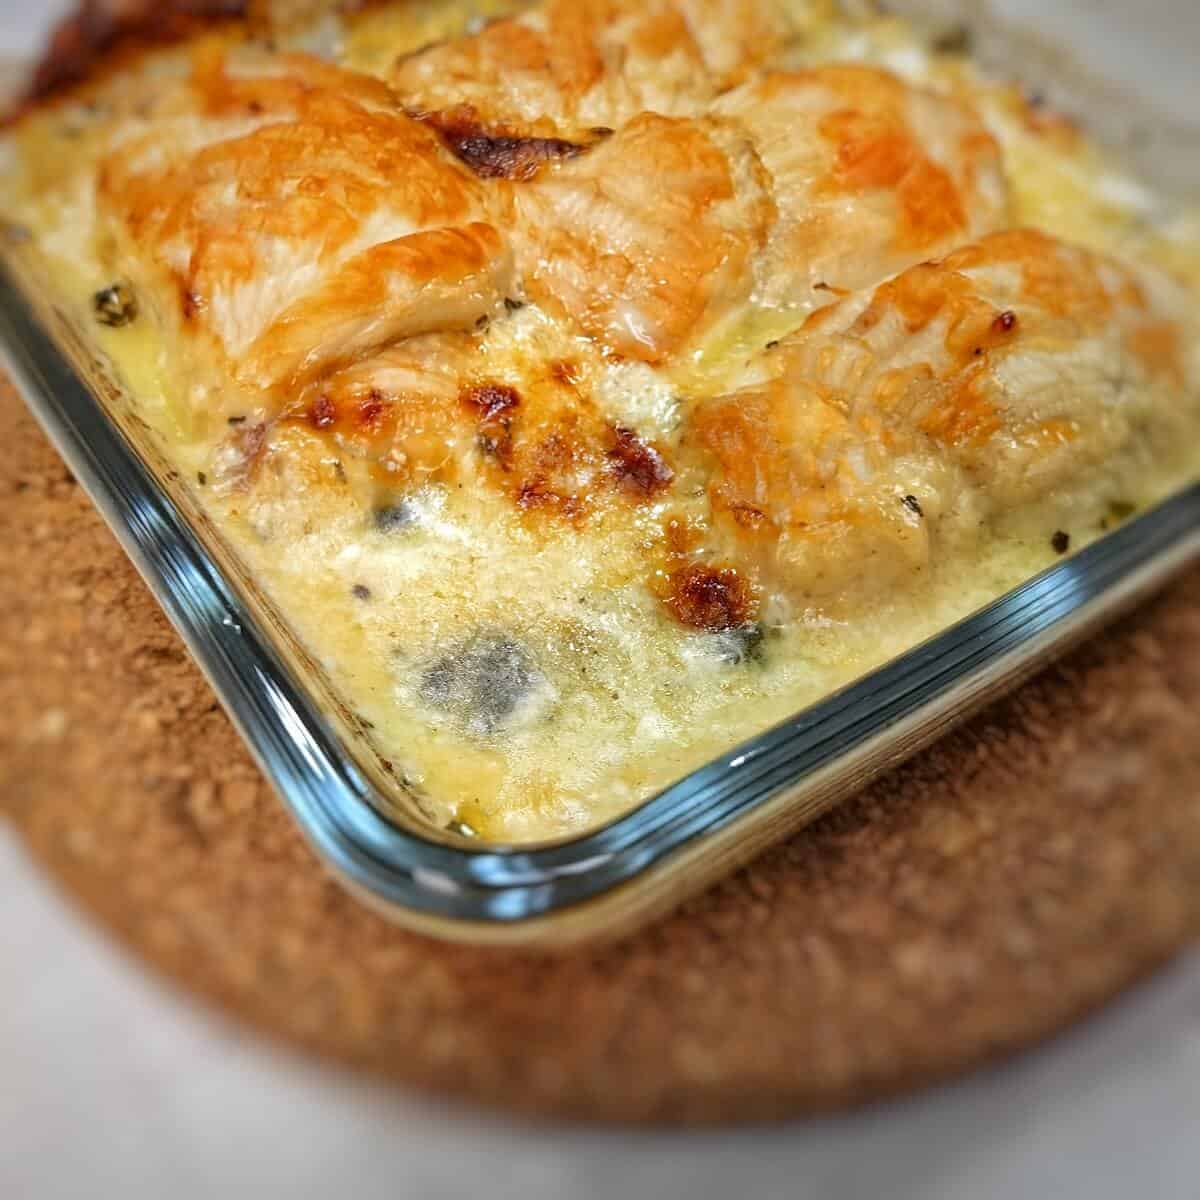
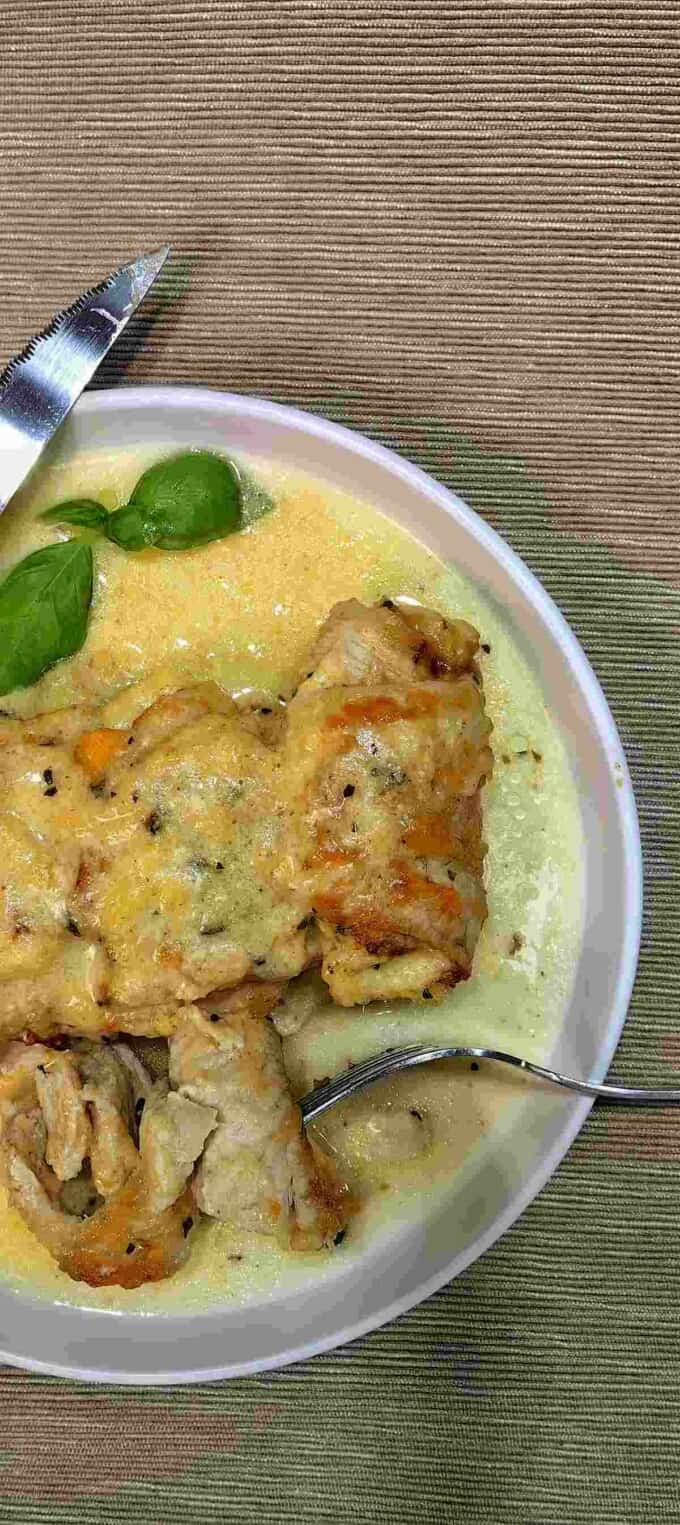
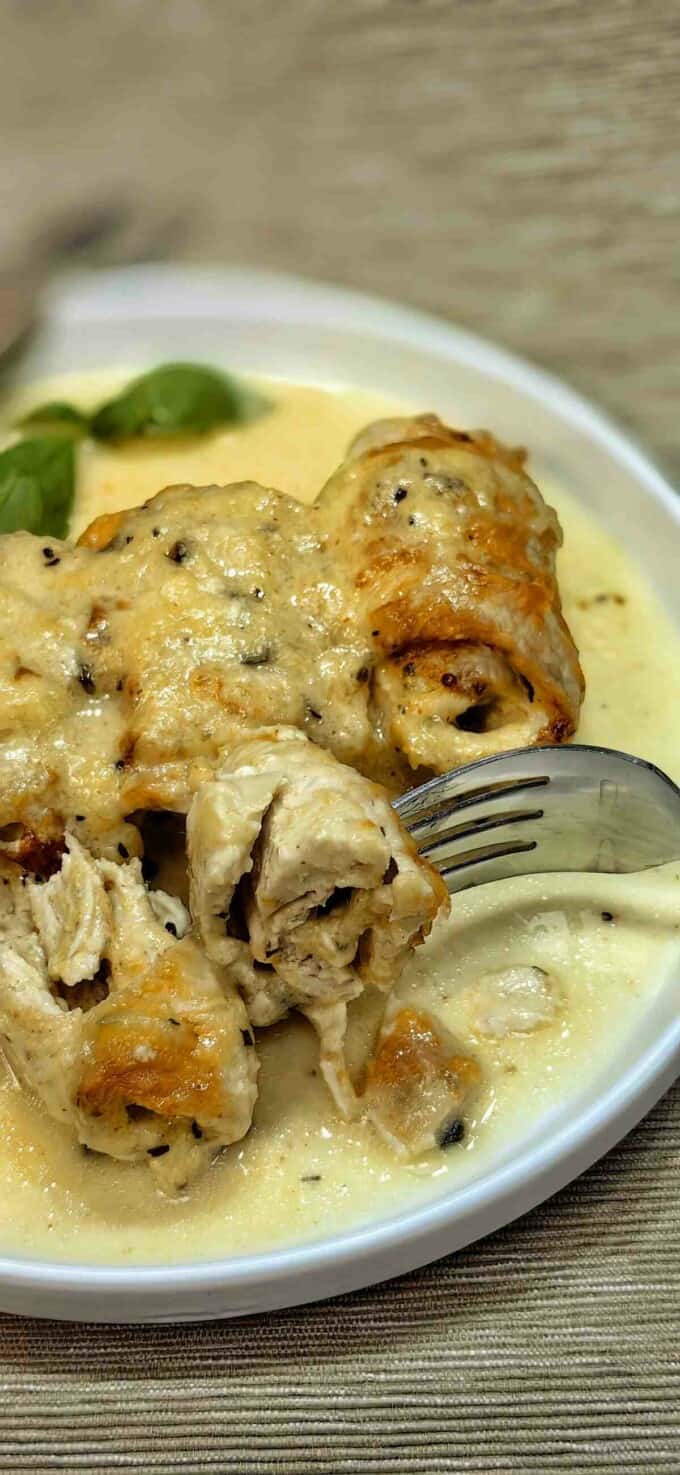
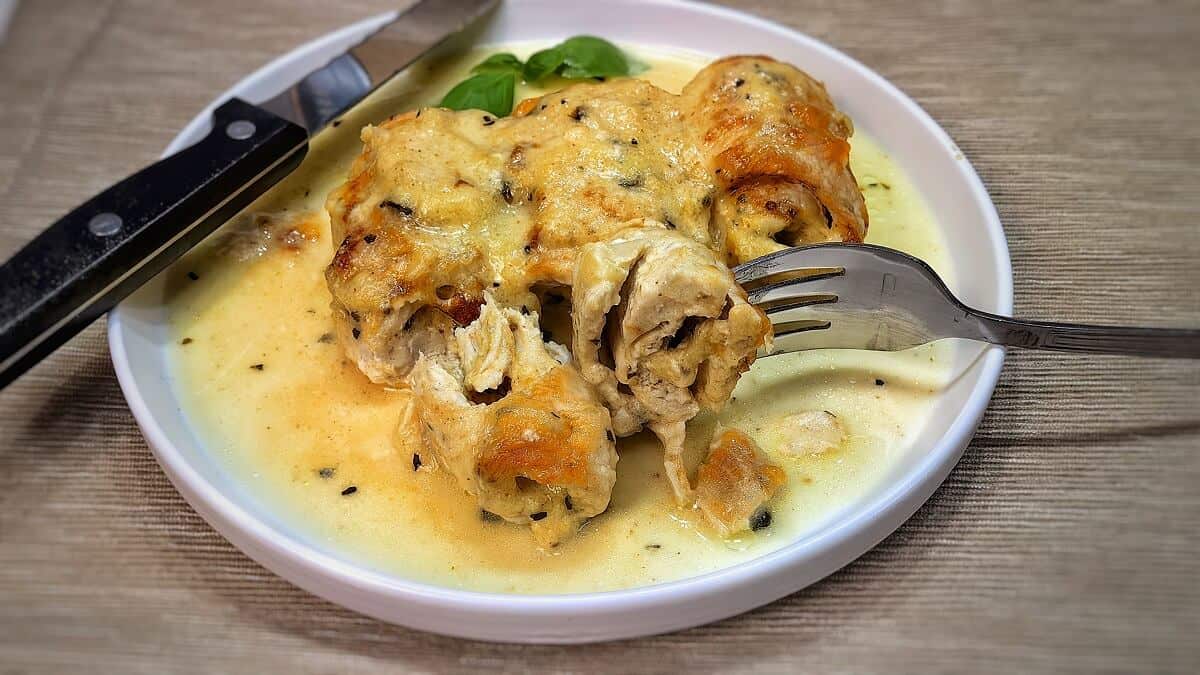
When they're done, the roll-ups will be juicy and flavorful. Place them on a serving dish, spoon over any of the sauce that's come out, and they're ready to enjoy.
Serving Recommendations
- Pair these chicken roll-ups with a light, crisp salad to balance the richness of the mozzarella and mayonnaise.
- Serve atop a bed of fluffy rice or alongside roasted or steamed vegetables for a hearty meal.
- A tangy dipping sauce such as ranch or a spicy aioli can add an extra kick of flavor.
- For a low-carb option, accompany with zucchini noodles or cauliflower mash.
Recipe Variations and Substitutions
- Swap out the mayonnaise for Greek yogurt if you're looking for a lighter, tangier alternative.
- Basil can be replaced with spinach or arugula for a different green twist.
- Try different cheeses like cheddar for a sharper taste or pepper jack for a bit of spice.
- For those who don’t eat chicken, thinly sliced turkey breast makes a great substitute.
Leftover Storage
Storing leftovers is simple. Once the roll-ups have cooled, place them in an airtight container. They'll keep in the refrigerator for up to three days.
When you're ready to eat them again, reheat the roll-ups in the air fryer or oven until they're warmed through. The air fryer is particularly good at restoring the crispness to the outer layer.
If you must use a microwave, cover them lightly to keep the chicken from drying out.
Pro Tips for Success
- Ensure your chicken breasts are pounded to an even thickness to promote uniform cooking.
- Don't overfill the roll-ups; keep the filling proportional to avoid it spilling out during cooking.
- For a golden and crispy exterior, make sure to brush the roll-ups with olive oil before air frying.
- Use a meat thermometer to check that the internal temperature reaches 144°F (62°C) to ensure they are cooked perfectly.
- Allow the roll-ups to rest for a few minutes after cooking for the juices to redistribute, making the chicken moist and flavorful.
FAQs about Air Fryer Chicken Breast Roll-Ups
To keep chicken breast from drying out in an air fryer, it's essential to not overcook it. Always use a meat thermometer to ensure the chicken reaches the safe internal temperature of 165°F (74°C) without going over.
The cooking time for a chicken roll in an air fryer will generally take about 20 to 25 minutes at 360°F (180°C). However, this can vary based on the size and thickness of the chicken rolls. It's best to start checking for doneness around the 20-minute mark to avoid overcooking.
Absolutely! Preheat your oven to 375°F (190°C) and bake for 25 to 30 minutes, or until the chicken is thoroughly cooked and the juices run clear. Keep an eye on them to ensure they don't overcook and become dry.
It's not recommended to cook chicken roll-ups from frozen as they can cook unevenly, leading to a potential food safety issue. For best results, thaw your chicken roll-ups in the refrigerator overnight before air frying or baking to ensure even cooking and optimal texture.
To keep chicken roll-ups moist after cooking, allow them to rest for a few minutes before serving. This rest period lets the juices redistribute throughout the chicken. Also, avoiding overcooking by checking the internal temperature can help prevent dryness.
Yes, you can use toothpicks to secure the chicken roll-ups before cooking. Just make sure to insert them sideways and not too deeply, so they're easy to remove after cooking. Remember to count how many you've used and ensure they are all removed before serving.
As your culinary guide, I've shared with you the secrets to crafting delectable air fryer chicken breast roll-ups that are sure to entice your taste buds.
Whether you're a seasoned chef or a kitchen newbie, these roll-ups will elevate your home-cooked meals with ease and flair. Don't forget to browse our blog for more air fryer recipes that promise to simplify your cooking adventures while impressing your guests.
Have you tried this recipe? We'd love to hear from you!
Please leave a comment and let us know how it turned out or share your own twist on this classic dish. Your feedback is what keeps our kitchen inspired!
You Might Also Like:
Quick and Easy Air Fryer Turkey Breast Recipe
Juicy Air Fryer Chicken Breast Recipe
Asian-Style Chicken Drumsticks in Air Fryer Recipe
Recipe
Air Fryer Stuffed Chicken Breast Roll-Ups
Equipment
- Air Fryer
- Knife
- Cutting board
- Mixing bowl
- Meat mallet
- Plastic wrap
- Baking dish
- Serving platter
Ingredients
- 1 chicken breast
- 2 tablespoon mayonnaise
- 1 teaspoon mustard
- 2 tablespoon fresh basil (chopped)
- 4 tablespoon mozzarella cheese
- olive oil to taste
- salt and pepper to taste
Instructions
- Divide the chicken breasts into four equal parts. On a cutting board, slice each breast horizontally to create two thinner slices, and then slice these once more for even smaller pieces.Tip: Don't fuss over exact sizes; they'll cook evenly in the end.
- Place the chicken on your board, cover with plastic wrap, and lightly pound them out to an even thickness.
- Mix together the mayonnaise, mustard, and chopped basil in a mixing bowl. Add a pinch of salt and pepper, stirring until it's all smoothly combined.
- Take this herby mixture and spread it onto each chicken piece. Roll each one tightly and put them in a baking dish.
- Preheat your air fryer to 360ºF (180ºC).
- Put the chicken roll-ups in the basket of the air fryer. You can drizzle them with a little olive oil or give them another brush of the mayo mix for more flavor.
- Air fry for about 20 minutes. The chicken should cook quickly and reach an internal temperature of 144°F (62°C).
- When they're done, the roll-ups will be juicy and flavorful. Place them on a serving dish, spoon over any of the sauce that's come out, and they're ready to enjoy.
You can find the video in the post above. If you don't see a video, please check your browser settings.
Leave a Reply