

Learn how to make this basic homemade marshmallows recipe from scratch. I was honestly surprised at how light, fluffy, and completely different they tasted compared to store-bought ones
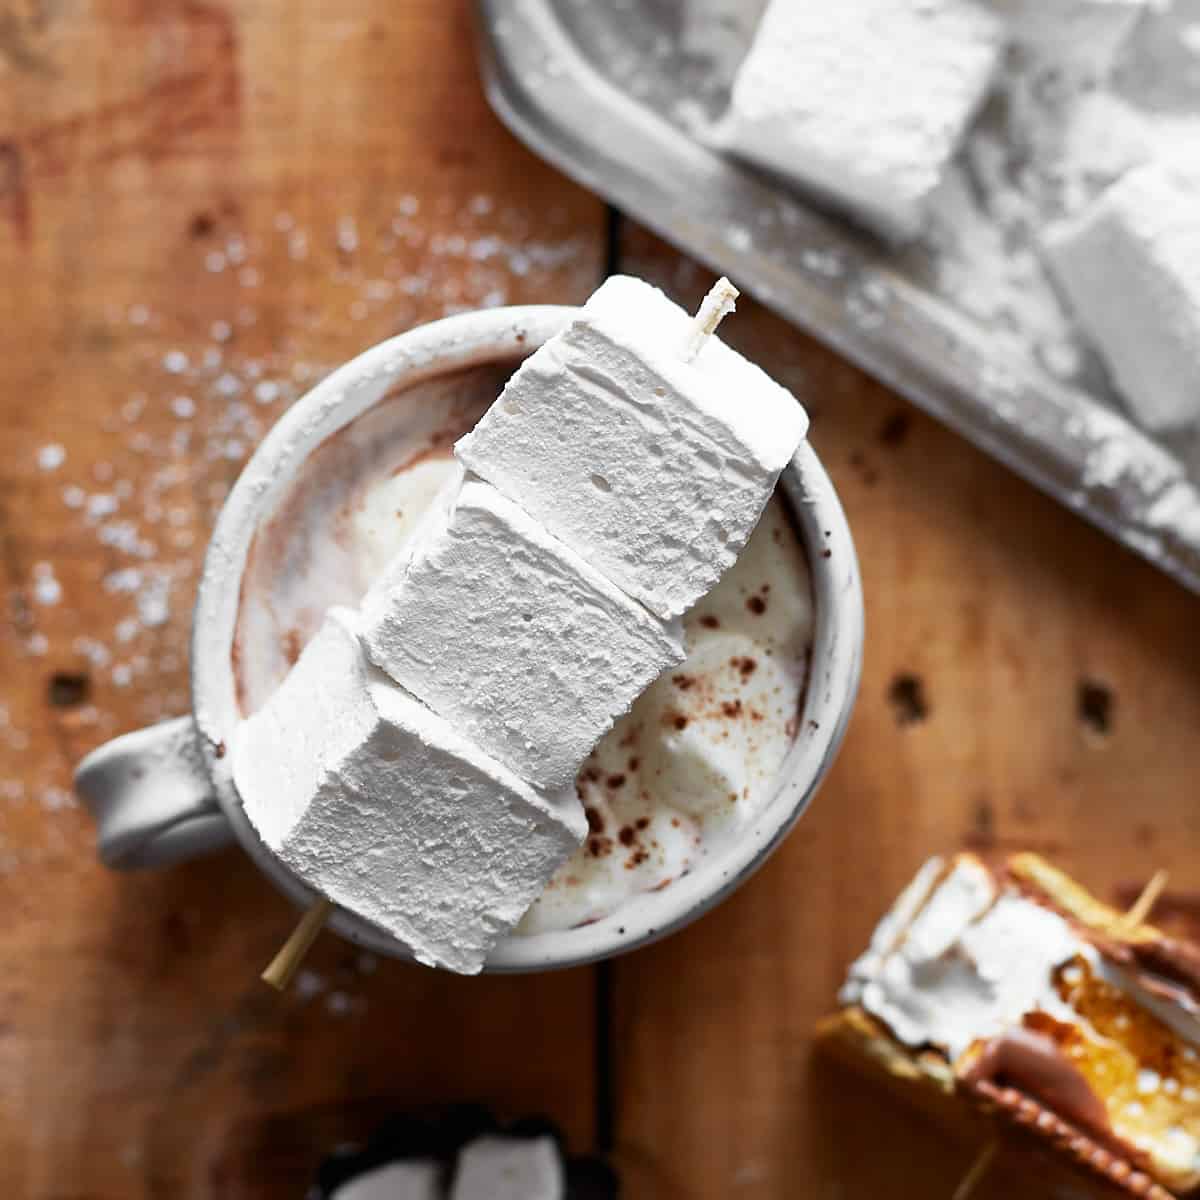
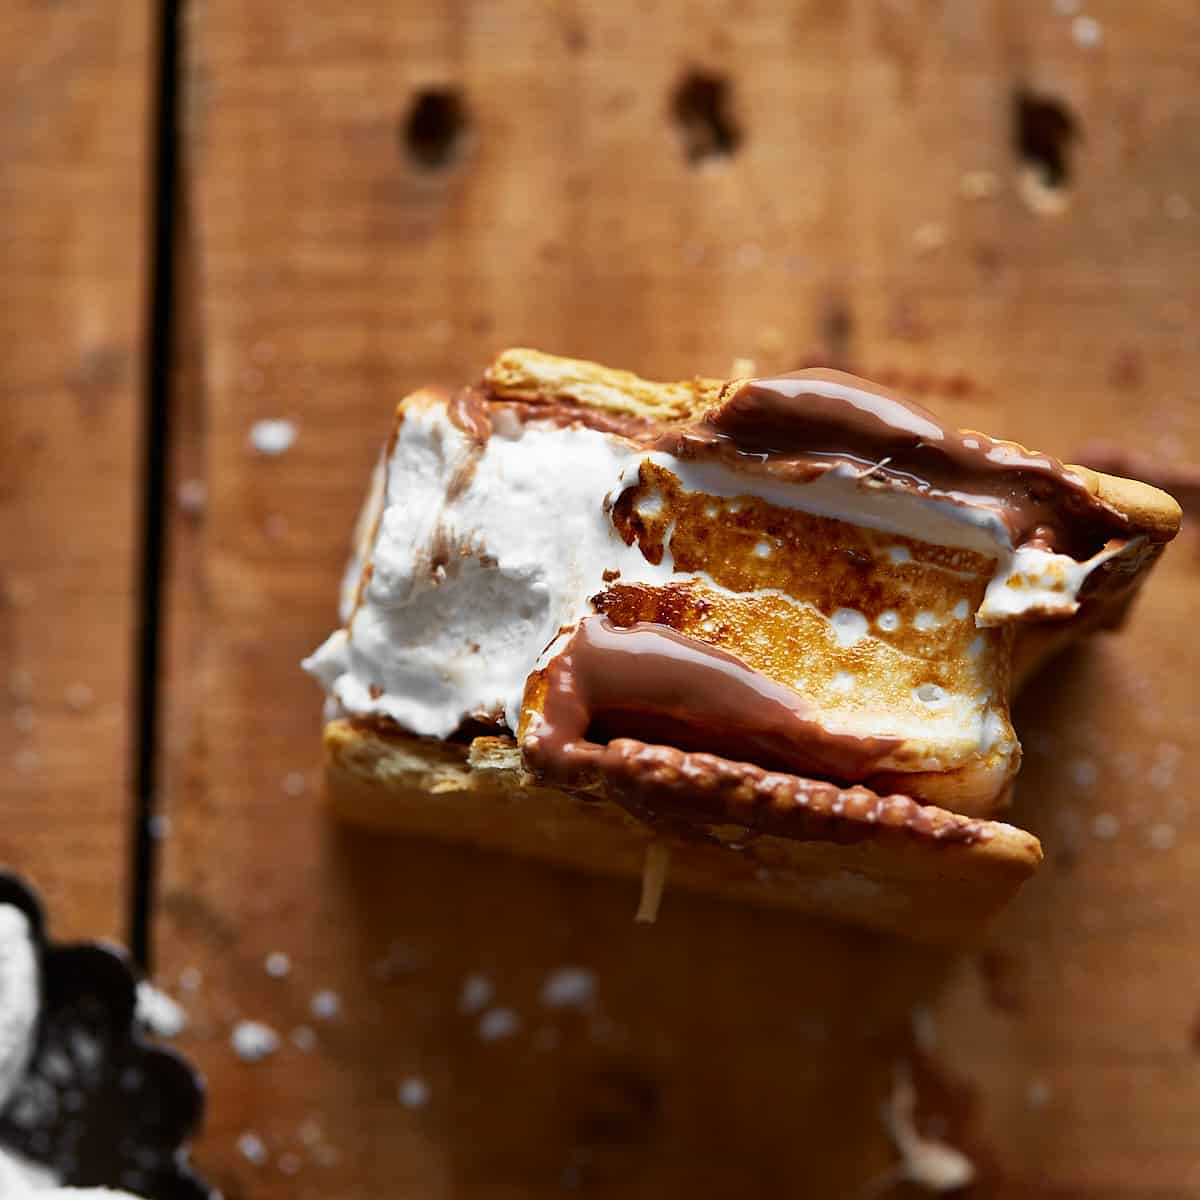
These spongy and sticky treats are also perfect for making s'mores, as a topping for a cup of hot chocolate, or use them for making s'mores cookies.
Jump to:
Video Instructions
Try These Homemade Marshmallows
There’s something really satisfying about cutting into a soft, pillowy slab of marshmallow and seeing that perfect texture inside.
I love using this homemade marshmallows recipe in hot chocolate, s’mores, or just eating them as they are—they’re that good.
Why You’ll Love It
- From scratch: I really enjoy making these because I know exactly what’s going into them, and creating something like this from scratch instead of just opening a packet is so appealing.
- Perfect Texture: The texture is honestly what makes these worth it for me—soft, airy, slightly bouncy, and nothing like store-bought marshmallows. Once you try these, it’s hard to go back to purchasing them.
- Fun to make: I still find it a bit magical watching the mixture go from a clear hot syrup to a thick, fluffy marshmallow. Plus, kids can help you with the fun!
- Versatile: I use these for everything—hot chocolate, s’mores, dessert boards, or even just as a sweet snack. They also make really nice little gifts if you package them up properly.
Ingredients
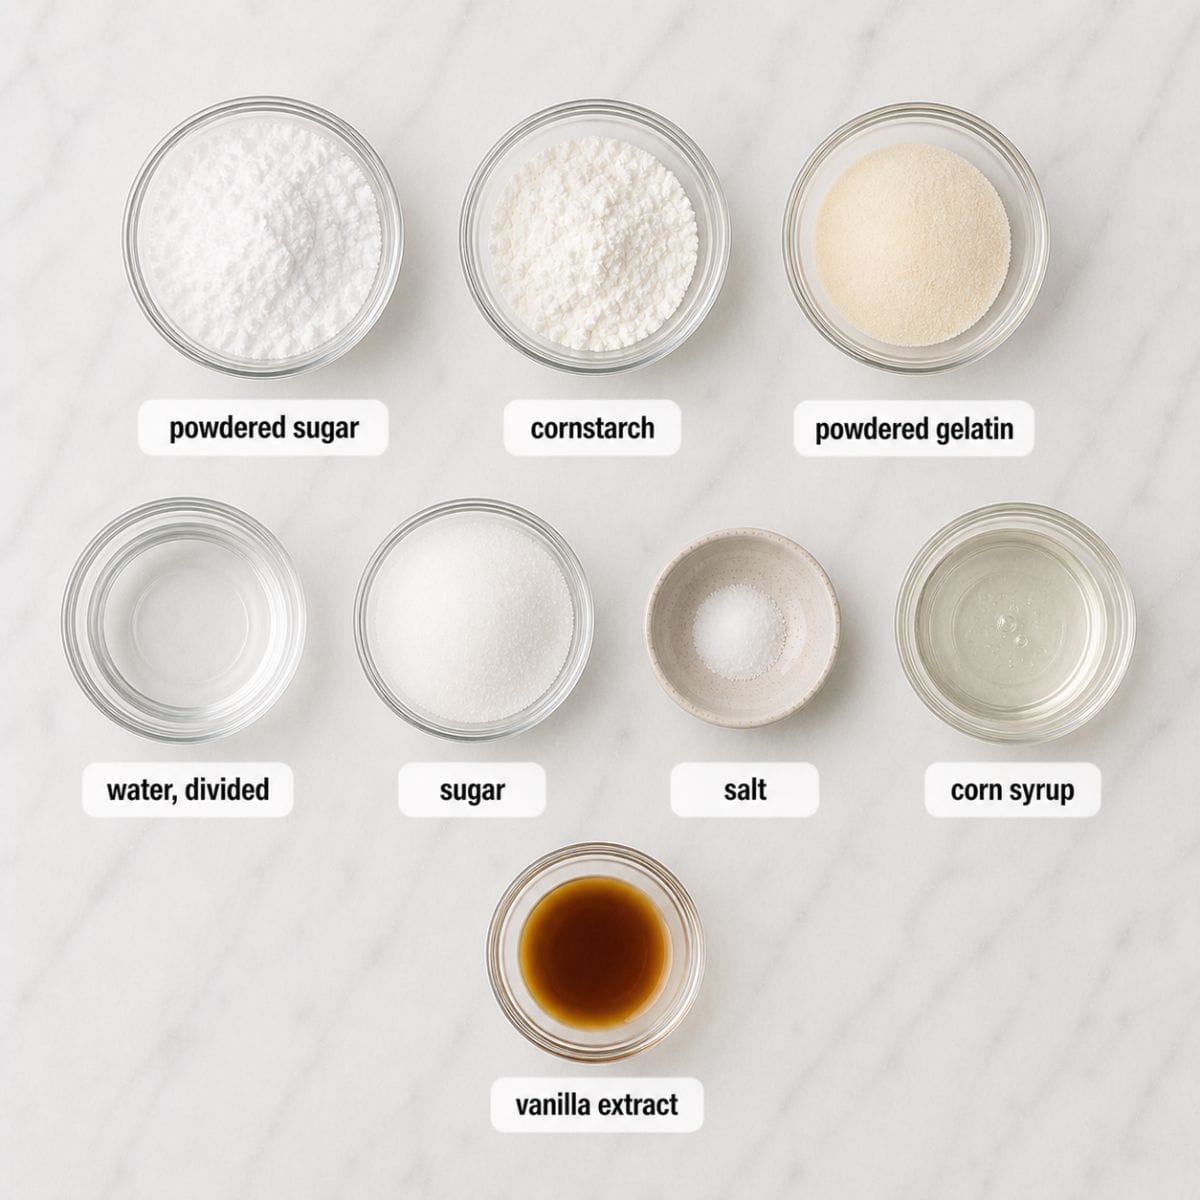
- Gelatin: This is what gives marshmallows their structure. I wouldn’t swap it—without it, you lose the right bounce.
- Sugar & corn syrup: These create the base of the hot syrup. They’re essential for the right sweetness and texture.
- Powdered sugar & cornstarch: This mixture stops sticking and makes cutting easier. I always coat generously.
- Vanilla: Adds that delicious marshmallow flavor. You can change this, but I love keeping it simple.
- Water: Helps everything dissolve and come together smoothly.
How to Make Marshmallows From Scratch
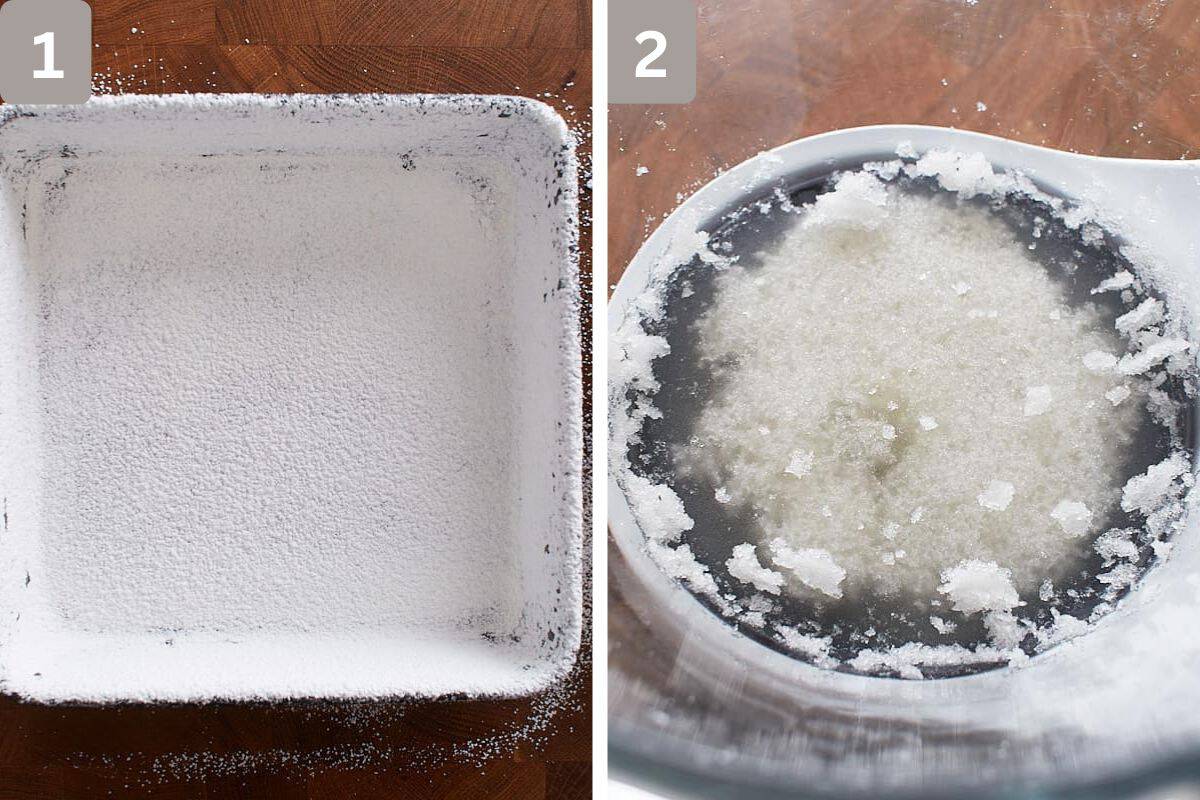
1. Lightly grease an 8-inch (20cm) or 9-inch (23cm) square baking pan. Then, in a small bowl, combine the powdered sugar and cornstarch and generously sift about one-quarter of the cornstarch mixture into the pan to cover the bottom and the sides completely.
2. In a large bowl, using an electric stand mixer fitted with a whisk attachment, whisk together the gelatin and ½ cup (120 ml) of the water. Let it stand with a lid on until the sugar syrup is done cooking.
3. In a large saucepan over medium-low heat, combine the remaining ½ cup (120 ml) of water, sugar, salt, and corn syrup, and bring to a low boil (simmer) without stirring. Cook the mixture without stirring at any time until it reaches 240°F (116°C), softball stage, about 15 minutes. Use a candy thermometer to check the temperature.
4. Once the syrup has reached the required temperature, immediately remove it from the heat and pour it into the dish of bloomed gelatin. Start whisking at low speed and steadily increase the speed to high speed within the first 30 seconds.
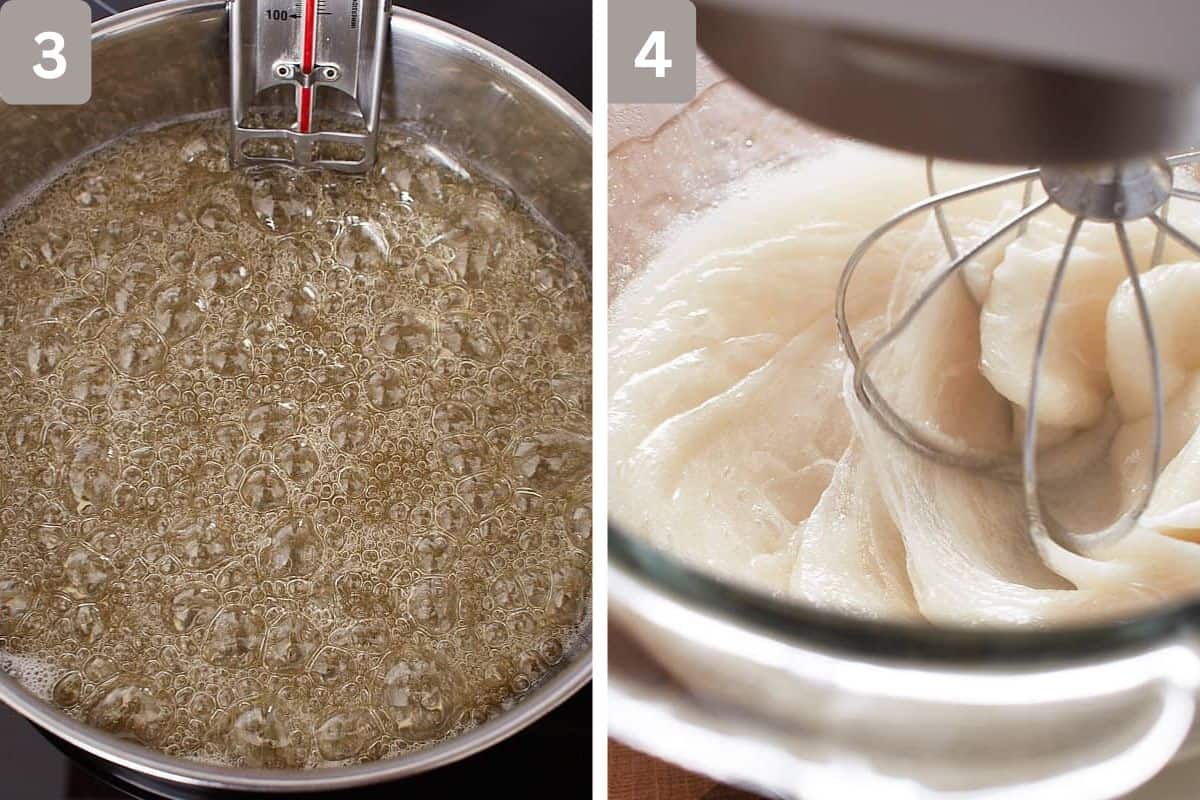
5. Whisk until it is very thick, multiplied several times in size, and still warm to the touch; this takes 6 to 10 minutes.
6. Then add the vanilla and whisk just until incorporated, about 30 seconds.
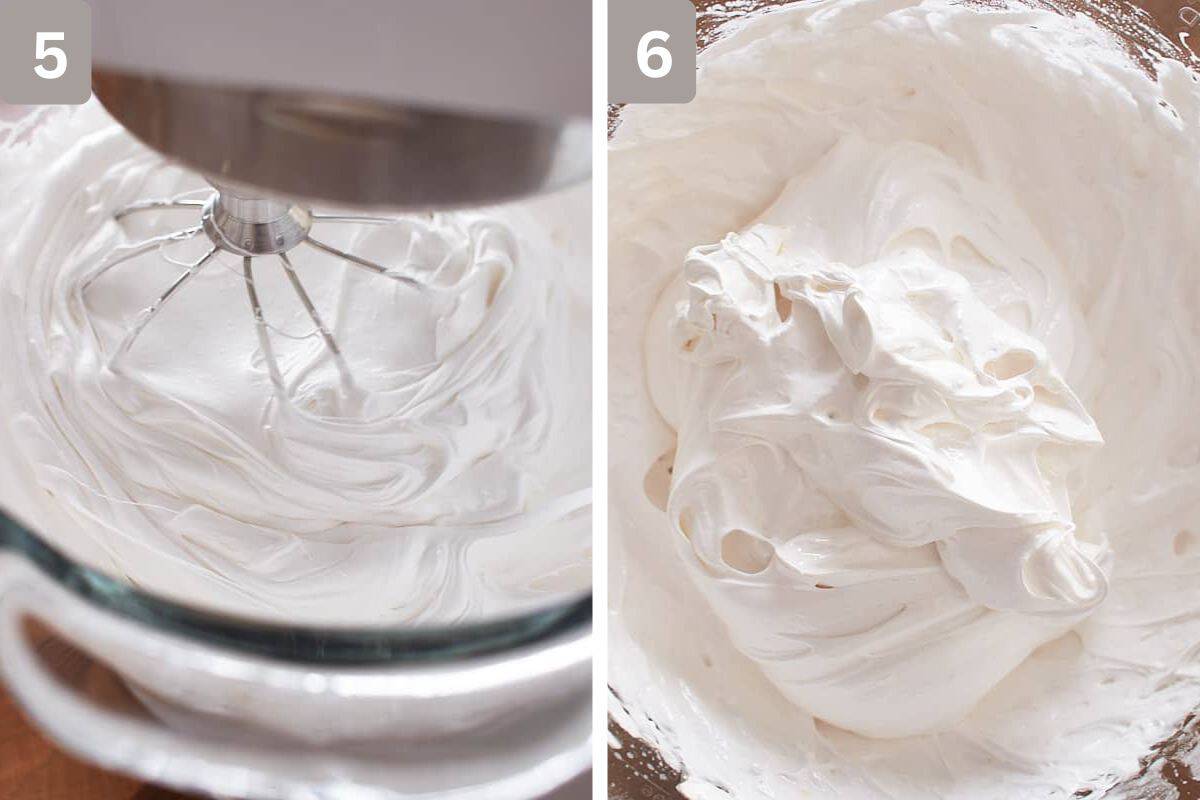
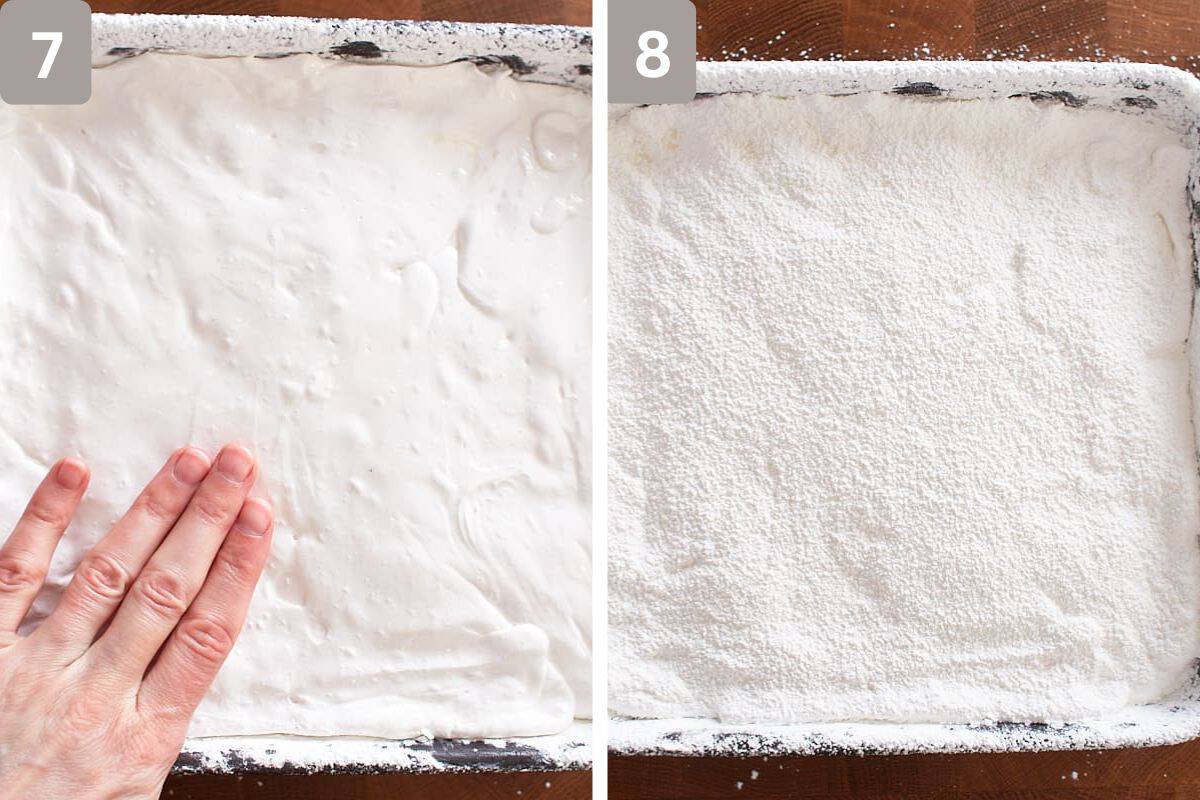
7. Lightly oil a rubber spatula, and using the oiled spatula, quickly transfer the whipped sugar mixture to the prepared pan. Then, oil your hands and gently even the top by pressing the sugar mixture into the pan.
8. Dust generously with about one-quarter of the powdered sugar mixture. Let it dry for at least 4 hours or overnight.
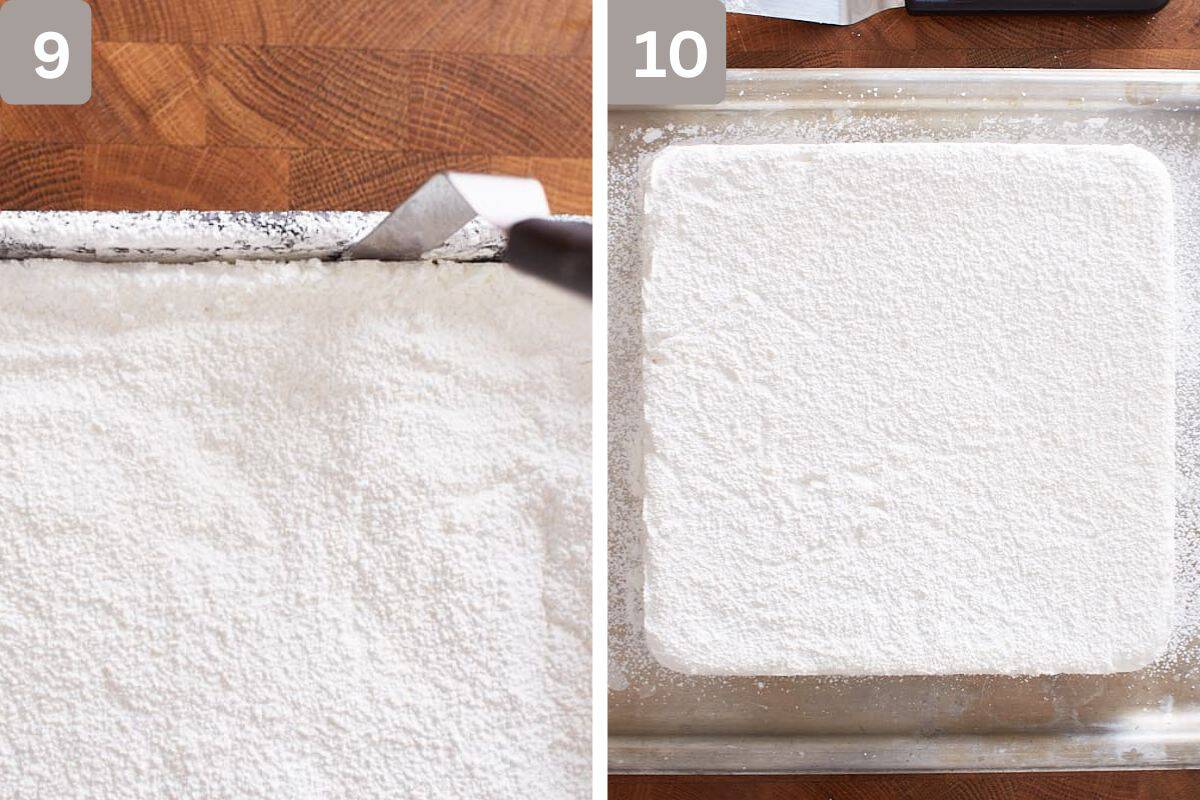
9. Run an offset spatula around the sides of the pan.
10. Then invert the pan onto a large tray or cutting board. Lightly tap the pan to release the marshmallow mixture from the pan. Dust the top of the marshmallow with one-quarter of the powdered sugar mixture and let it dry.
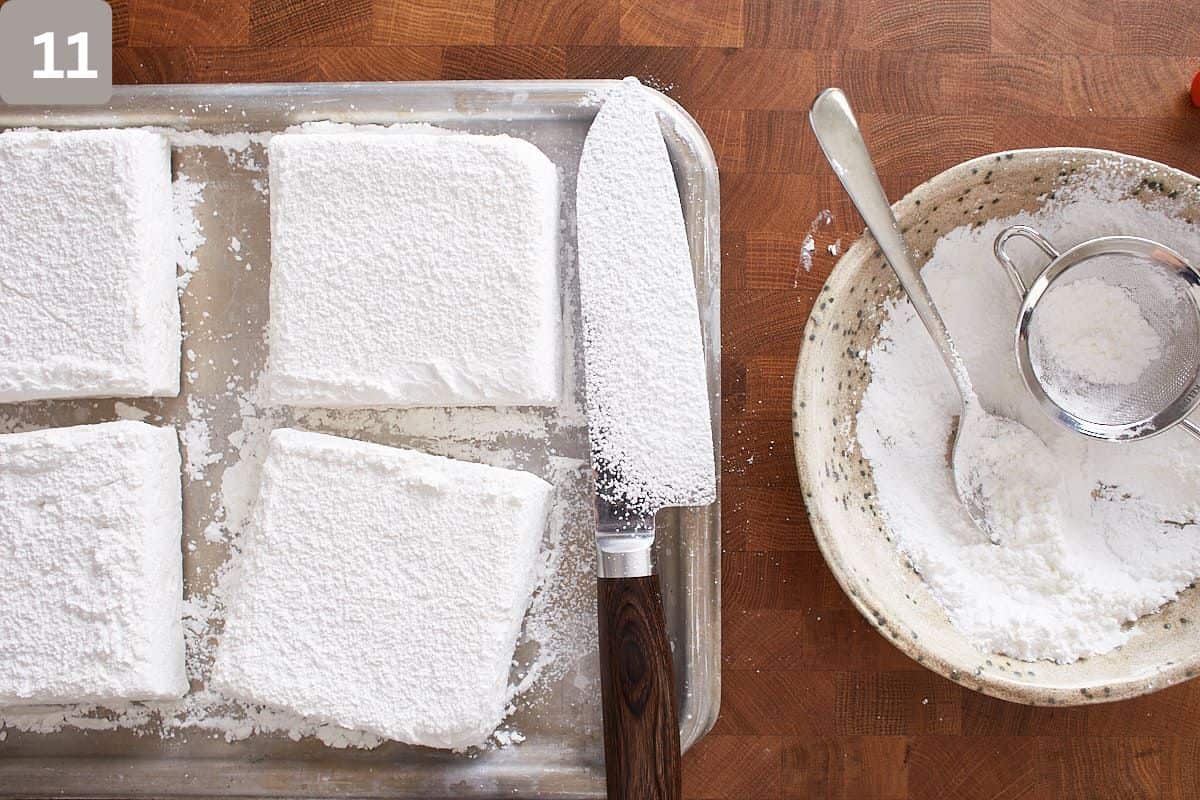
11. Dust a long, sharp knife with some of the remaining powdered sugar mixture and cut into jumbo or mini marshmallows. If you prefer giant marshmallows, cut them about 2 x 2 inches (5 x 5 cm). After each cut, dust the knife again. Then, toss the cut marshmallows in the remaining powdered sugar mixture and enjoy. Store them in an airtight container at room temperature for up to 2 weeks.
Recipe Tips
- The most important advice is that you need to resist the urge to stir the cooking sugar syrup. Add all ingredients to the pot, turn on the heat, and watch the temperature. That is all you need to do at this stage. Stirring with a whisk or wooden spoon is likely to cause the marshmallows to crystallize. That means that they wouldn't be bouncy or soft. If you notice hot spots in the pan, gently swirl the pan or reposition the pan.
- Mix long enough until the sugar mixture has multiplied several times in size. But do not overmix either. If mixed for too long, the sugar mixture cools down gradually and starts to deflate. It should still be warm to the touch when removed from the mixing bowl.
- Use oil for the spatula to remove the sugar mixture from the bowl, and oil your hands to press it into the pan.
- Generously dust the inside of the pan with powdered sugar and cornstarch so that the bottom and the sides are completely covered. Also, dust the knife between the cuts for easier cutting.
What Can You Serve With This?
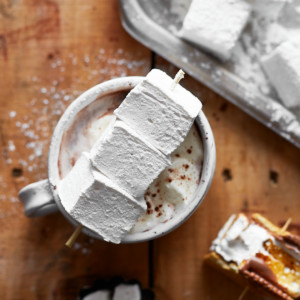
- Hot chocolate
- S’mores
- Coffee
- Dessert platters
- Fruit
FAQs
Generally, yes, because most corn starches are gluten-free. Check the label on the package to be sure whether or not the corn starch you use contains traces of gluten due to the production process.
It depends on how you define vegetarianism. Gelatin, which is used in this recipe, is a byproduct of the food industry and is definitely not vegan. But whether it is vegetarian or not isn't definite to answer since vegetarianism is not clearly defined, and there are different varieties of vegetarianism. Some vegetarians would eat gelatin, while others would not. All other ingredients of marshmallows are certainly vegetarian.
This usually happens if the syrup was stirred or sugar crystals formed. I always let it cook undisturbed and just watch the temperature.
No, this homemade marshmallows from scratch recipe doesn’t use egg whites. The texture comes entirely from gelatin and the whipped syrup.
Once the syrup reaches the right temperature, it’s ready. A candy thermometer makes this much easier.



Recipe
Homemade Marshmallows Recipe
Equipment
- 8 or 9-inch (20 or 23 cm) square baking pan
- Electric mixer attached with a whisked attachment
- Medium-sized saucepan
- Candy thermometer
- Silicone spatula
- Oil for the spatula and your hands
Ingredients
- ⅔ cup powdered sugar
- ⅓ cup cornstarch
- 0.75 oz powdered gelatin (three 0.25 oz packages)
- 1 cup water, divided
- 2 cups sugar
- ¼ teaspoon salt
- ½ cup corn syrup
- 2 teaspoon vanilla extract
Instructions
- Lightly grease an 8-inch (20cm) or 9-inch (23cm) square baking pan. Then, in a small bowl, combine the powdered sugar and cornstarch and generously sift about one-quarter of the mixture into the pan to cover the bottom and the sides completely.
- In a large bowl, using an electric mixer fitted with a whisk attachment, whisk together the gelatin and ½ cup (120 ml) of the water. Let stand until the sugar syrup is done cooking.
- In a large saucepan over medium-low heat, combine the remaining ½ cup (120 ml) of water, sugar, salt, and corn syrup, and bring to a low simmer without stirring. Cook the mixture without stirring at any time until it reaches 240°F (116°C), softball stage, about 15 minutes. Use a candy thermometer to check the temperature.
- Once the syrup has reached the required temperature, immediately remove it from the heat and pour it into the bowl of bloomed gelatin. Start whisking at low speed and steadily increase the speed to high within the first 30 seconds. Whisk until it is very thick, multiplied several times in size, and still warm to touch; this takes 6 to 10 minutes. Then add the vanilla and whisk just until incorporated, about 30 seconds.
- Lightly oil a rubber spatula, and using the oiled spatula, quickly transfer the whipped sugar mixture to the prepared pan. Then, oil your hands and gently even the top by pressing the sugar mixture into the pan. Dust generously with about one-quarter of the powdered sugar mixture. Let it dry for at least 4 hours or overnight.
- Run an offset spatula around the sides of the pan. Then invert the pan onto a large tray. Lightly tap the pan to release the marshmallows from the pan. Dust the top with one-quarter of the powdered sugar mixture and let them dry for another 4 hours.
- Dust a long, sharp knife with some of the remaining powdered sugar mixture and cut into jumbo or mini marshmallows. If you prefer giant marshmallows, cut them about 2 x 2 inches (5 x 5 cm). After each cut, dust the knife again. Then, toss the marshmallows in the remaining powdered sugar mixture and enjoy. Store them in an airtight container at room temperature for up to 2 weeks.
Notes
Cooking Time and Temperature
Cook syrup to 240°F (soft-ball stage) over medium high heat.Taste & Texture
Soft, fluffy, and slightly chewy with a smooth, airy bite.Storage, Freezing & Reheating
- Room Temp: Store in airtight container up to 2 weeks.
- Freezer: Not recommended.
- Best Served: Fresh once set.
Serving Recommendations
I love these in hot chocolate or toasted lightly for s’mores.Recipe Variations and Substitutions
Since a pillowy, spongy texture is essential for perfect marshmallows, I don't recommend any substitutions other than flavorings.- Corn syrup - I tried this recipe with golden syrup and glucose syrup, and although the results were great at first, I found that the shelf life was cut drastically, and the texture changed noticeably after a week. But if you eat them within 3 days, you can go for one of these two substitutions. Do not skip the corn syrup or invert sugar altogether because it helps to prevent the marshmallows from crystallizing.
- Gelatin - Also, replacing gelatin with agar-agar made the texture suffer, in my opinion. They were less bouncy and softer.
Flavors
- You can replace the vanilla extract with any other flavor extract. Think of butterscotch, peppermint, strawberry, etc. By the way, did you know that I published a chocolate pistachio version in my cookbook?
- Add peppermint or fruit extracts
- Color with food dye
- Make mini marshmallows
Proper Storage Tips
- Keep in an airtight container
- Separate layers with wax paper
- Avoid humidity
Pro Tips
- I never stir the syrup while it heats—this is the biggest trick to avoiding sugar crystals.
- Make sure your ingredients aren’t too cold—working closer to room temperature helps everything combine better.
- Dust everything well—your pan, knife, and even your hands—to make cutting easier.
Video
You can find the video in the post above. If you don't see a video, please check your browser settings.
Leave a Reply