

These no bake high-protein peanut butter bars are one of my favorite options when I want something filling that I can keep ready in the fridge. They’re dense, chewy, packed with peanut butter flavor, and each bar has plenty of protein without needing protein powder.
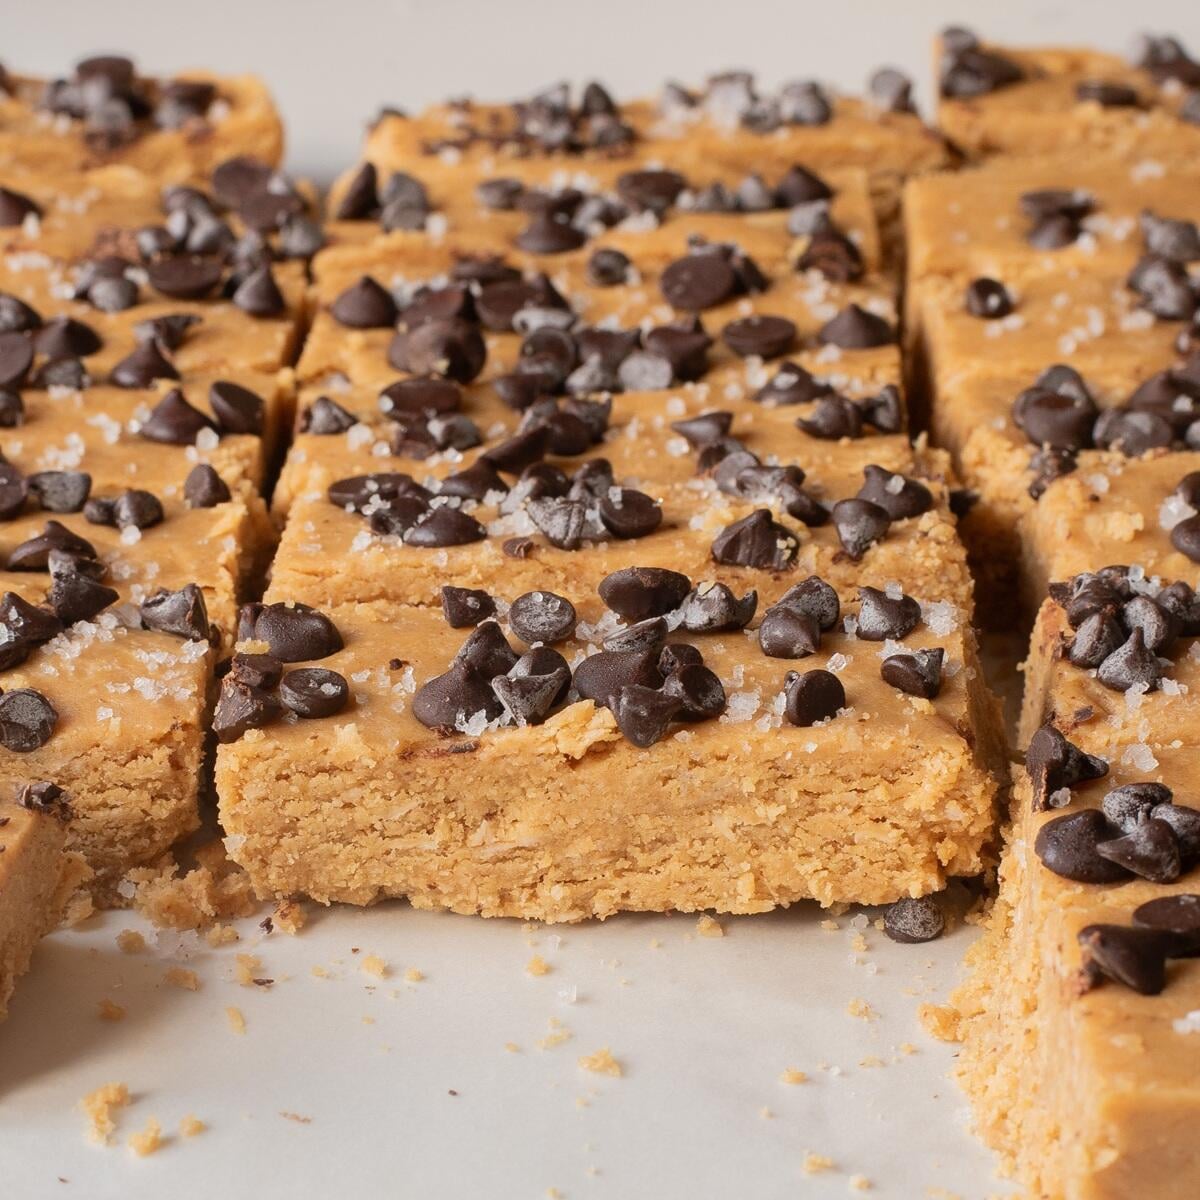
I especially love these for busy mornings or as a post-workout snack because they’re easy to meal prep and actually keep me full. If you're looking for another protein-packed option, try my Cottage Cheese Egg Bites. Keep reading to see how I get these bars firm and chewy without using protein powder.
Jump to:
Video Instructions
Try These Homemade High-Protein Peanut Butter Bars
What I really like about these bars is that the protein comes from everyday ingredients rather than a scoop of protein powder.
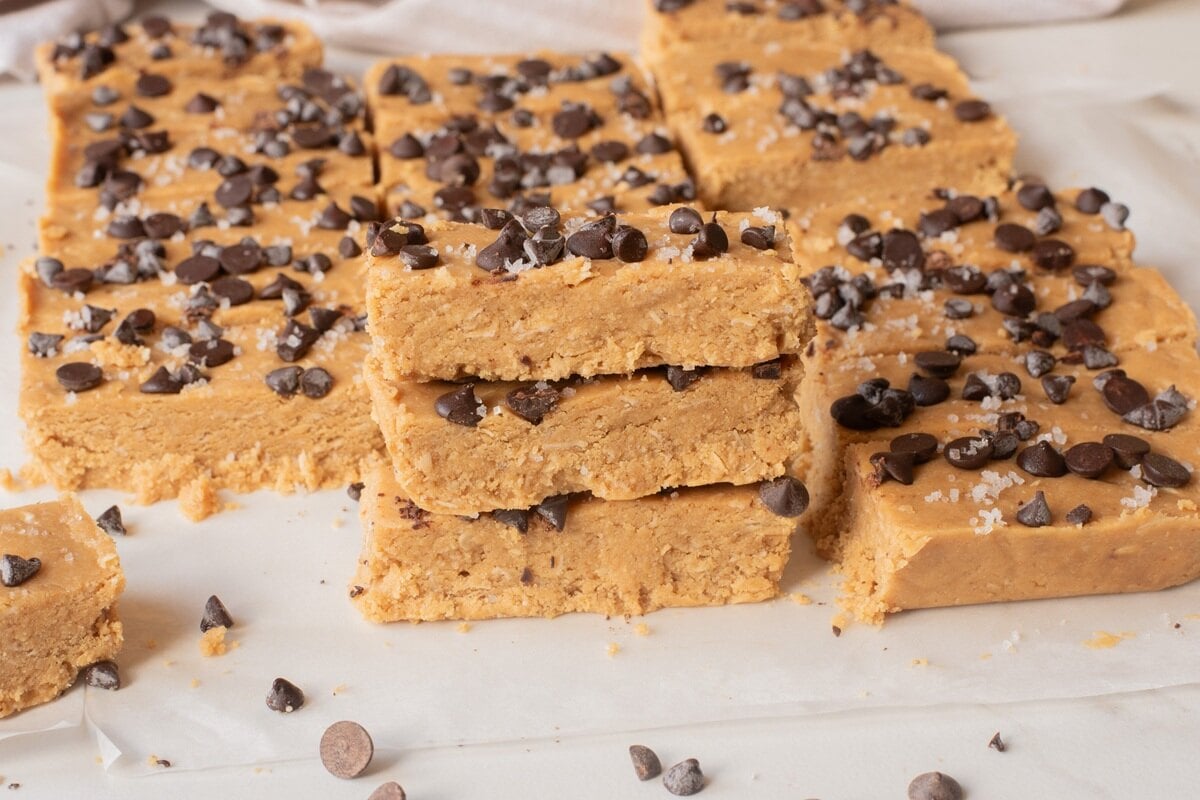
They’re also really easy to customize. I sometimes add dark chocolate chips, nuts, or seeds on top, but you can leave them plain if you prefer. Either way, chilling them properly gives you dense, chewy bars that hold together really well.
Why You’ll Love It
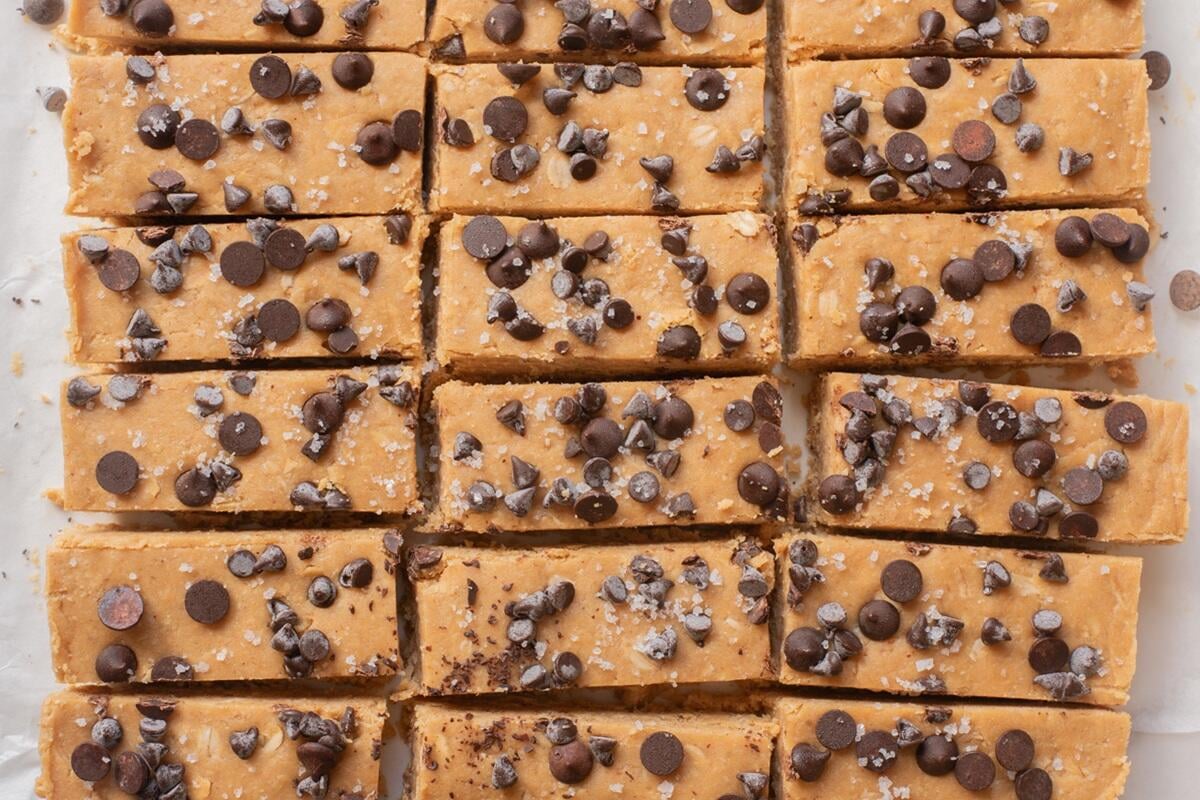
- Filled with protein: I love that these no bake chocolate peanut butter protein bars give you a substantial amount of protein without needing protein powder.
- No baking required: Apart from quickly toasting the soy flour, there’s no actual baking involved, which makes these homemade protein bars really simple to prepare.
- Great for meal prep: I can make a batch, keep them in the fridge, and have a filling breakfast or snack ready for the week.
- Dense and satisfying: These aren't light little snack bars. They have a chewy, almost fudge-like texture that makes them much more filling.
- Easy to customize: Add chocolate chips, or a chocolate coating, flax seed, nuts, chia seeds, or even a little flaky sea salt depending on what you’re in the mood for.
Ingredients
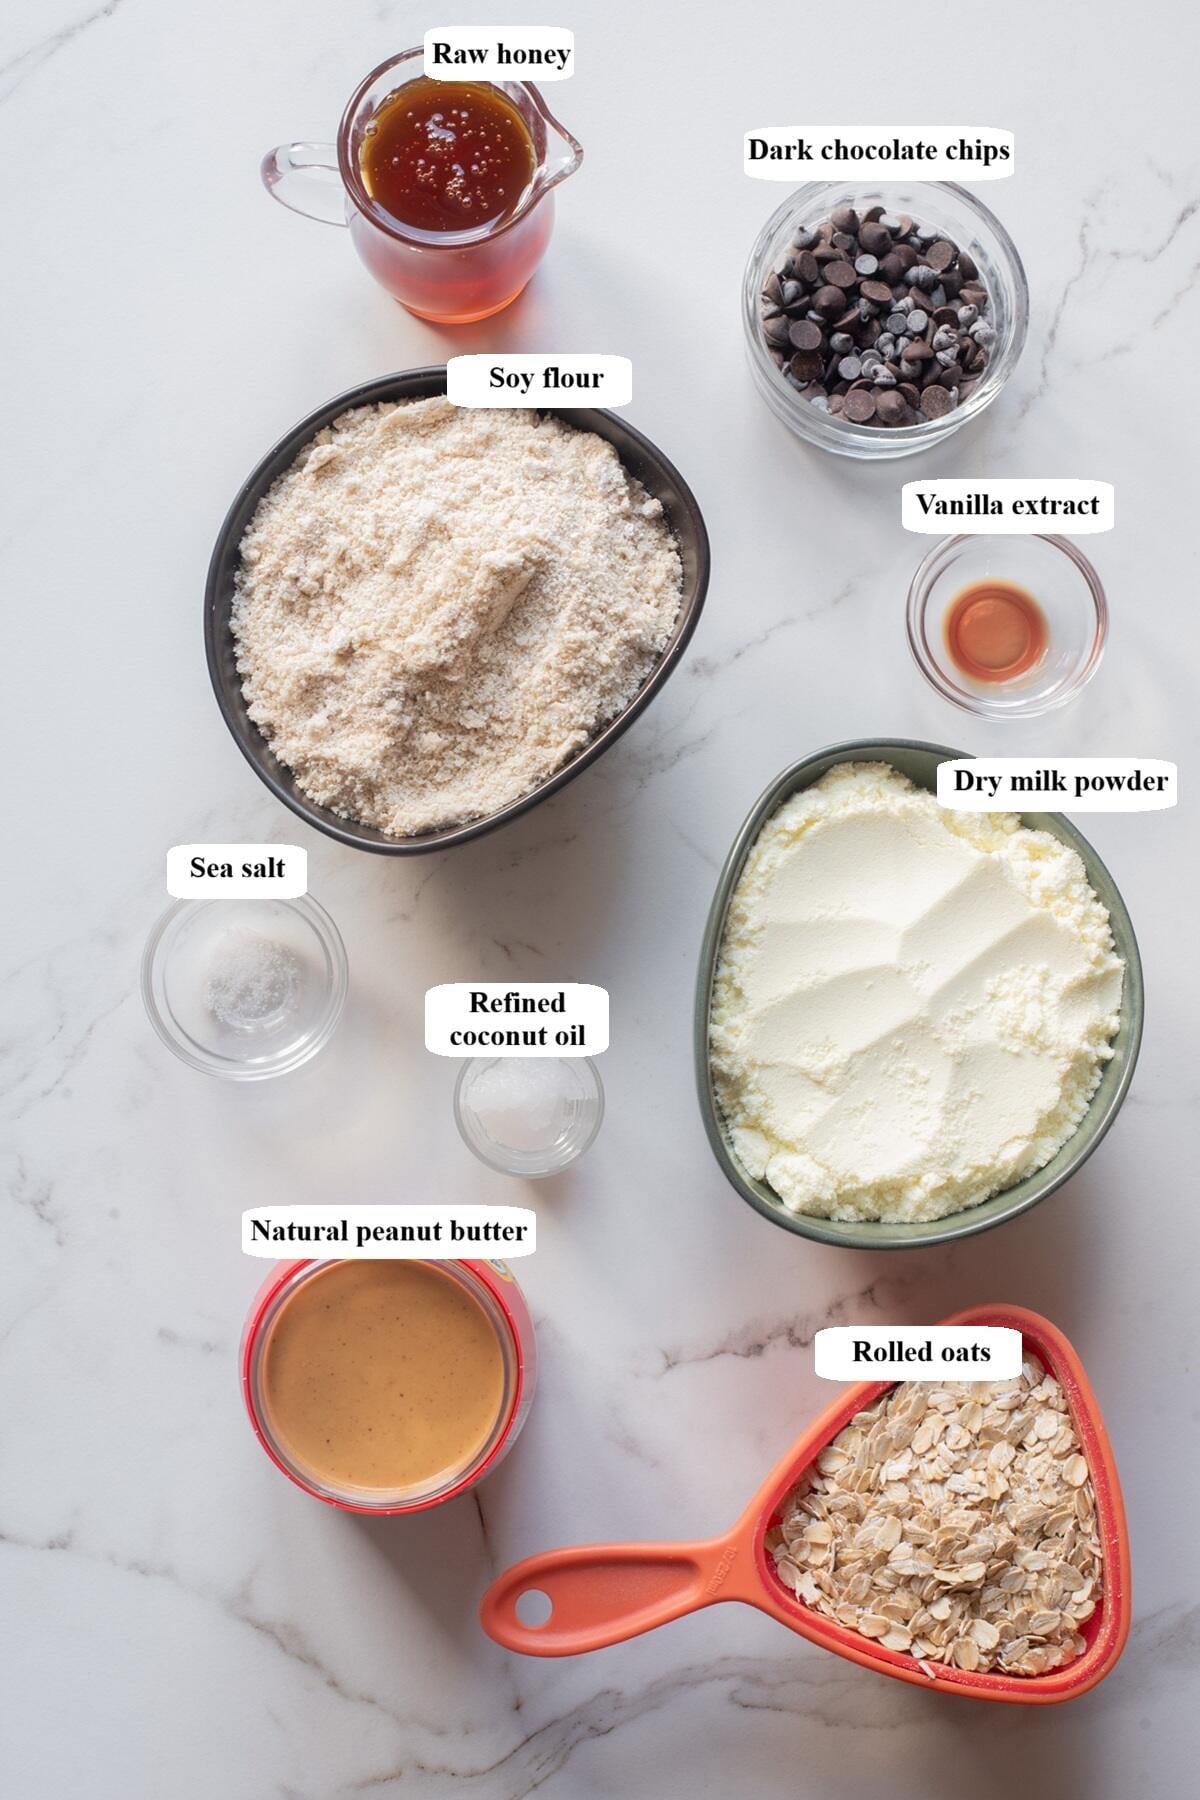
- Soy flour: This is where a lot of the protein and healthy fats come from, which is why I wouldn't replace it with regular flour. I always toast it first because raw soy flour can have quite a strong beany flavor. Toasting makes it much milder and gives it a subtle nutty taste that works really well with the peanut butter.
- Nonfat dry milk powder: I use this to add even more protein without needing protein powder. It also gives the bars a creamy, slightly malted flavor and blends really nicely into the peanut butter mixture.
- Natural peanut butter: This gives the bars their rich nut butter flavor while also adding protein and helps bind everything together. I recommend using a stabilized natural peanut butter so the oils don't separate and make the bars greasy.
- Rolled oats: These give the bars a little more texture and make them much more delicious. I prefer rolled oats because they keep some chewiness rather than disappearing completely into the mixture.
How to Make No Bake High-Protein Peanut Butter Bars
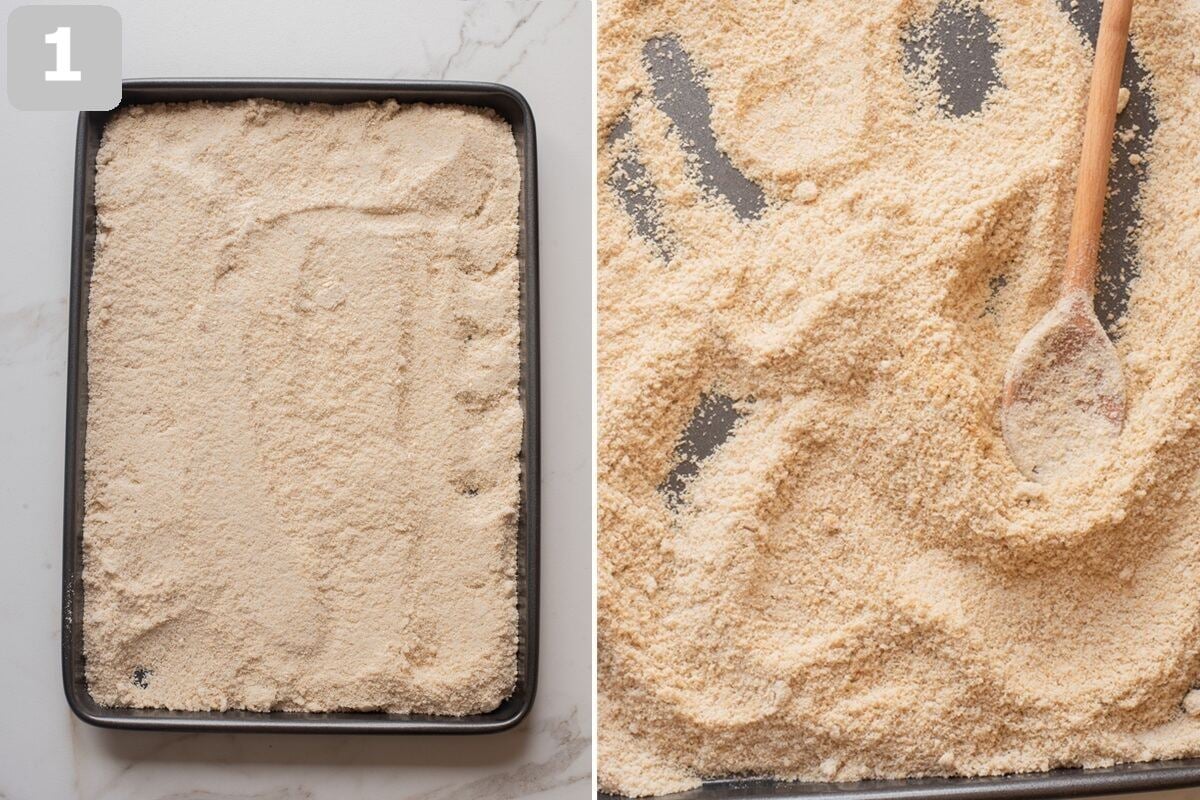
1. Preheat the oven to 300°F (150°C). Spread the soy flour evenly over a baking sheet and toast for 8-10 minutes, stirring halfway through. Let it cool completely.
2. Line an 8×8-inch (20×20 cm) pan with parchment paper.
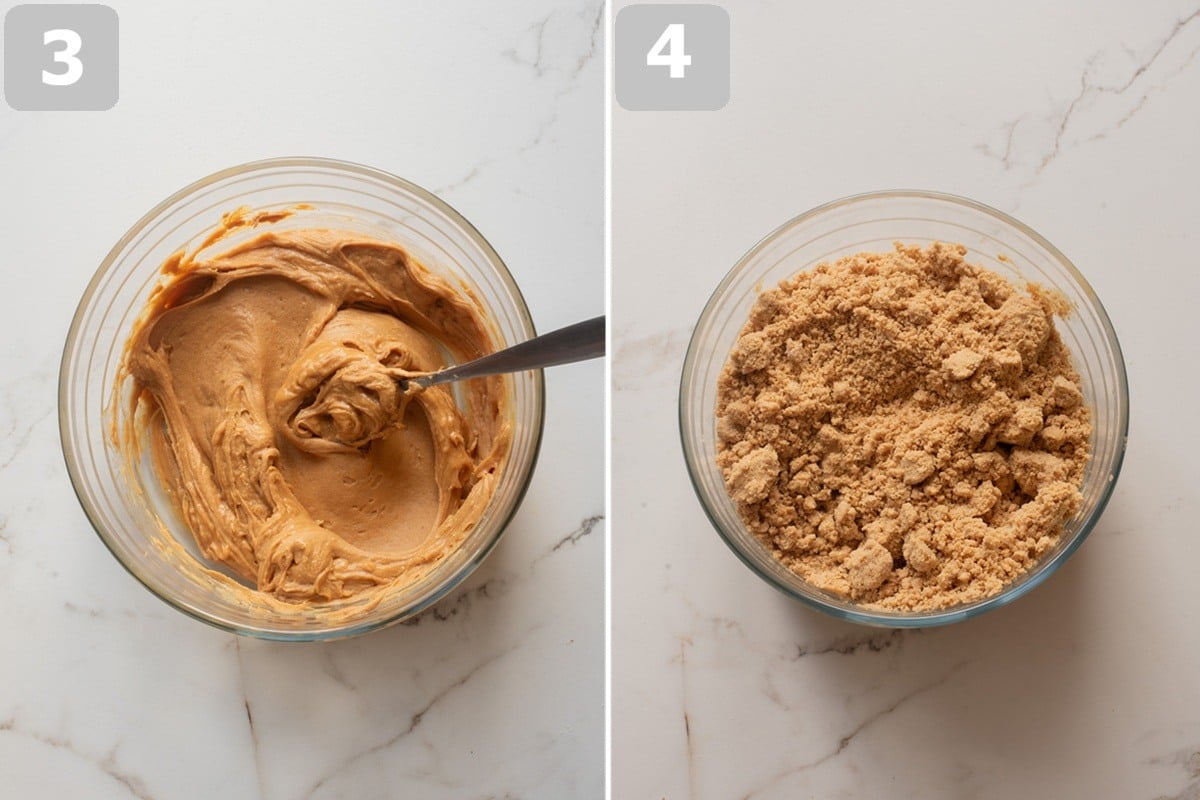
3. In a large bowl, stir the wet ingredients, peanut butter, honey or maple syrup, vanilla, salt, and melted coconut oil together until smooth.
Tip: I like to warm the peanut butter slightly for 20 seconds in the microwave helps the sugars in the honey dissolve smoothly into the fats.
4. Sift the cooled toasted soy flour and milk powder into the peanut butter mixture, then add the rolled oats. Mix the batter with a sturdy wooden spoon, or use your hands once the mixture becomes too thick to stir. Make sure there are no dry pockets remaining. If it feels too dry to hold together, add 1-2 tablespoons of milk.
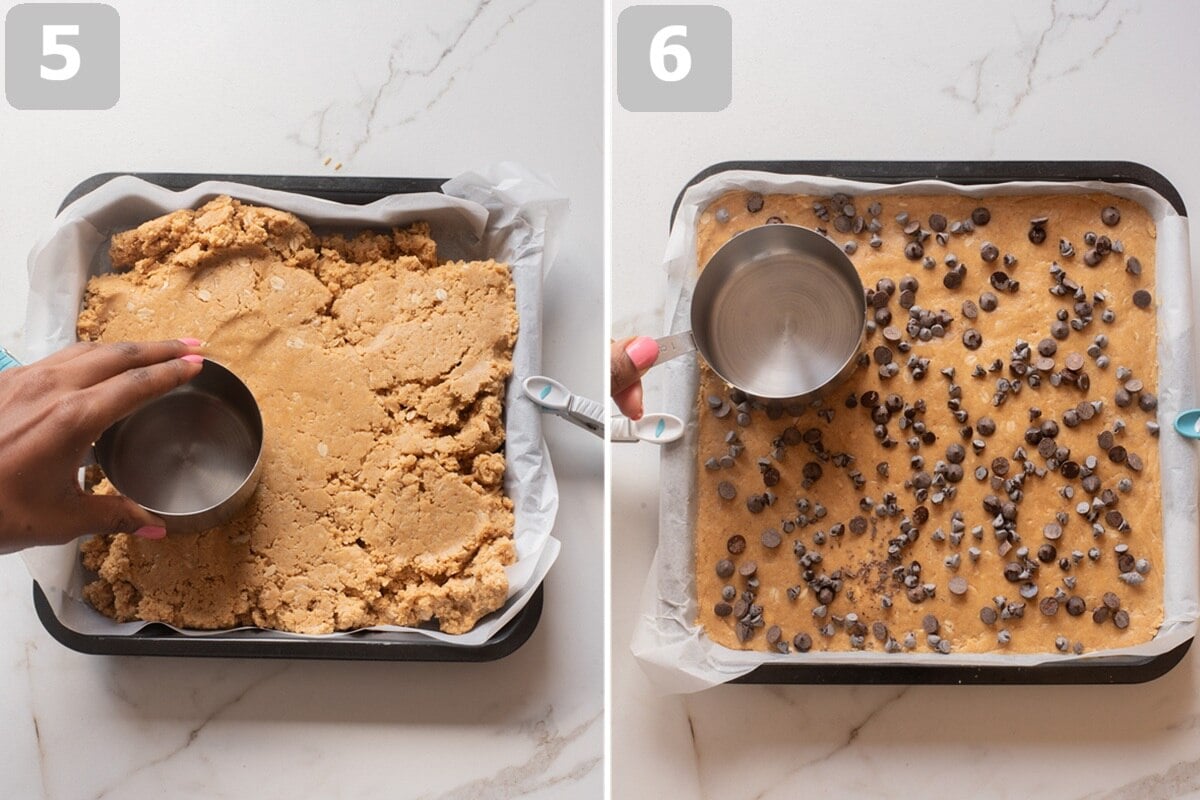
5. Transfer the mixture to the prepared pan and press it down very firmly using the flat bottom of a measuring cup. Don't rush this part because compacting the mixture properly is what helps the bars stay dense instead of turning crumbly.
6. Sprinkle the mini dark chocolate chips over the top and gently press them into the bars. Add nuts, seeds, or a little flaky sea salt if you like.
7. Refrigerate for at least 2 hours, although I prefer leaving them overnight when possible. This gives the coconut oil and milk powder plenty of time to set and makes the bars much easier to slice.
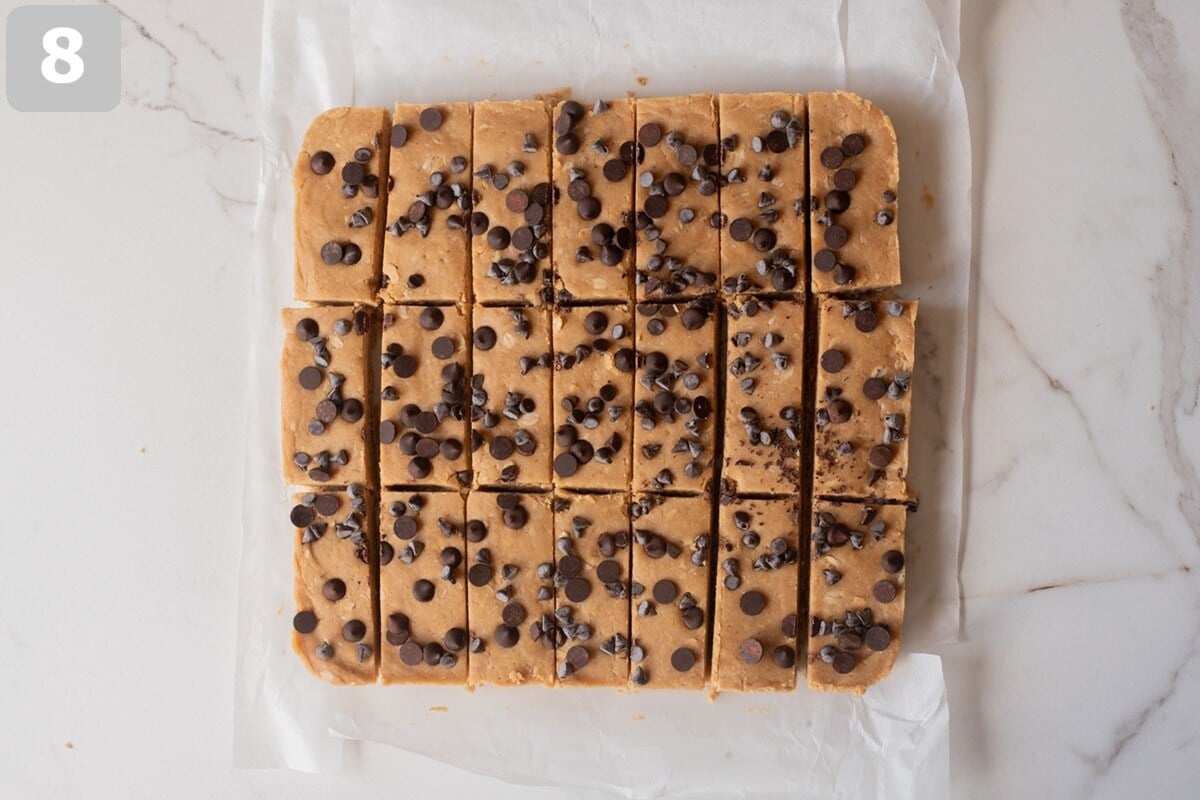
8. Lift the chilled mixture from the pan and cut into 6 large bars. Keep refrigerated until ready to eat.
Recipe Tips
- Toast the soy flour first. I wouldn't skip this step. Toasting gets rid of that stronger raw, grassy flavor and gives the flour a much nicer mild, nutty taste.
- Don't be afraid to use your hands. This mixture becomes extremely thick once the dry ingredients are added, and I find kneading it together by hand much easier than fighting with a spoon.
- Press the mixture down firmly. This is probably my biggest tip for getting the texture right. Really compacting everything together prevents dry, crumbly bars.
- Add milk only if you need it. If your mixture won't hold together, add just 1 tablespoon at a time. You don't want to accidentally make the bars too soft.
- Chill them thoroughly. I know it's tempting to cut into them straight away, but they're much better after at least 2 hours in the fridge. Overnight is even better for really clean slices.
- Try a little extra crunch. If you prefer that crispy texture you get from some commercial protein bars, replace ½ cup of the rolled oats with puffed rice cereal or soy protein crisps.
- Keep them chilled. Since there are no commercial preservatives in these bars, the peanut butter and coconut oil soften when they're left somewhere warm.
What Can You Serve With This?
- Fresh berries
- Greek yogurt
- Banana slices
- Coffee
- Smoothies
- Fresh fruit
Try these Cream-Filled Oatmeal Sandwich Cookies for a delicious twist on a classic cookie.
FAQs
Yes. I would use sunflower seed butter in place of the peanut butter. You'll still get that creamy texture needed to hold the bars together, although the flavor will obviously be a little different.
Yes. If you don't like overly sweet protein bars, reduce the honey or maple syrup to ⅓ cup. Because you're reducing one of the liquid ingredients, you may need to add a small splash of milk if the mixture becomes too dry.
Most of it comes from the soy flour, nonfat dry milk powder, and peanut butter. That's one of the things I really like about this recipe because you can make a genuinely high-protein bar using whole-food protein sources instead of relying on protein powder.
The mixture probably needed either a little more moisture or more pressure when you pressed it into the pan. I really pack mine down with the bottom of a measuring cup. If the mixture seems dry before you press it into the pan, add 1-2 tablespoons of milk.


Recipe
No Bake High-Protein Peanut Butter Bars
Ingredients
High-Protein Base
- 2 cups soy flour, lightly toasted
- 2 cups nonfat dry milk powder
- 1 cup rolled oats
Binding Ingredients
- 1½ cups natural peanut butter
- ½ cup raw honey or pure maple syrup
- 1 teaspoon vanilla extract
- ¼ teaspoon sea salt
- 2 tablespoon refined coconut oil
Topping
- ½ cup mini dark chocolate chips
Optional
- Seeds and nuts of choice
- Flaky sea salt
Instructions
- Preheat the oven to 300°F (150°C). Spread the soy flour evenly over a baking sheet and toast for 8-10 minutes, stirring halfway through. Let it cool completely.
- Line an 8×8-inch (20×20 cm) pan with parchment paper.
- In a large bowl, stir the peanut butter, honey or maple syrup, vanilla, salt, and melted coconut oil together until smooth.
- Sift the cooled toasted soy flour and milk powder into the peanut butter mixture, then add the rolled oats. Mix the batter with a sturdy wooden spoon, or use your hands once the mixture becomes too thick to stir. Make sure there are no dry pockets remaining. If it feels too dry to hold together, add 1-2 tablespoons of milk.
- Transfer the mixture to the prepared pan and press it down very firmly using the flat bottom of a measuring cup. Don't rush this part because compacting the mixture properly is what helps the bars stay dense instead of turning crumbly.
- Sprinkle the mini dark chocolate chips over the top and gently press them into the bars. Add nuts, seeds, or a little flaky sea salt if you like.
- Refrigerate for at least 2 hours, although I prefer leaving them overnight when possible. This gives the coconut oil and milk powder plenty of time to set and makes the bars much easier to slice.
- Lift the chilled mixture from the pan and cut into 6 large bars. Keep refrigerated until ready to eat.
Notes
Cooking Time and Temperature
Toast the soy flour at 300°F (150°C) for 8-10 minutes, stirring halfway through.Taste & Texture
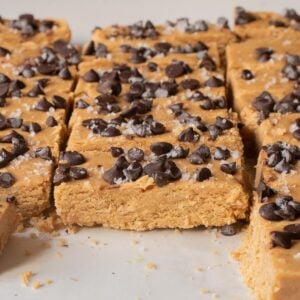
These bars are dense, chewy, and very peanut buttery with a soft, fudge-like texture. The toasted soy flour adds a mild nutty flavor, while the oats give them a little chew so they don't feel completely smooth or heavy.Storage, Freezing & Reheating
- Refrigerator: Store in an airtight container for up to 1 week.
- Freezer: Freeze individually wrapped bars for up to 2 months.
- Thawing: Let them thaw in the refrigerator before eating.
- Reheating: Not necessary. I think they taste best chilled or after sitting at room temperature for a few minutes.
Serving Recommendations
I usually eat one of these with coffee in the morning or alongside some fruit after a workout. They're pretty substantial, so I don't normally serve much with them. A few berries, banana slices, or some Greek yogurt is more than enough.Recipe Variations and Substitutions
- Peanut butter: Almond butter or sunflower seed butter both work well. Sunflower seed butter is my first choice if I need to make the bars nut-free.
- Honey: Maple syrup works just as well if you prefer the flavor. If you want less sweetness, reduce the amount to ⅓ cup and add a splash of milk if the mixture becomes too dry.
- Rolled oats: For a crispier texture, replace ½ cup of the oats with puffed rice cereal or soy protein crisps.
- Chocolate chips: Dark chocolate works especially well because the slight bitterness balances the sweetness of the bars.
- Add-ins: Chopped almonds, pumpkin seeds, sunflower seeds, or flaky sea salt can all be added on top.
Proper Storage Tips
- Keep the bars refrigerated because the coconut oil and peanut butter soften at room temperature.
- Store in an airtight container to prevent them from drying out.
- Separate layers with parchment paper if stacking.
- Freeze individual bars so you can thaw only what you need.
- Let frozen bars thaw in the refrigerator for the best texture.
Pro Tips
- Toast the soy flour until it smells mild and nutty before using it.
- Warm the peanut butter slightly if the wet mixture is difficult to stir.
- Press the mixture into the pan with plenty of pressure so the bars hold together properly.
- Chill overnight if you want the cleanest slices.
- Add milk only 1 tablespoon at a time if the mixture feels too dry.
- Keep the bars cold for the firmest, fudgiest texture.
Video
You can find the video in the post above. If you don't see a video, please check your browser settings.
Leave a Reply