
Super easy fudge is prepared in 10 minutes with just 4 ingredients and 1 bowl. No cooking. No baking.
It's a great recipe when you don’t want to spend much time in the kitchen nor to wash a ton of dishes after baking. You don’t even need an electric mixer. It’s a super easy fudge recipe.
When cooking fudge the old-school way it may get grainy or it still doesn’t set. When it doesn’t set it wasn’t heated enough. Making it the old-fashioned way is kind of a tricky process though.
You need to cook it to a certain temperature, and the ingredients need to be mixed in the correct order and right time. There are so many pitfalls.
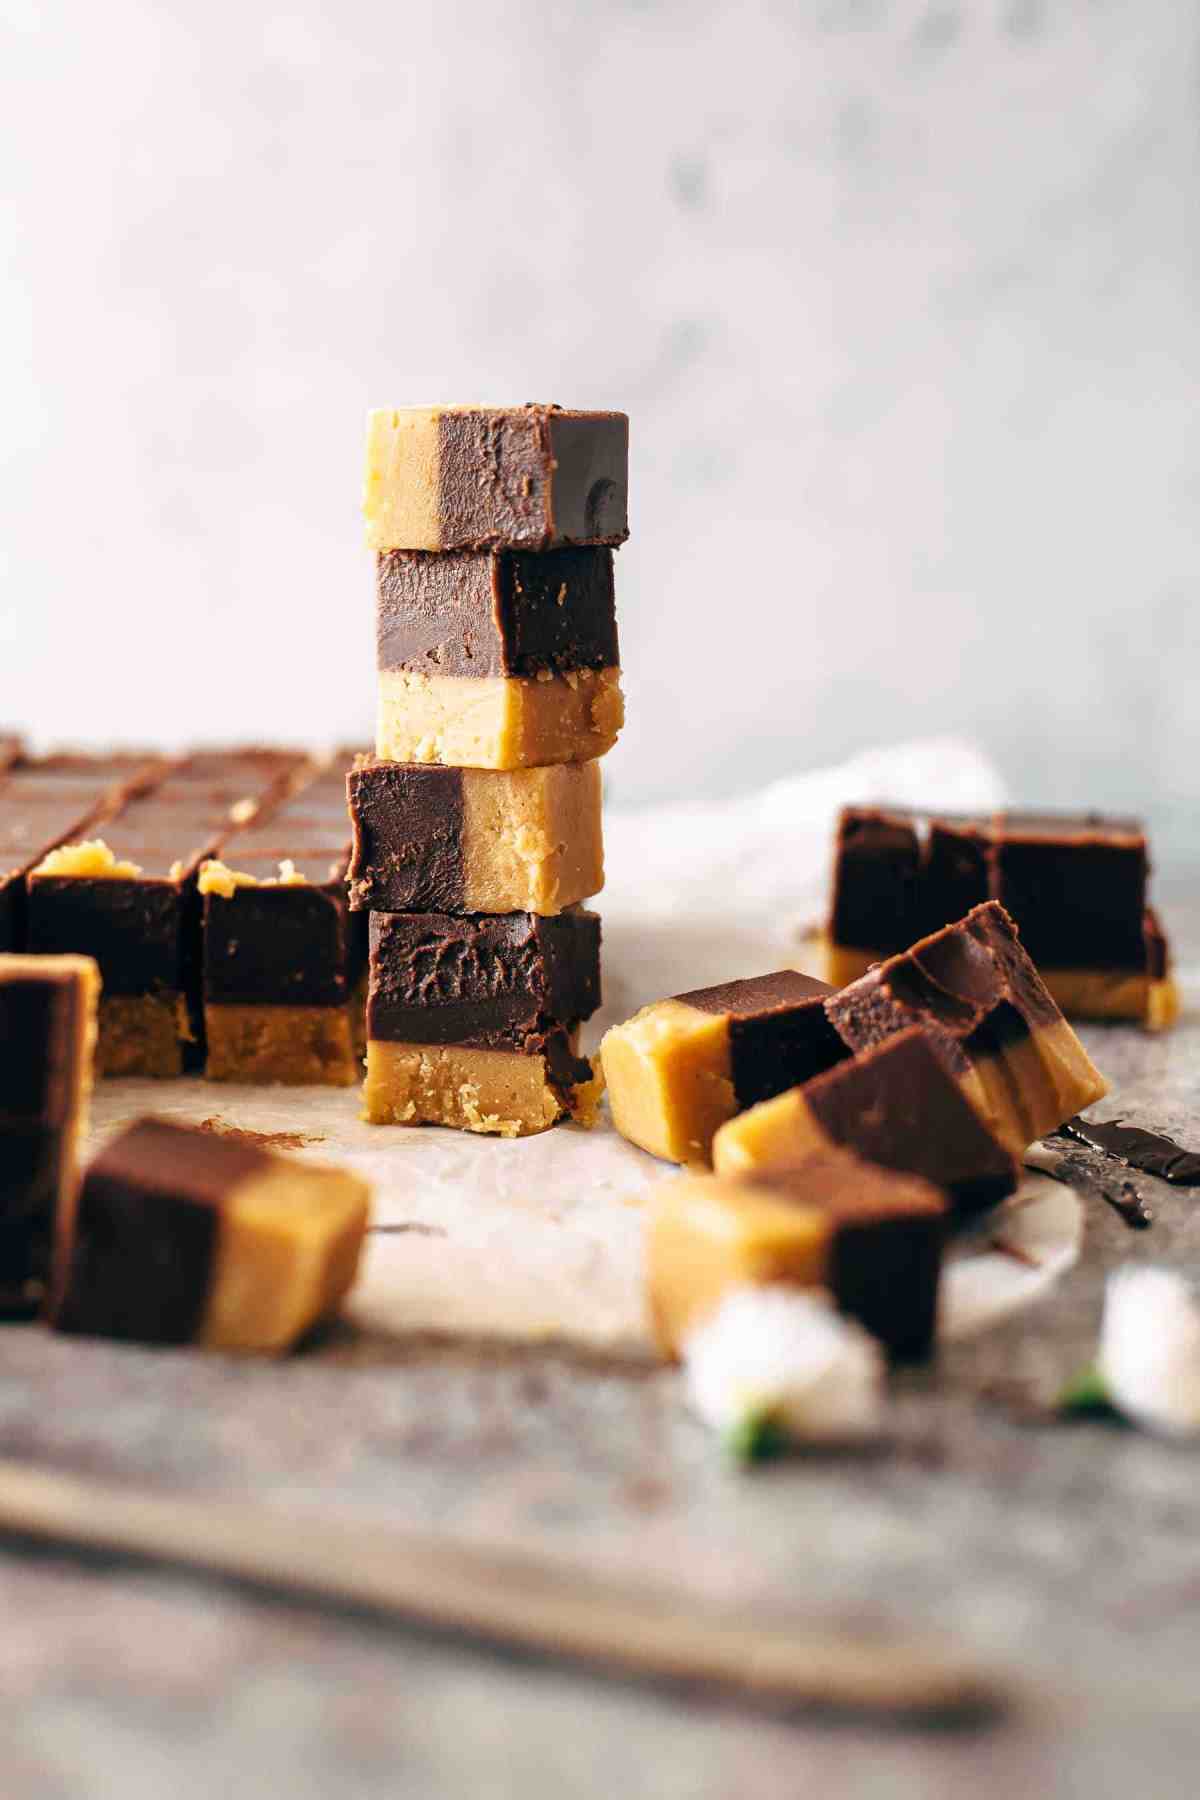
Fudge is known for its super creamy, smooth, and solid-soft consistency. We all love it because of that consistency.
Instructions
- Melt the butter and peanut butter in the microwave and stir until completely combined and smooth. Then stir in powdered sugar.
- Then pour the half of the mixture into a plastic wrap layered 9x9" baking pan and chill for about 15 minutes in the fridge.
- Add chocolate and butter to the remaining peanut butter mixture and stir until smooth.
- Pour on top of the chilled peanut butter layer and refrigerate.
Note: I recommend using semi-sweet chocolate. It deepens the chocolate flavor and combats the sweetness.
Store it in the fridge in an airtight container. You don’t need to worry that this recipe gets grainy or doesn’t set. It will stay fresh and delicious up to 1 week.
I used a 9x9 pan for this recipe. It is the perfect size for this recipe. The fudge is about 1 inch high. Line the whole pan with plastic wrap with an overhang around the sides.
This makes it super easy to lift it out of the pan when it is ready to cut and eat. You could do half of the recipe in a smaller pan as well.
Recipe
Peanut Butter Chocolate Fudge
Ingredients
- 2 cups peanut butter (500g)
- 2 cups butter (452g)
- 5 cups powdered sugar, sifted (600g)
- 1 cup dark chocolate, melted (175g)
- ¼ cup butter, melted (56g)
Instructions
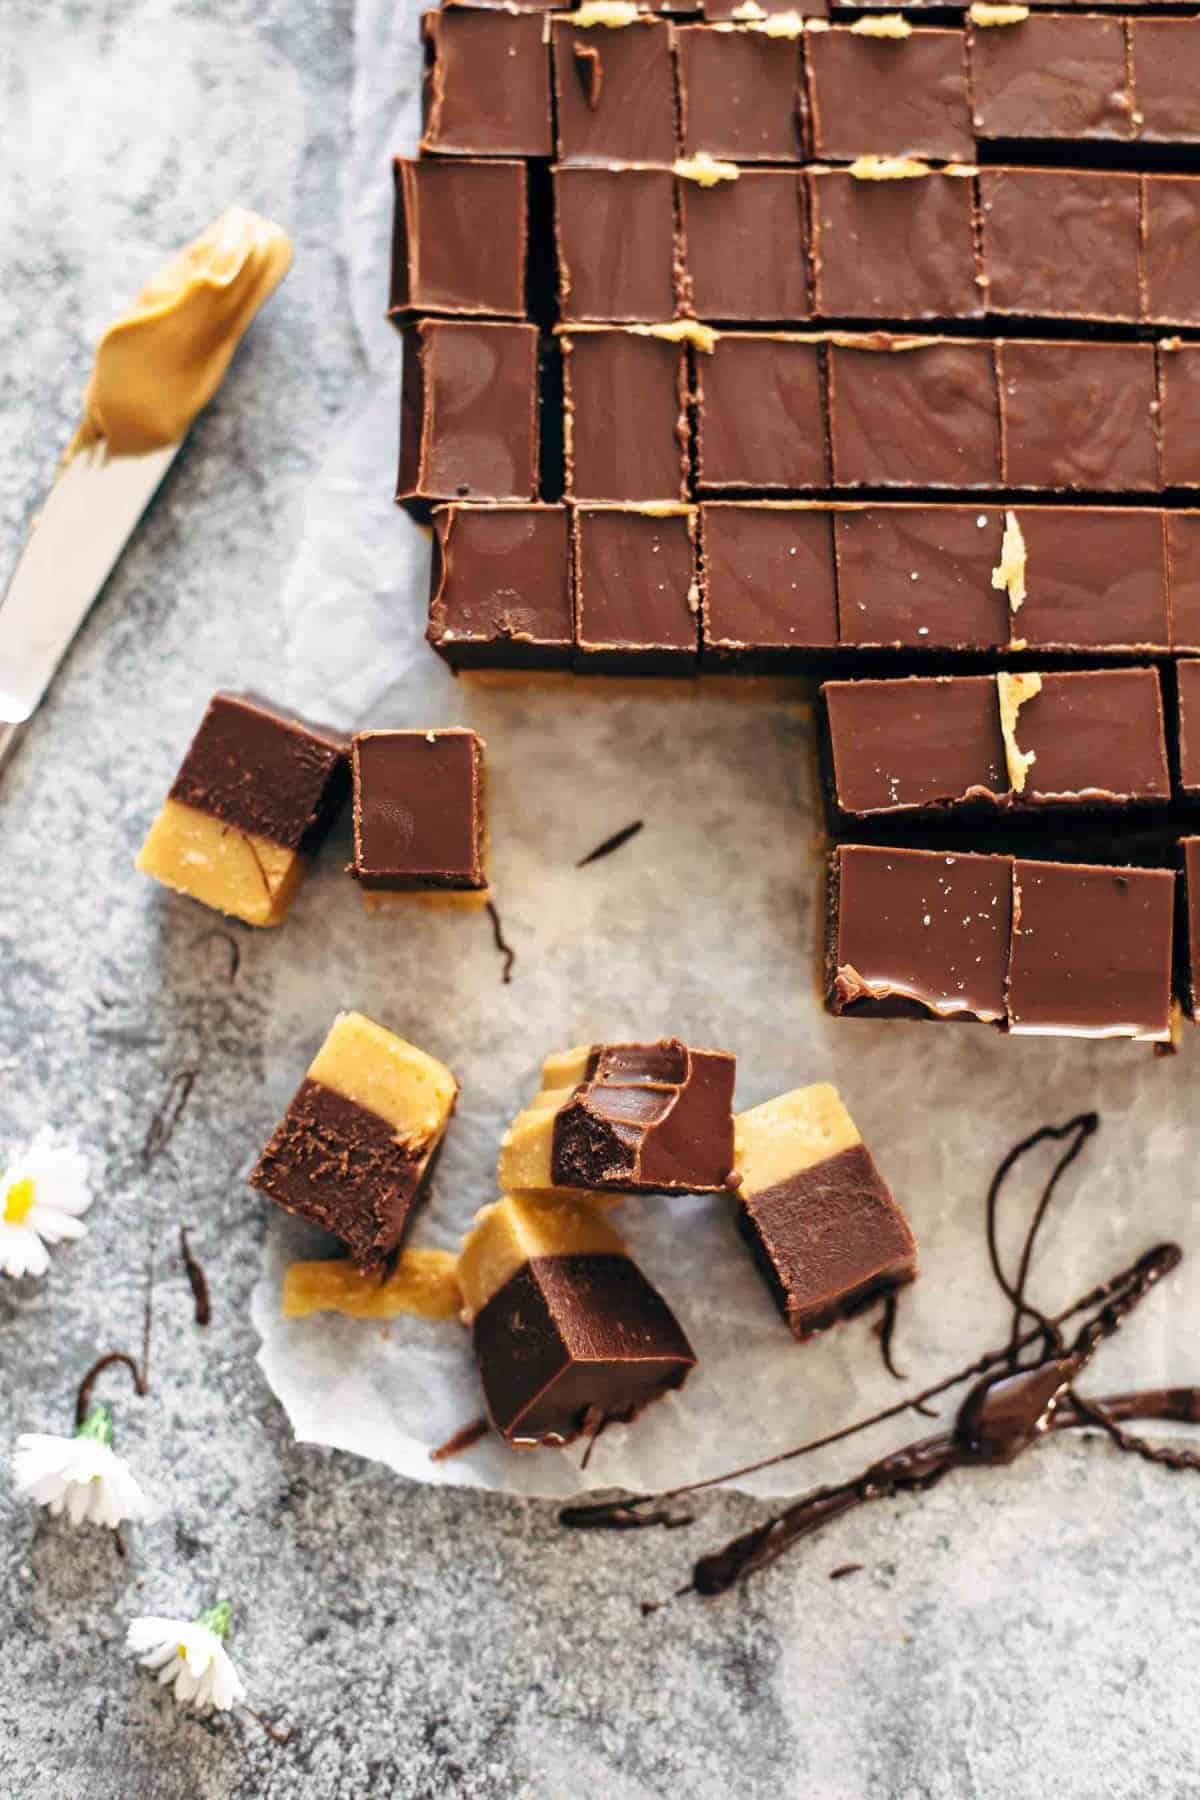
- Line a 9x9 inch baking pan (23x23 cm) with plastic film, leaving an overhang on the sides to easily lift it out before cutting and serving. Set aside.
- In a large heat-proof bowl, add peanut butter and butter and microwave until completely melted, about 2 minutes. Stir every 30 seconds. Stir in powdered sugar until fully dissolved and combined. Transfer the half to the prepared baking pan. Chill 15 minutes in the fridge until the top is set to touch.
- Add melted chocolate and melted butter to the remaining peanut butter mixture and stir to combine. Pour on top of the chilled peanut butter layer. Cover with plastic wrap and chill at least 4 hours preferably overnight. Before serving, cut into pieces. I cut 9x9 stripes and got 81 pieces. Store leftovers in an airtight container in the fridge up to 1 week.
Notes
Video
You can find the video in the post above. If you don't see a video, please check your browser settings.
Courtney
Could this recipe be frozen?
Stan Ivanov
Hi Courtney. Great question. Yes, this fudge freezes well. If you do make it, let us know how you like
Mari
Thank you for this recipe! I was looking for something special for my daughter this weekend and this is perfect because she loves peanut butter. Even if the peanut butter here in Germany doesn`t taste as good as the US or canadian ones.
And another thanks for giving the measurements in gramms 🙂
Greetings from Hamburg/Germany
Mari
Sabine
That is so great! I'm sure you loved it! Have a great day, Mari!
dina
What peanut butter do you prefer to use? Can't wait to try it !!!
Sabine
I prefer to use creamy peanut butter from Skippy. Happy baking!
Tonya
Do you have to use unsalted butter or can I use salted butter?
Sabine
I don’t recommend using salted butter because this would have an impact of the sweetness and saltines of the fudge.
Sarah
The ingredients calls for two cups of butter. Is that 1 cup for the peanut butter layer & 1 for the chocolate?
Sabine
No, the peanut butter, the butter, and the powdered sugar (first 3 ingredients on the list) are the base for both, the peanut butter and the chocolate fudge layer. After dividing the fudge into two you add to one half the melted chocolate and the melted butter (ingredients no. 4 and 5 on the list). Hope that helps! If you are still not sure, you could watch the short video for better understanding. Or just reach out to me again 🙂
Elizabeth
Do you use unsalted or salted butter?
Sabine
I use unsalted butter.
2pots2cook
Love everything from scratch. Pinned and shared these beauties !
Sabine
Me too! Thank you so much!