


These homemade Kit Kat bars are one of those treats I make when I want something nostalgic but ridiculously easy. You get those crisp wafer layers wrapped in a smooth chocolate shell that snaps when you bite into it — just like the classic candy bar, but made right in your kitchen. They’re crunchy, chocolatey, and dangerously snackable.
If chocolate treats are what you are after, also try this Chocolate Cream Puffs recipe. I make these homemade Kit Kat bars when I want something quick and crunchy. Get it here!
Jump to:
Why You’ll Love This Recipe
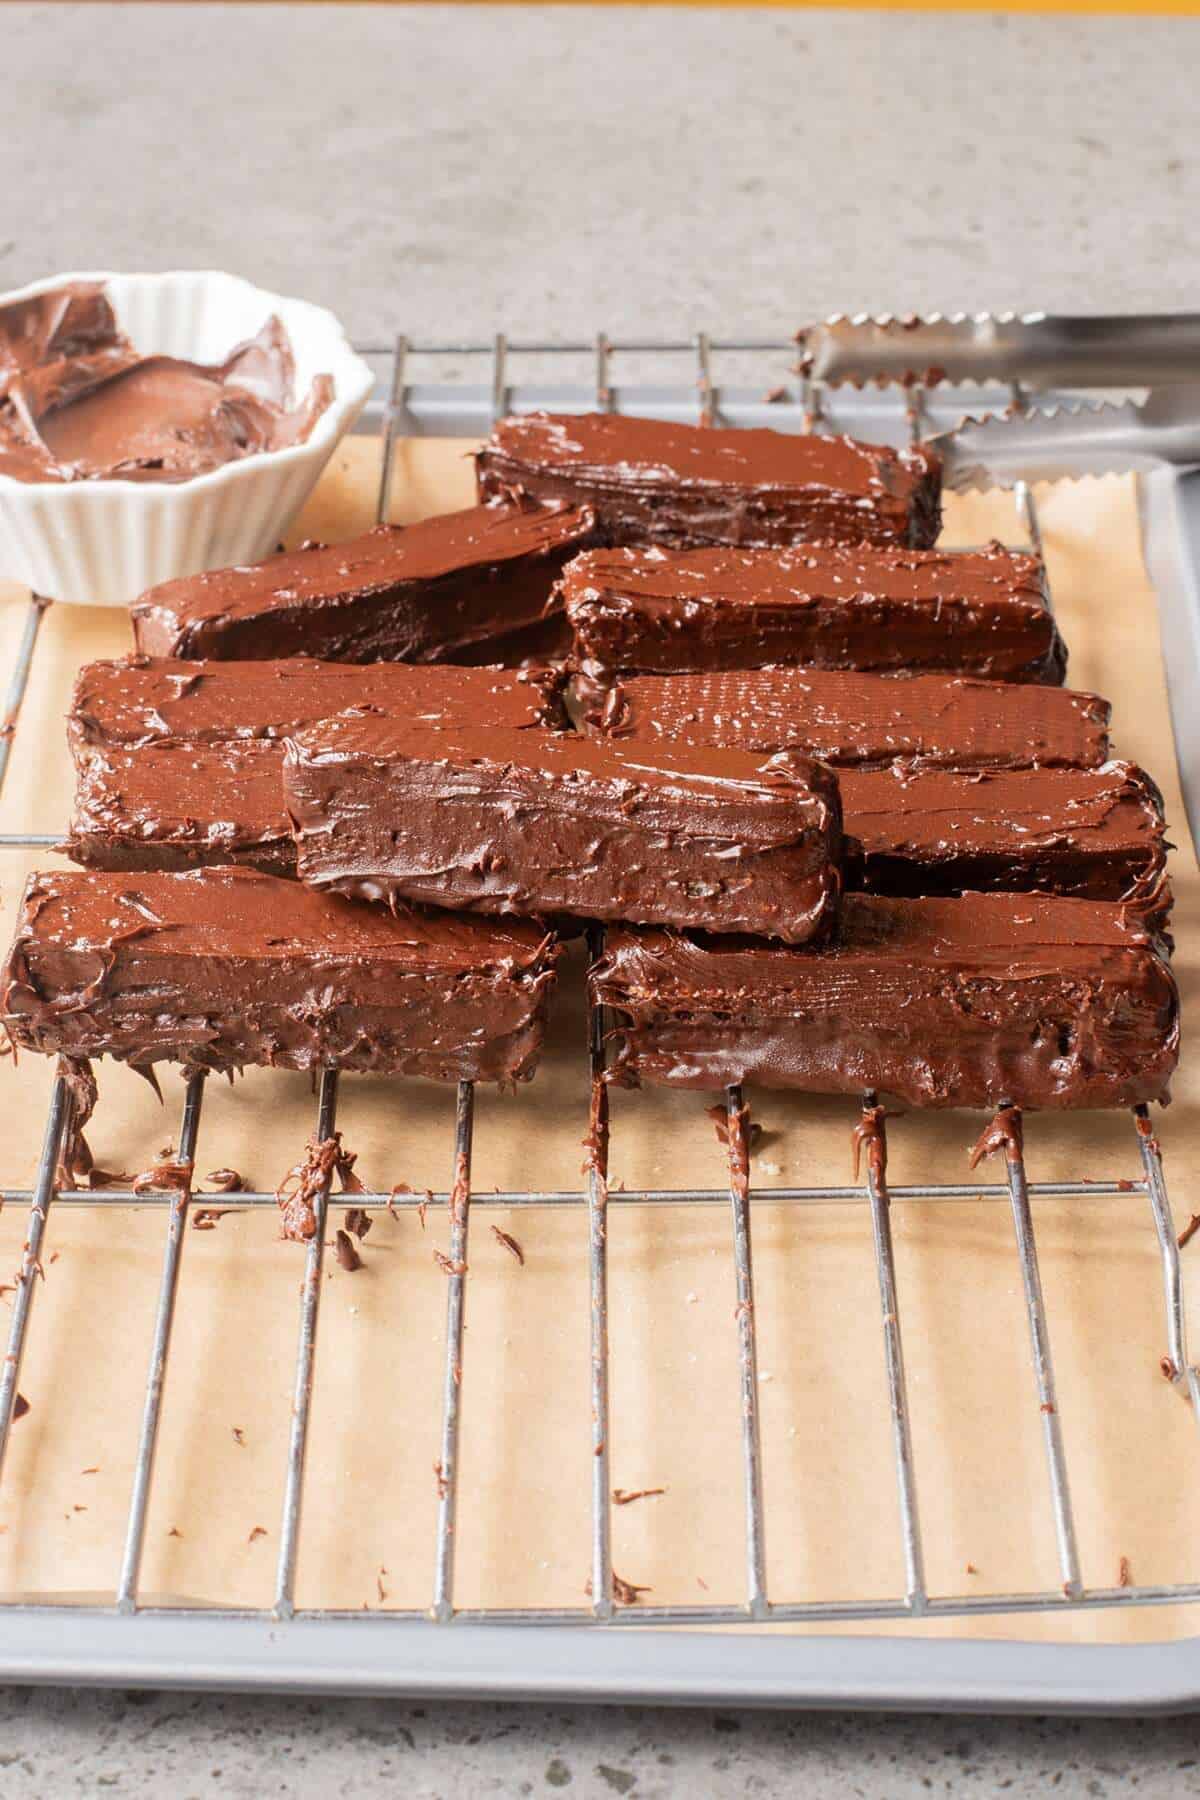
- Only 4 simple ingredients: Nothing complicated or hard to find.
- No baking required: Melt, dip, chill — that’s it.
- Tastes just like the original: Crisp wafers and smooth chocolate in every bite.
- Perfect for gifting or snacking: They look impressive but are incredibly easy to make.
Video Instructions
Ingredients & Substitutions
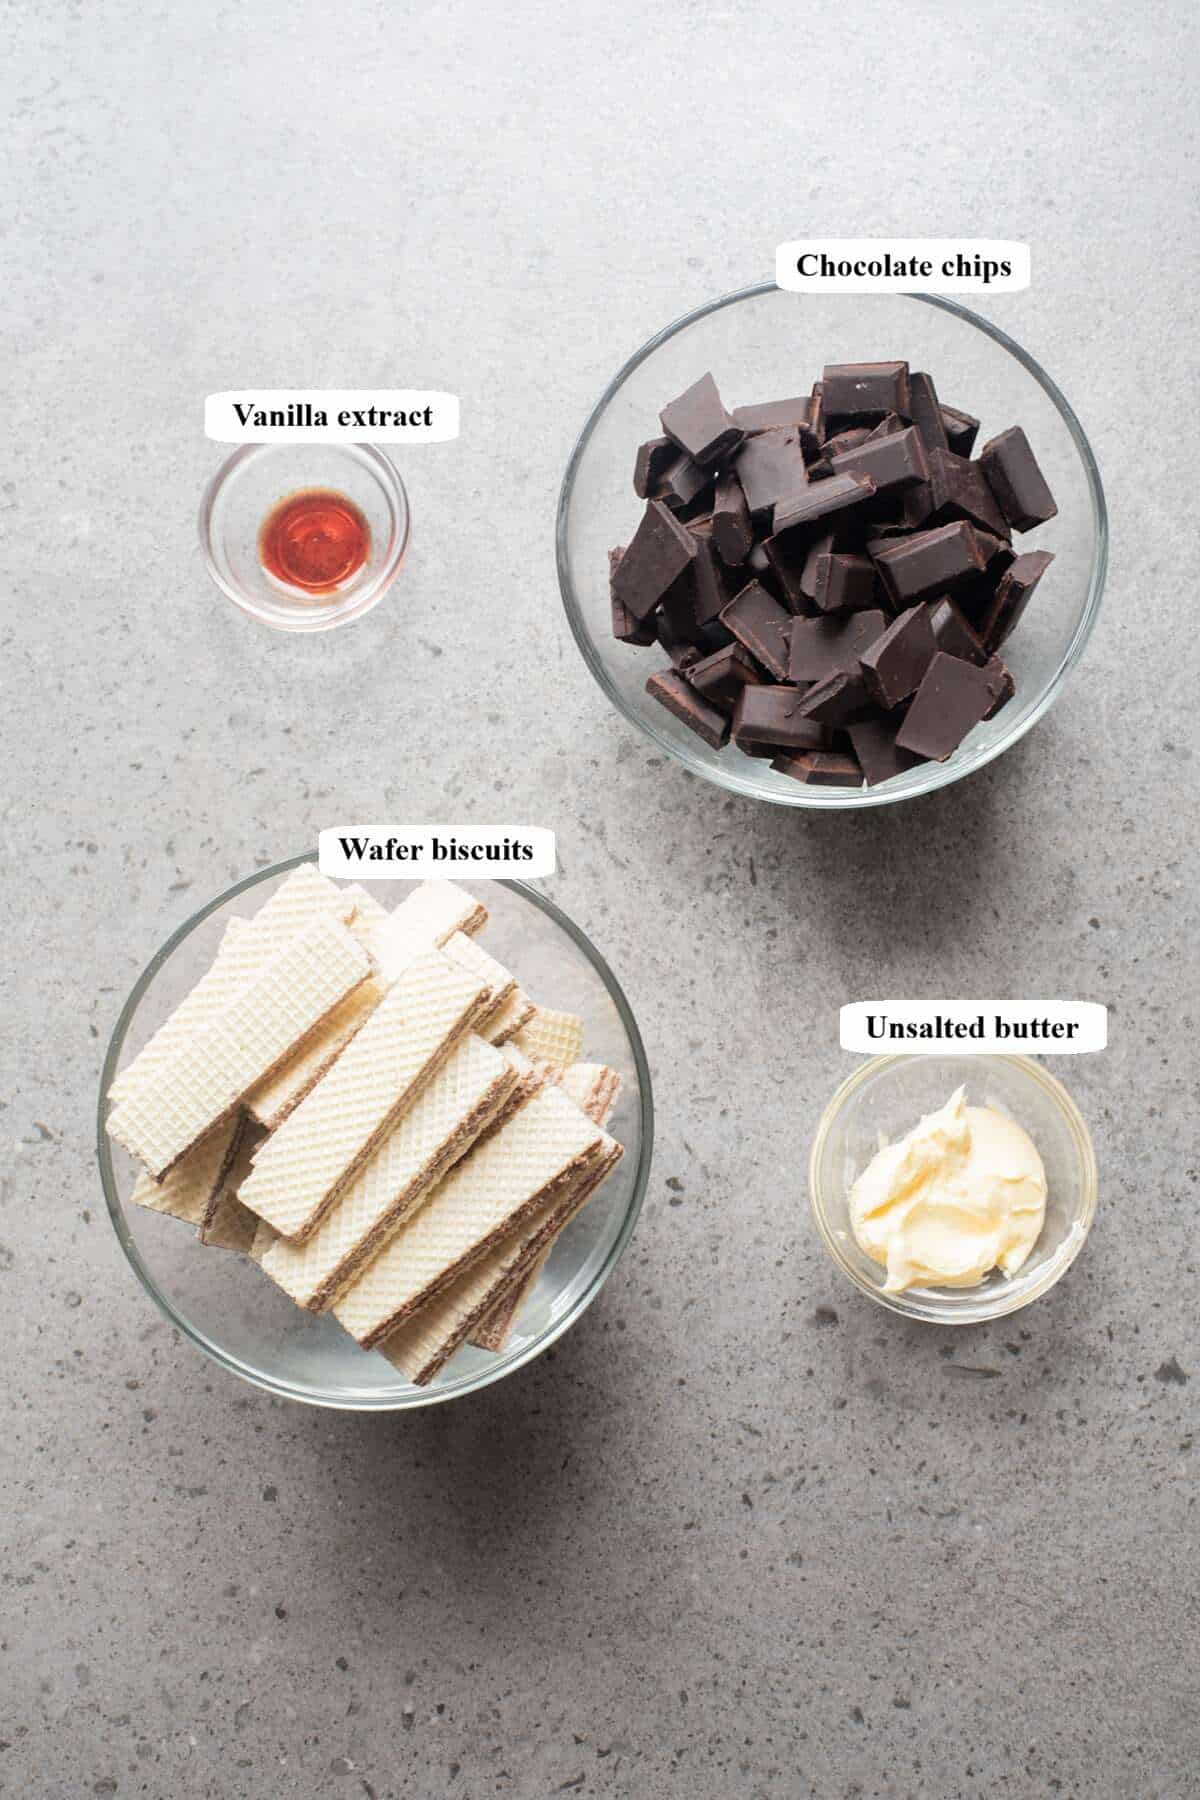
- Wafer biscuits: I use plain vanilla wafer biscuits for the most authentic texture. Avoid cream-filled ones so the layers stay crisp.
- Chocolate: Milk chocolate gives you that classic flavor, but dark chocolate adds a richer, slightly less sweet finish.
- Butter: I like adding butter for a smoother, shinier coating. Coconut oil works well as a substitute.
- Vanilla: Totally optional, but I find it deepens the chocolate flavor nicely.
Instructions
1. Arrange wafer biscuits into stacks of 2 or 3. Gently press together and set aside.
2. In a heatproof bowl, melt chocolate chips and butter together using a double boiler or microwave in 30-second intervals, stirring until smooth. Stir in vanilla if using.
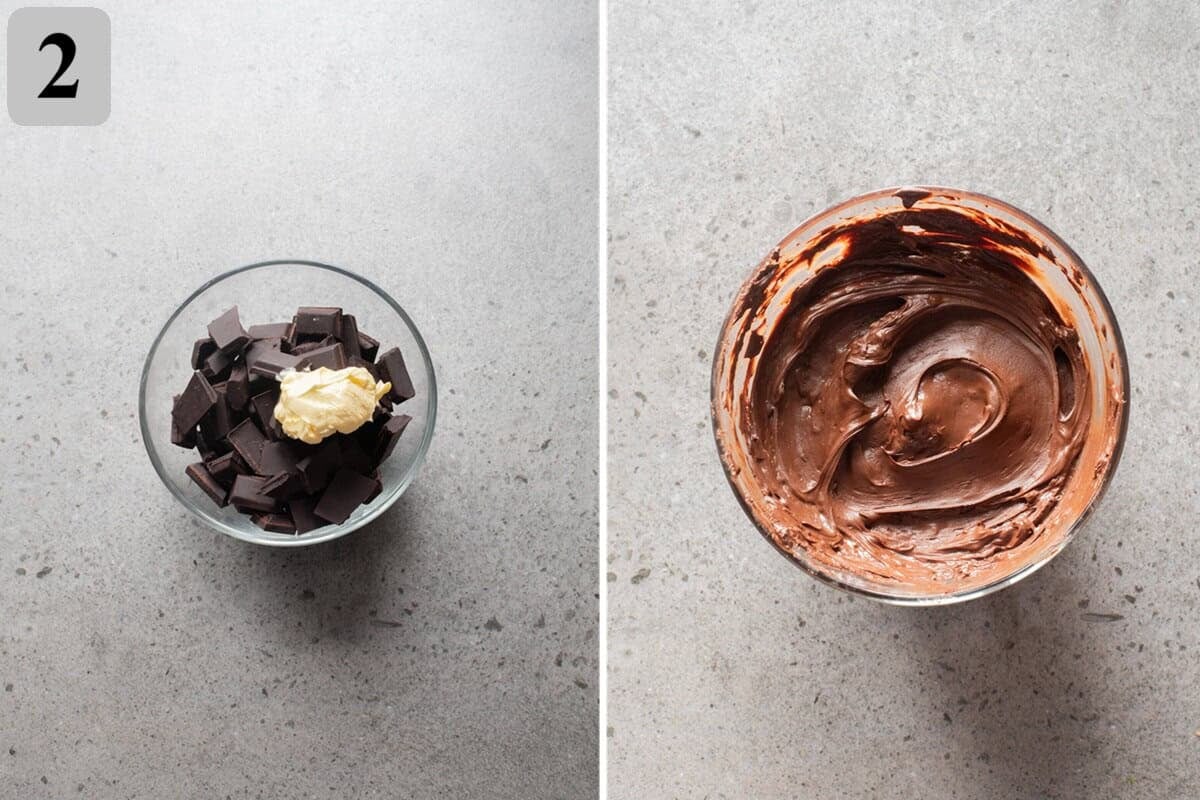
3. Dip each wafer stack into the melted chocolate, fully coating all sides. Lift out and let excess drip off.
4. Place coated wafers on a parchment-lined tray. Refrigerate for 30 minutes until fully set.
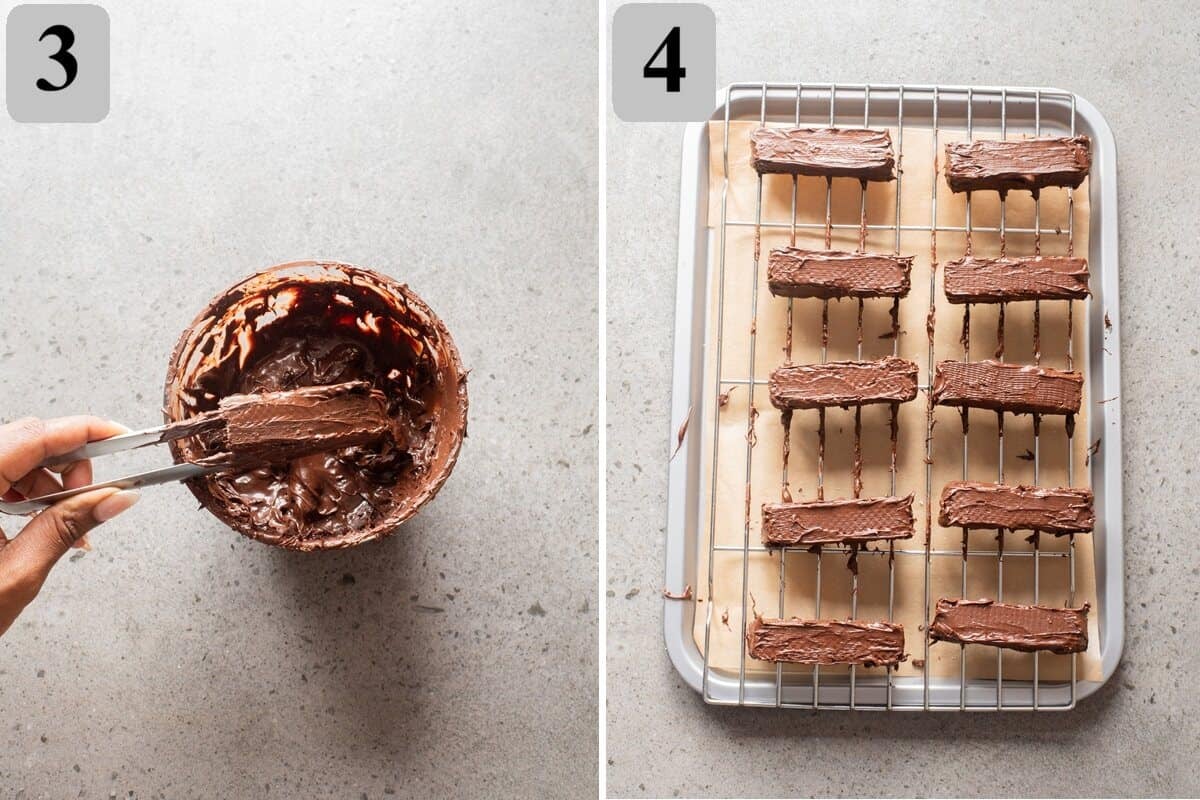
5. Once firm, cut into bars if desired and enjoy.
You might also like this pecan pie cheesecake for a sweet, creamy treat with a crunchy twist.
Pro Cooking Tips
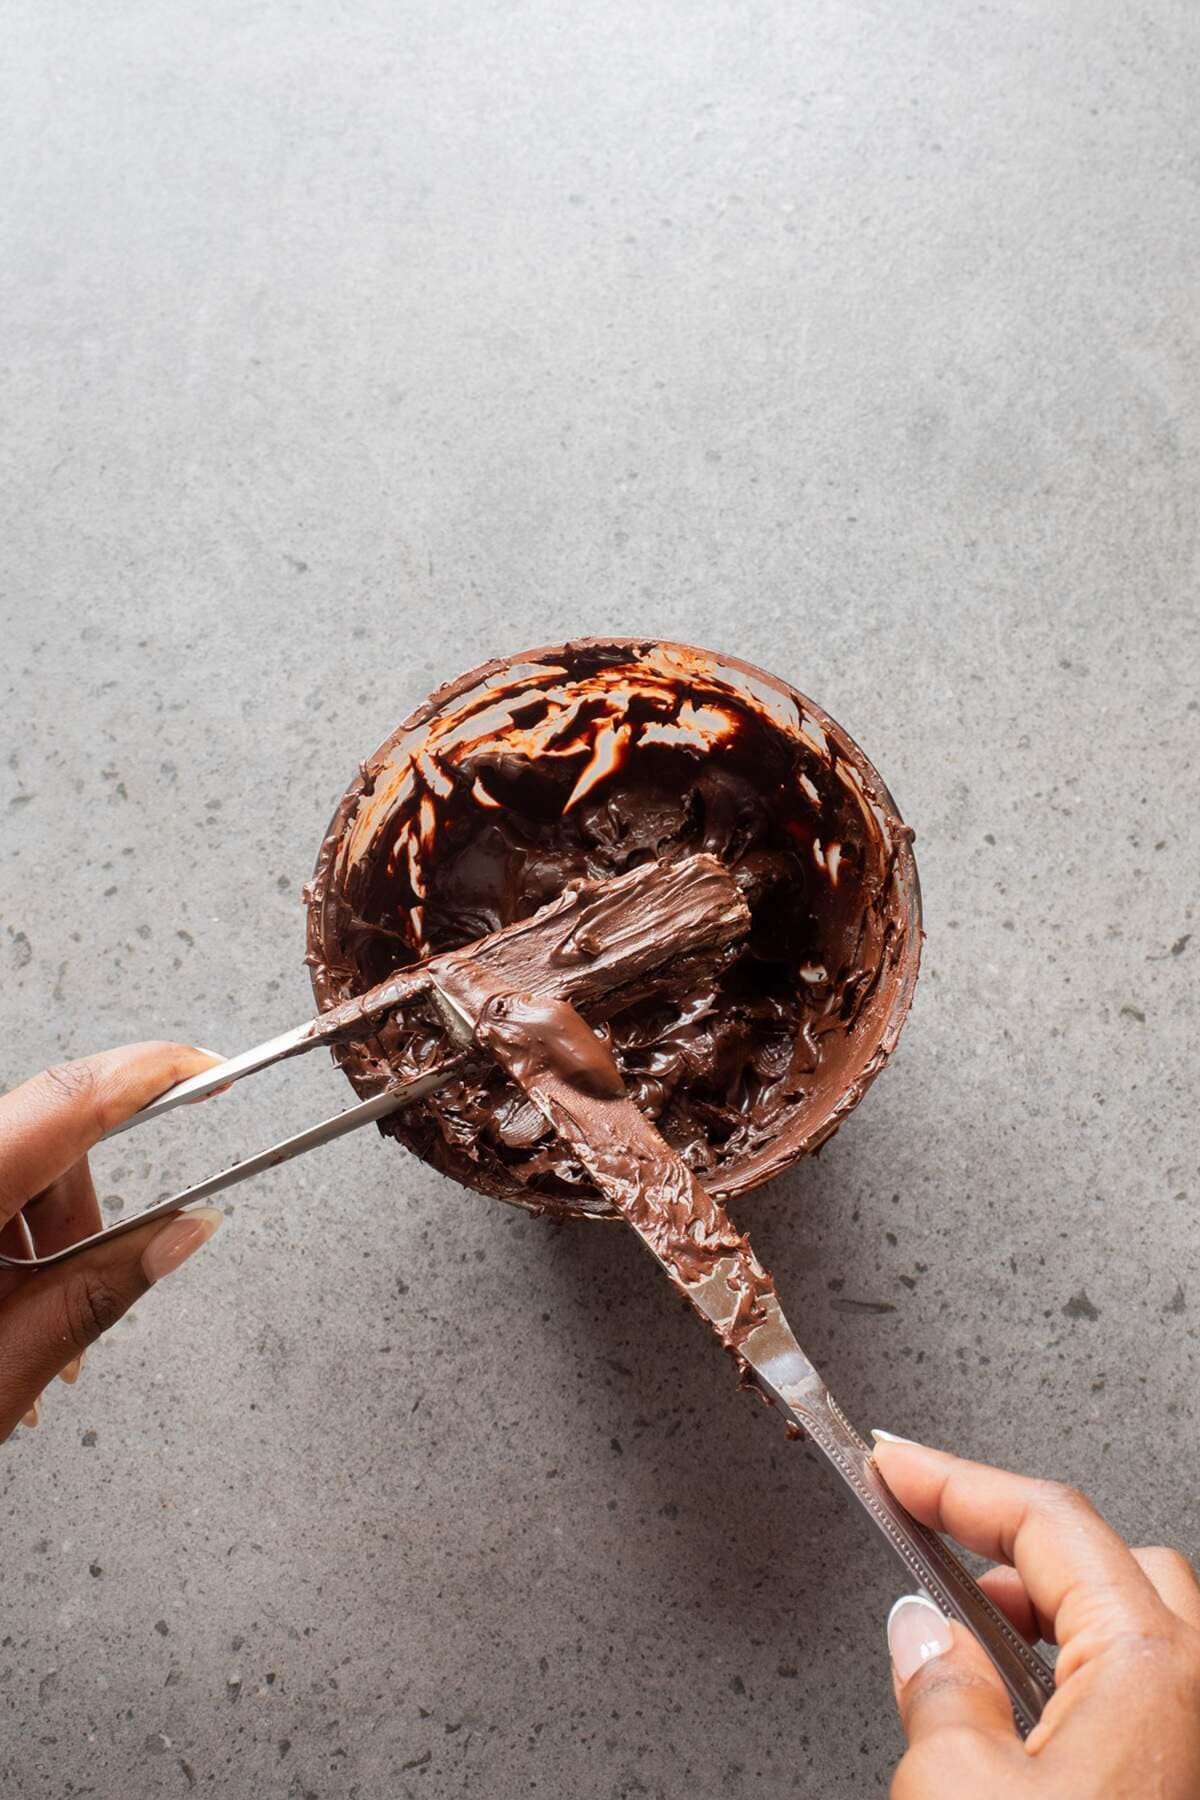
- Chill wafers first: I like chilling the wafer stacks briefly before dipping — it helps the chocolate set faster and more evenly.
- Use a fork for dipping: This makes coating cleaner and helps excess chocolate drip off smoothly.
- Tap gently: I lightly tap the fork on the bowl edge to remove extra chocolate for a neat finish.
- Let fully set: I wait until they’re completely firm before cutting so the chocolate shell stays clean and crisp.
If you love easy summer desserts, you might also enjoy No-Bake Peach Icebox Pie with Homemade Graham Crust.
FAQs
Yes, but it will be sweeter and slightly softer once set.
They hold best refrigerated, especially in warm weather, but can sit at room temperature for a short time.
Yes. I use dairy-free chocolate and plant-based butter or coconut oil for my vegan friends.




Recipe

Homemade Kit Kat Bars
Ingredients
- 24 wafer biscuits
- 1½ cups milk or dark chocolate chips
- 2 tablespoon unsalted butter
- 1 teaspoon vanilla extract (optional)
Instructions
- Arrange wafer biscuits into stacks of 2 or 3. Gently press together and set aside.
- In a heatproof bowl, melt chocolate chips and butter together using a double boiler or microwave in 30-second intervals, stirring until smooth. Stir in vanilla if using.
- Dip each wafer stack into the melted chocolate, fully coating all sides. Lift out and let excess drip off.
- Place coated wafers on a parchment-lined tray. Refrigerate for 30 minutes until fully set.
- Once firm, cut into bars if desired and enjoy.
Notes
Taste & Texture
Crispy, light wafer layersSmooth chocolate shell with a satisfying snap
Perfect balance of crunch and creaminess
Storage, Freezing & Reheating
Fridge: Store in an airtight container for up to 1 week.Freezer: Freeze for up to 2 months; thaw briefly before serving.
Reheat: Not applicable — enjoy chilled or at room temperature.
You can find the video in the post above. If you don't see a video, please check your browser settings.
Leave a Reply