
If you're an air frying lunatic (like me), it's essential to know how to clean ninja air fryer appliances properly.
You’ve probably experienced first-hand the pain of trying to remove baked-on grease from your well-used kitchen companion. There’s nothing worse than wolfing down a delicious meal and then going toe-to-toe with stubborn stains when you should be donning your elasticated pants, putting your feet up, and enjoying a cup of coffee.
However, cleaning your air fryer is critical to the cooking process. Neglecting to take care of it can cause an ugly grease buildup, burnt-on stains, and even complete appliance failure.
Fear not! This Ninja Foodi Air Fryer cleaning guide will show you how to wash your oven's interior with minimal effort, giving you more time to do the things you love.
Jump to:
The Tools You'll Need To Make Cleaning Effortless
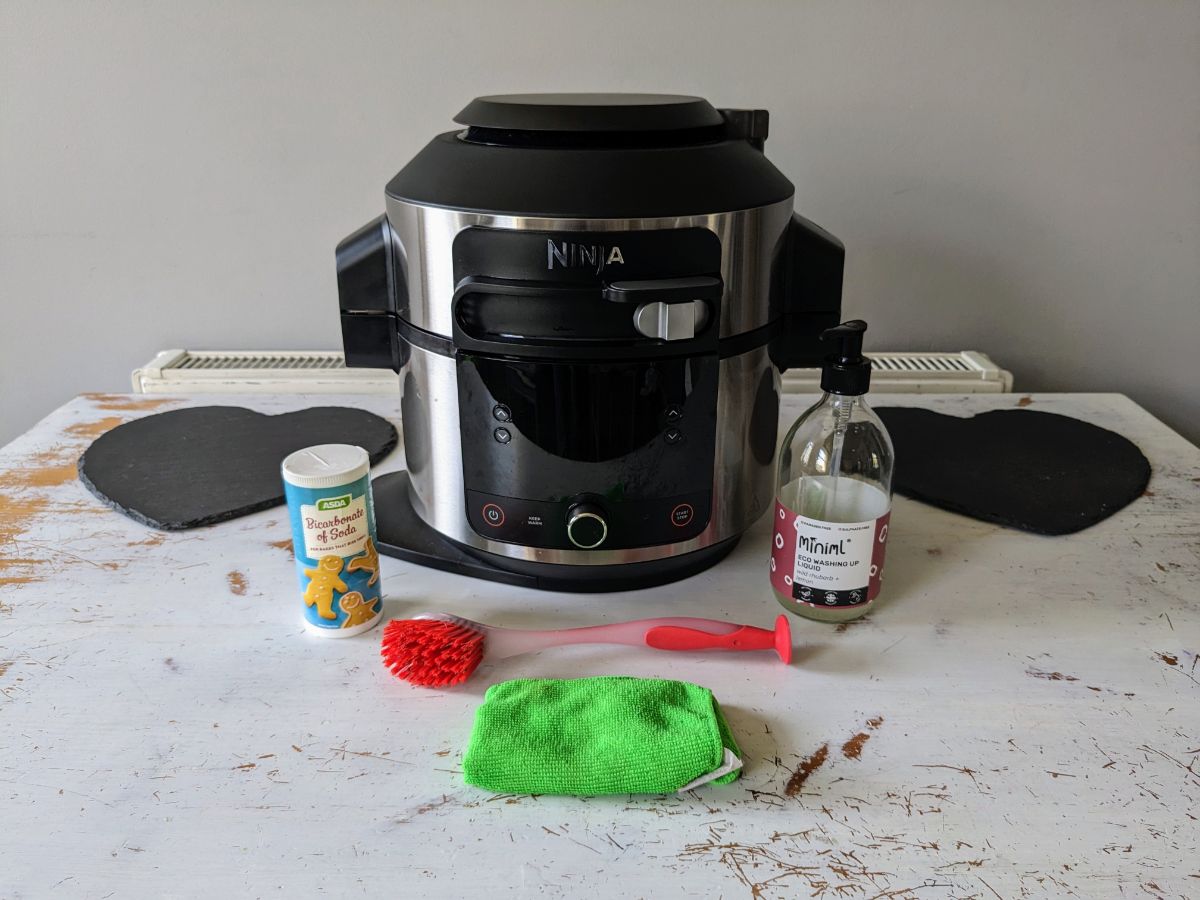
Here are the essential tools (and a couple of optional ones) you’ll need to get your air fryer sparkling clean.
- Soft Washing Up Brush
- Microfiber Dish Cloth
- Non-Abrasive Dish Soap
- Bicarbonate of Soda or Baking Soda
- Soft Toothbrush or Bottle Brush (Optional)
- Kitchen Work Surface
Soft Washing Up Brush & Microfiber Dish Cloth
You need to use soft brushes and cloths to clean an air fryer. Using rough scrubbing brushes on your air fryer oven components will damage the coating and drastically reduce its lifespan.
Non-Abrasive Dish Soap
While it might seem counterintuitive to use gentle detergents on tough stains, you'll need non-abrasive cleaners for the same reason you need soft utensils.
Bicarbonate of Soda or Baking Soda
Use either baking soda or bicarbonate of soda as an ad hoc oven cleaner that unleashes spectacular results. More on that later.
Old Toothbrush or Bottle Brush
Though these cleaning tools aren't essential for a clean air fryer, they can get to those hard-to-reach places more precisely.
Kitchen Worktop
Getting down and dirty with your air fryer components on a hard, flat surface is much easier than rattling around in your kitchen sink.
The Dishwasher Clause
While most of these cleaning tips are transferable to other air fryer brands, this article is based on the Ninja Foodi 11-in-1 Air Fryer.
All its air fryer components are dishwasher-safe, which is the easiest way to clean this air fryer. However, if you don't have a dishwasher like me, these tips are priceless.
If you have a dishwasher (but not a Ninja Foodi 11-in-1), consult your manual to make sure the air fryer parts are dishwasher-safe before putting anything through a cleaning cycle.
Make Daily Cleaning Look Easy
First things first. The air fryer I've used for this guide is my daily cooker and not some review unit; as such, it's taken a beating for the last six months and is probably a good representation of most air fryers.
I wish I'd written this guide last year.
With that said, you should clean your air fryer after every use. Otherwise, you'll end up with a stained air frying basket and cooking pot that are an absolute nightmare to clean.
I'd like to tell you that I'd purposely let grease and grime build up on my Ninja air fryer for the purposes of this article, but I didn't. I'm human and don't always clean my kit as efficiently as I should.
However, it allows me to show you how well these tips work on an air fryer that gets beasted every day.
Before You Tackle Your Greasey Air Fryer
Take these steps to ensure your safety before attacking that baked-on grease.
Turn off your air fryer oven: It might seem like common sense, but you'd be surprised how many people hurt themselves by neglecting this step.
Let your air fryer cool down: Most articles like this tell you to wait for it to cool completely before blitzing it with a wet cloth or soft sponge.
But cold fat and grease are a nightmare to get off. Wait until the basket has cooled slightly and the grease is still loose. Use an oven mitt or silicone glove to handle the removable parts, just in case.
Cleaning the Exterior of Your Air Fryer
Unless you've had a major food explosion, you can wipe the exterior clean with your microfiber cloth and warm soapy water. The stainless steel finish will thank you for the soft material and that you kept it free from scratches.
Give it a thorough rub down with a dry cloth for an extra shine.
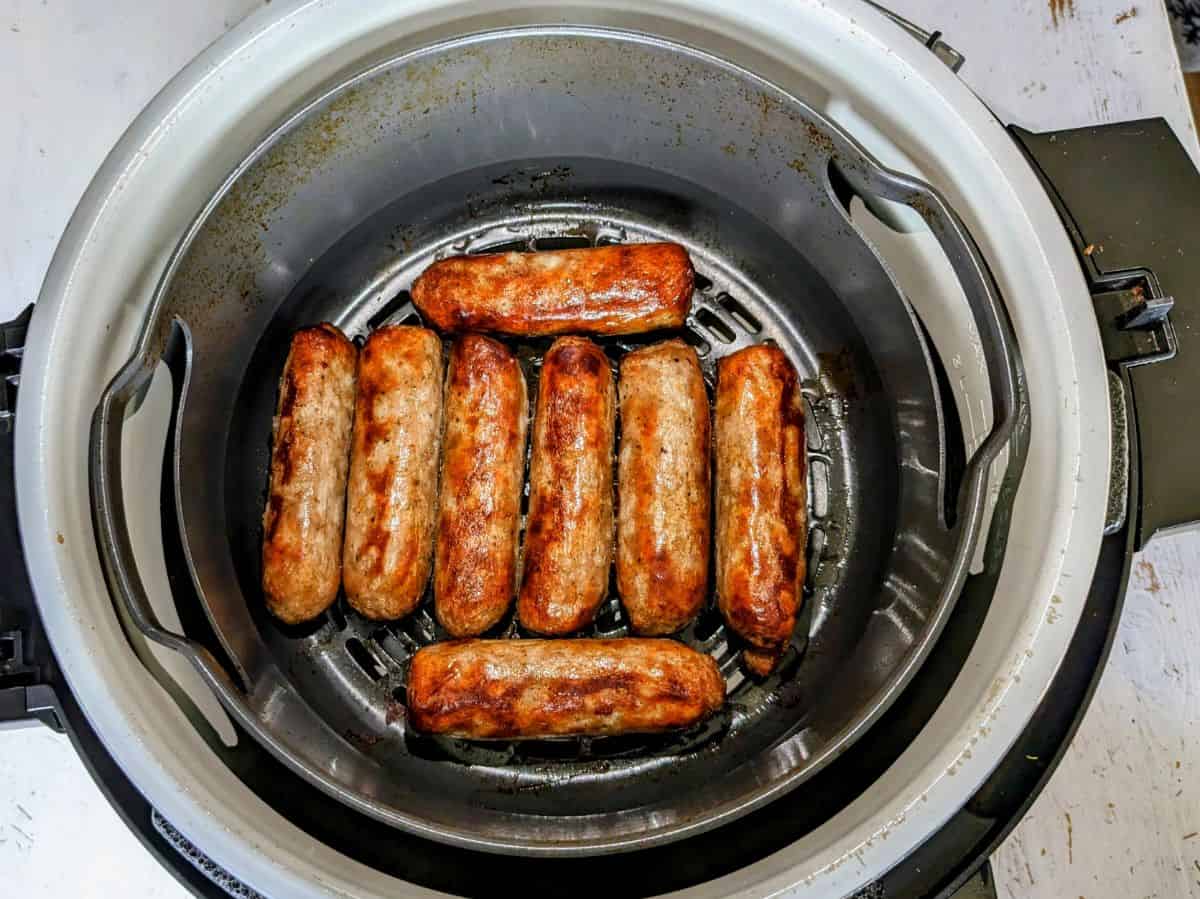
Cleaning Your Air Fryer Basket
The air fry basket (called "Cook & Crisp Basket" by Ninja) is relatively easy to clean.
Remove the plastic stand from the bottom of the basket and submerge them in hot or warm soapy water. I like to have a quick swish around with the soft washing brush to loosen any cooked-on grease before leaving them to soak for five minutes.
After soaking your Ninja Foodi air fry basket, use your damp microfiber cloth to wipe away the residue from all the nooks and crannies, then rinse until clean.
For stubborn burnt-on food, wrap the cloth around your finger and go to town on that bad boy. Never, EVER, use metal utensils to scrape it off, or you'll damage the non-stick coating.
You might need the help of your soft cloth or old toothbrush for the handles and the perforations on the bottom of the basket, which are prone to severe grease buildups.
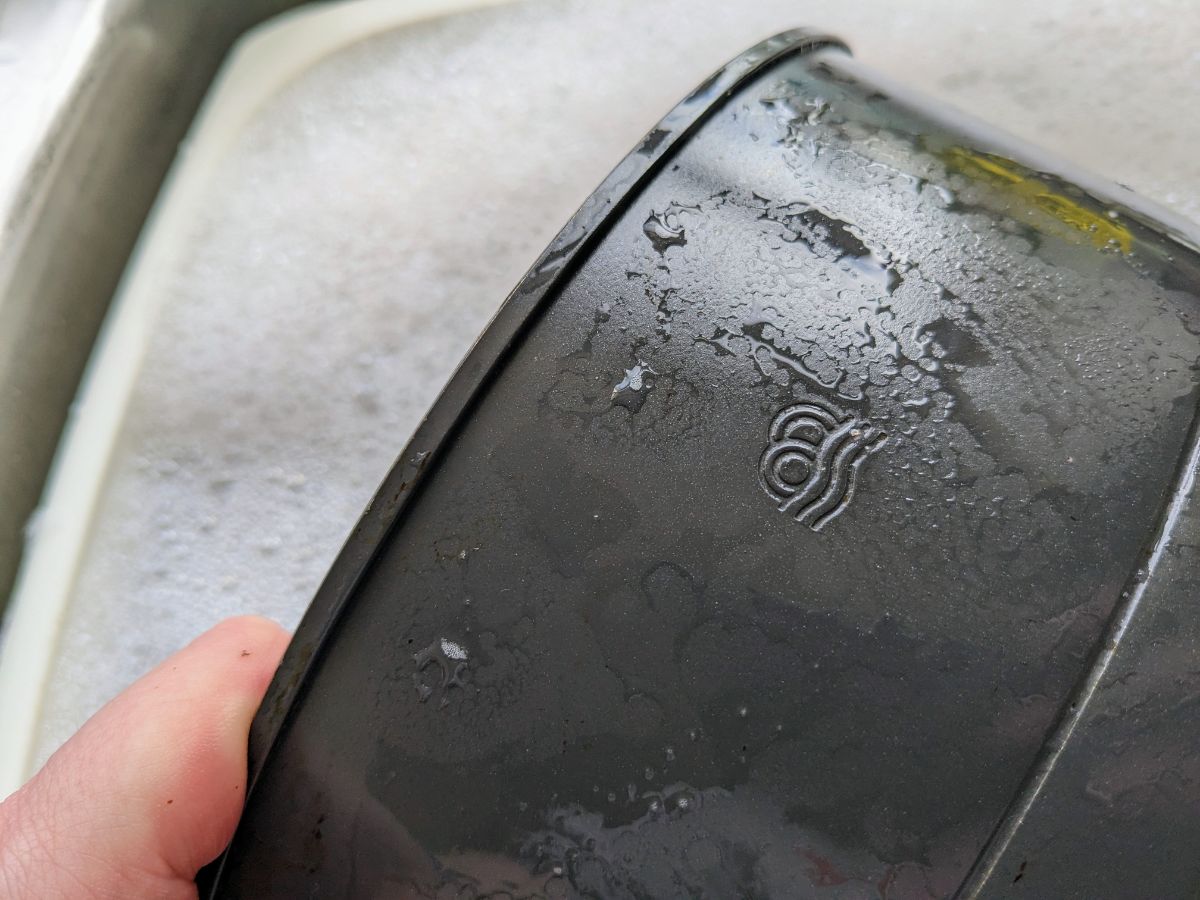
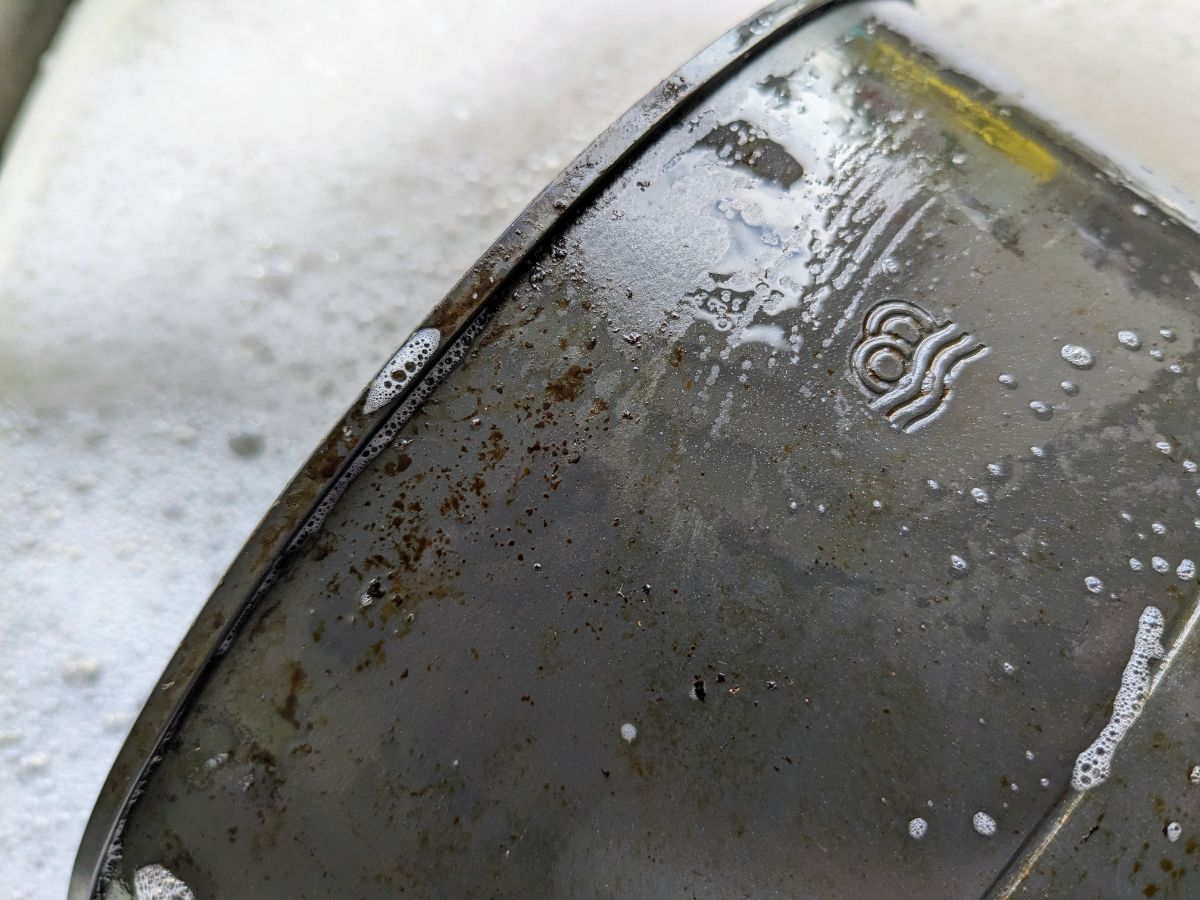
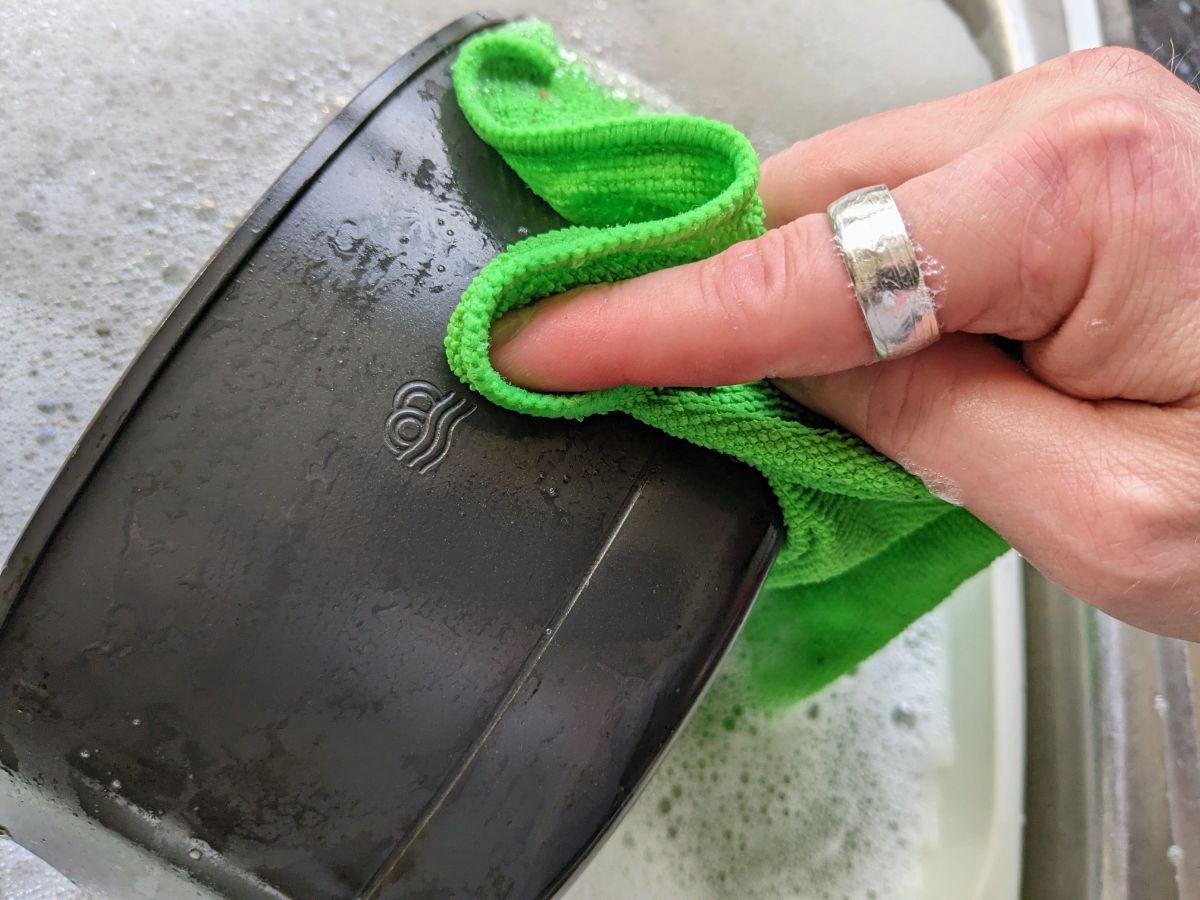
Cleaning the Cooking Pot
You can wash the cooking pot the same way you washed the air fryer basket using warm water, dish soap, and a soft brush. However, there are times when you'll be able to simply wipe the pot clean, like when reheating pizza or cooking dry foods.
Over time the pot will become discolored but will still function as normal.
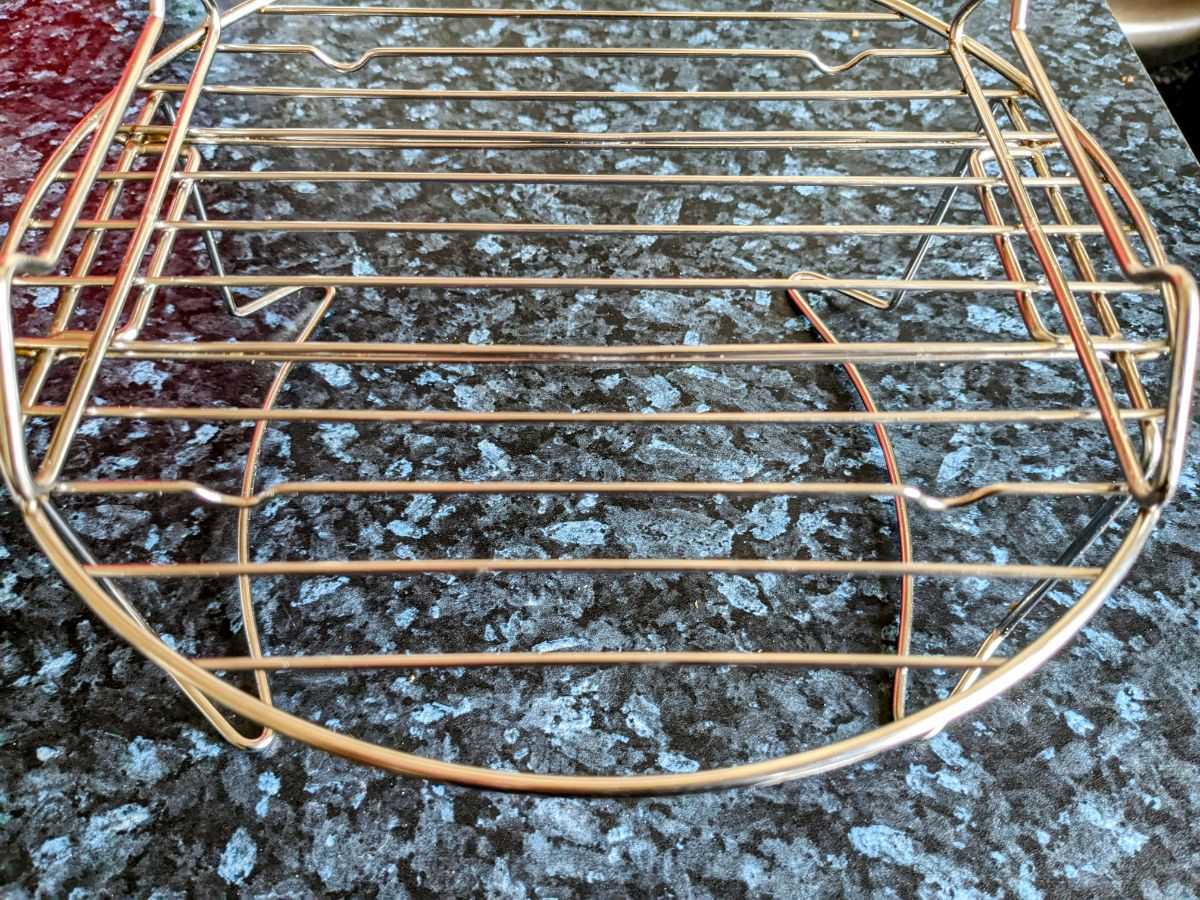
Cleaning the Reversible Rack
This accessory (which comes with the Ninja Foodi 11-in-1 Multicooker) is the most frustrating component to clean. The wire rack is a wretched hive of scum and villainy *Star Wars reference* that can be tough to eliminate without a deep clean.
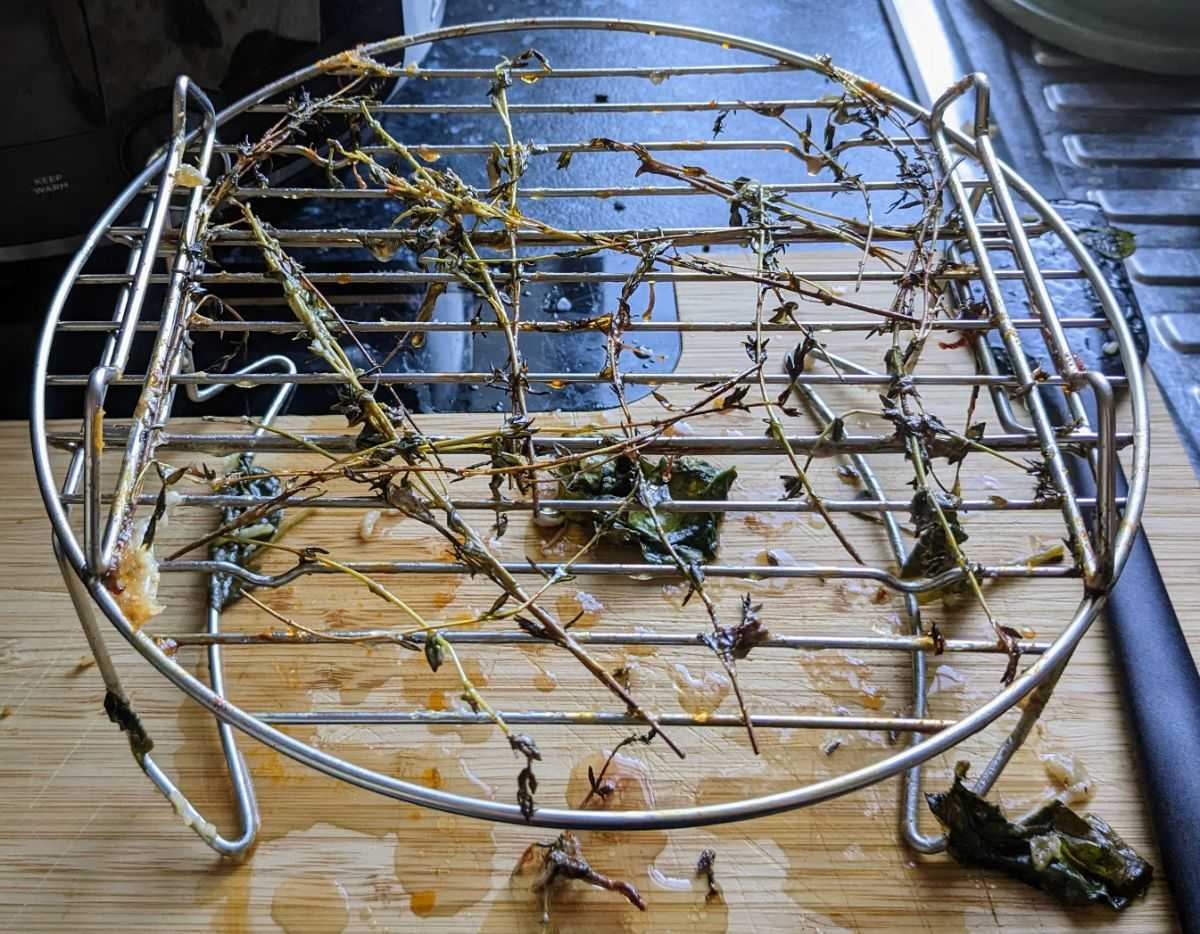
The reversible rack is an incredibly versatile bit of kit. Unfortunately, it comes at a cleaning cost. While soaking helps, you'll still need to clean each wire rung individually (or steam clean it with the pot).
Cleaning the Silicone Ring
Consult your manual for the correct procedure for removing the silicone ring and toss it in warm, soapy water.
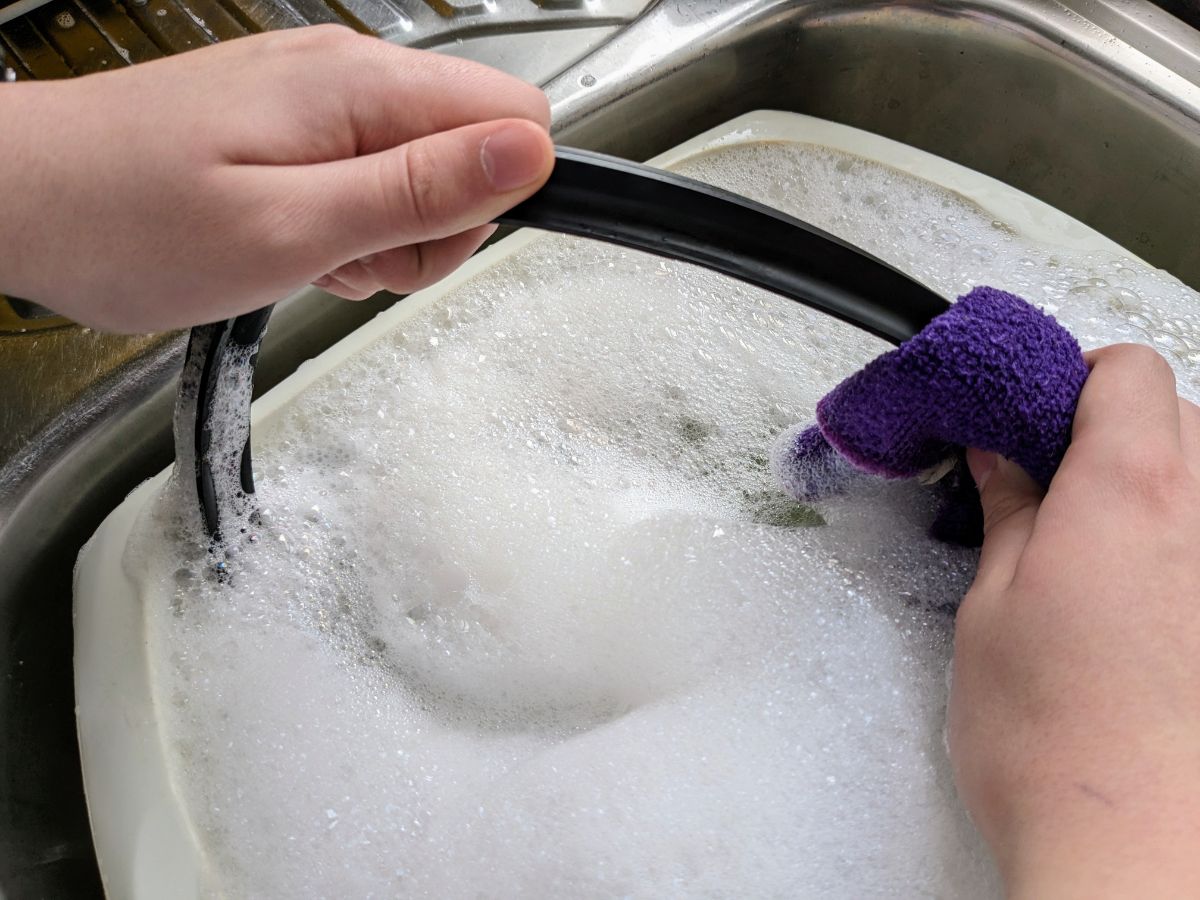
Nothing really sticks to it, so wipe away any residue and go about your day.
Deep Cleaning Your Ninja Air Fryer Like a Boss
As this guide was written using the Ninja Foodi 11-in-1 Air Fryer, you might not have the steam feature I use for deep cleaning.
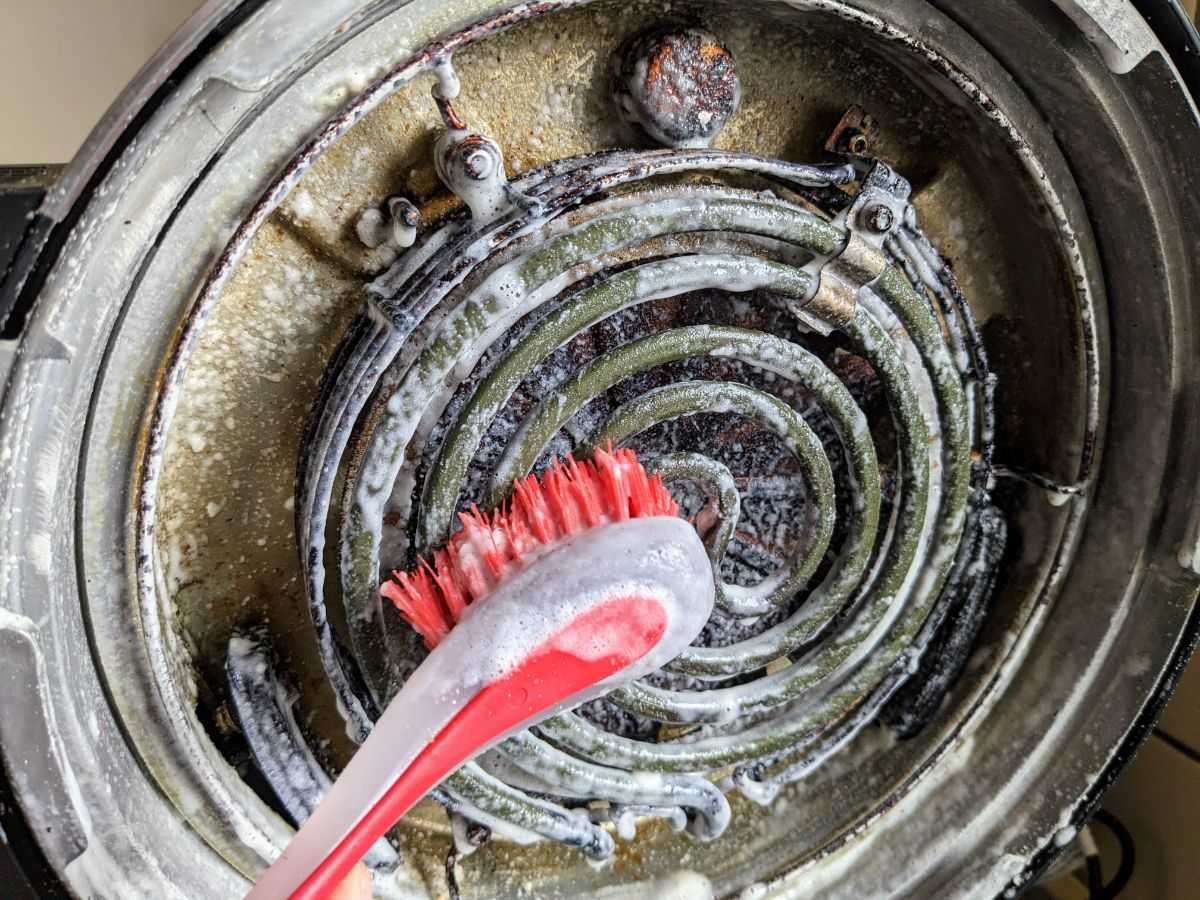
Cleaning the Heating Element
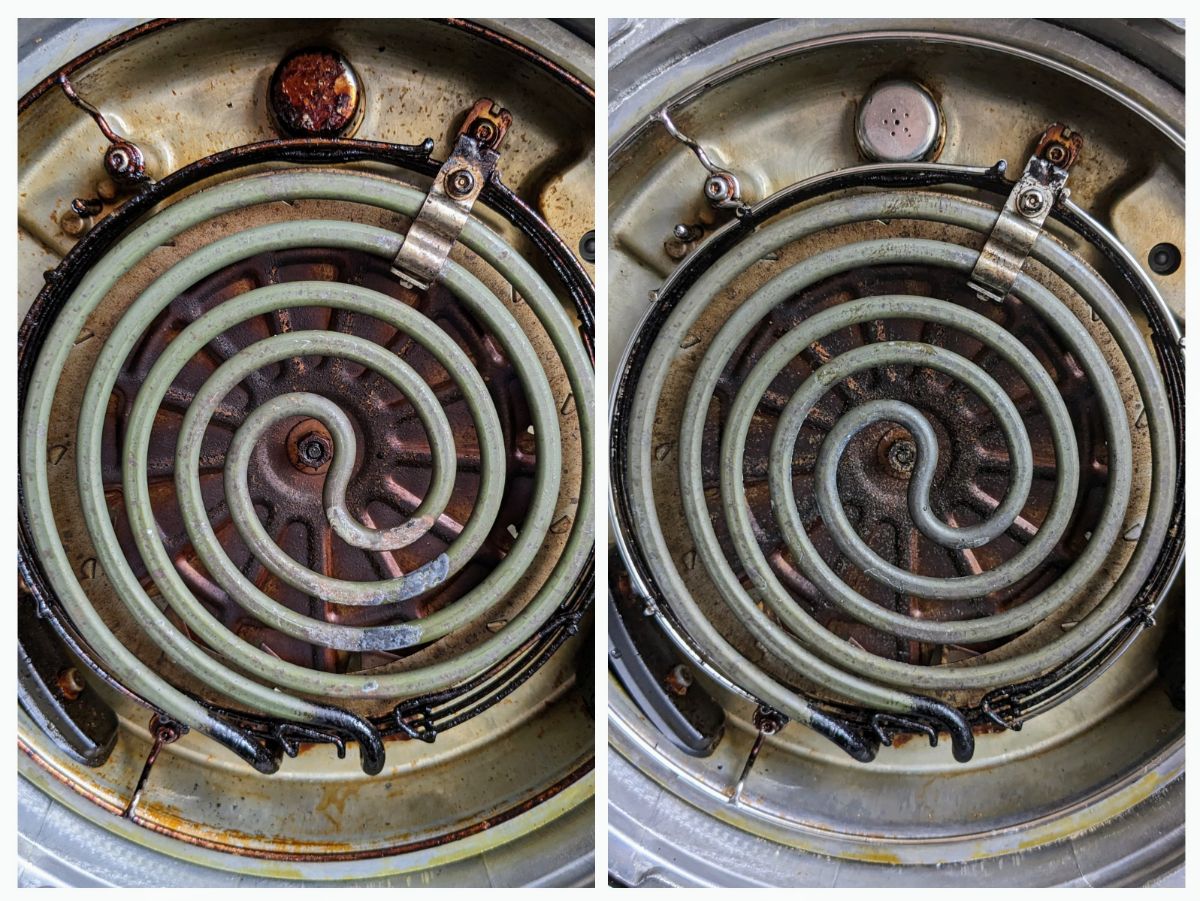
The heating element is one of the most forgotten parts of the air fryer. But if neglected, bits of food can get stuck to the element and make it smell like burnt hair on a two-week-old burrito the next time you use it.
You don't need to clean it after every use, but giving the heating element some TLC every couple of weeks is a good idea (or it'll end up looking like mine).
Give the coil and the surrounding area a cursory wipe with your hard-worked microfiber cloth and warm soapy water to remove any caked-on food and oil splashes. With the large food particles dispatched, apply some mild detergent (or the bicarb paste) to your scrubbing brush and work clockwise around the heating element. Don't put too much pressure on it, or your risk causing damage.
If there's grease and grime underneath the heating element, use a wire bottle brush if you have one, but be extra careful not to break your fan. Once clean, run the air fryer at 200 degrees for 5 minutes to dry it out and get rid of any residual detergent, and to let it dry completely.
Make the Most of Your Ninja Air Fryer
My favorite air fryer hack is using the 'Steam Cook' feature for a deep clean.
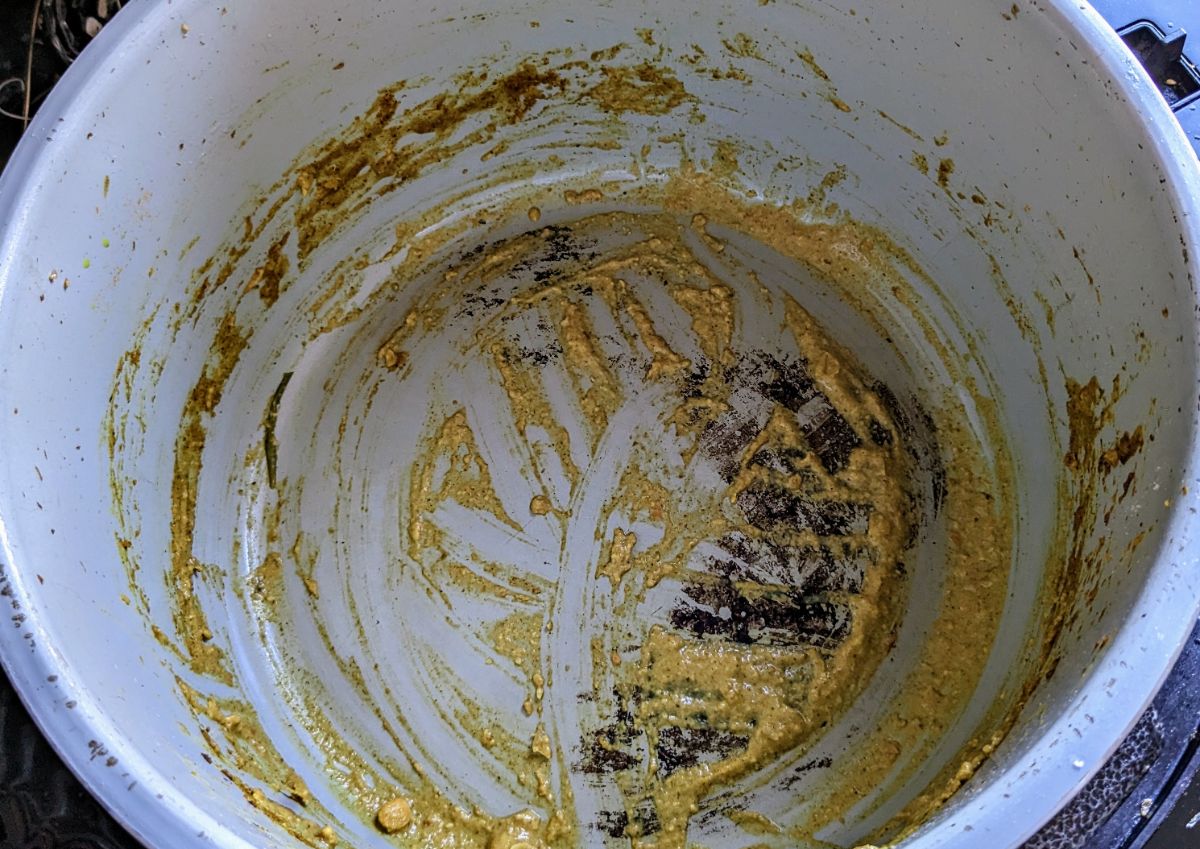
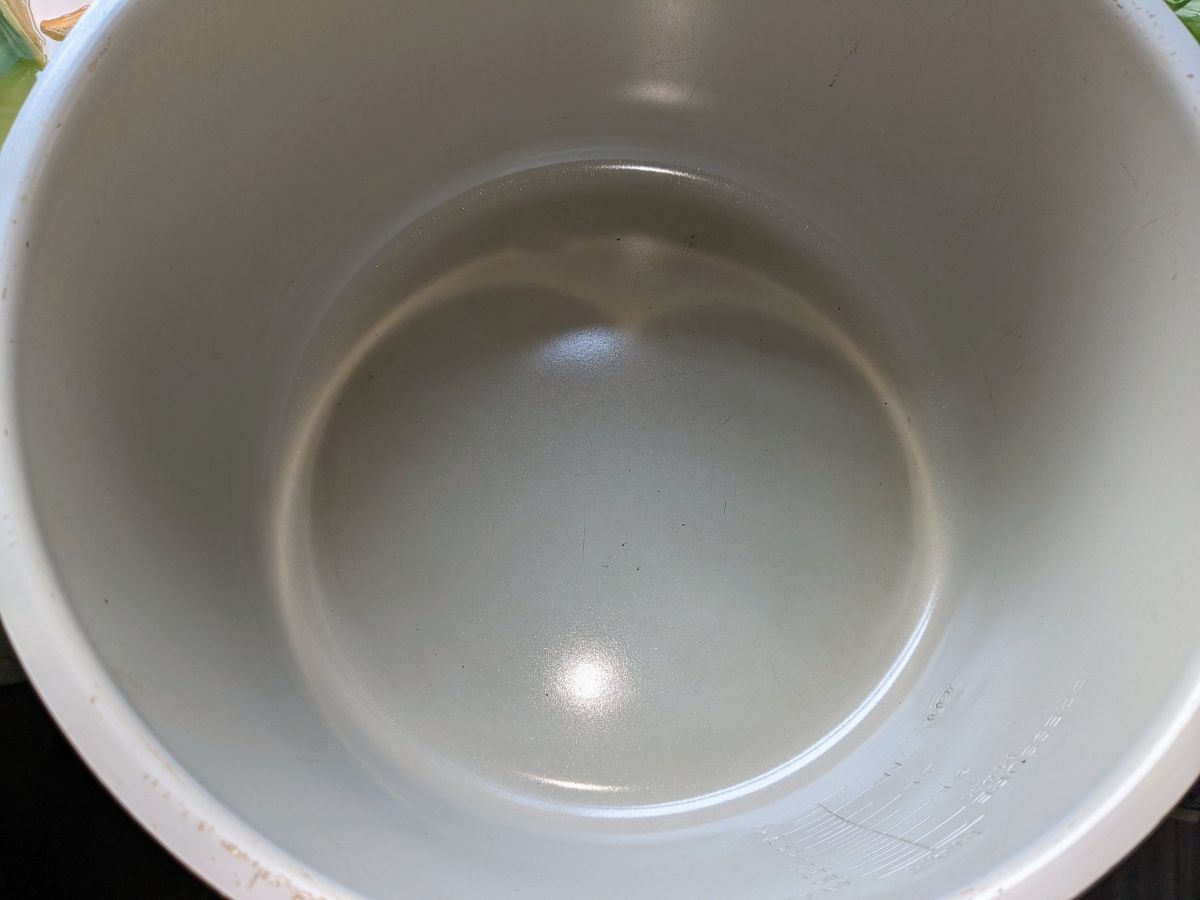
If you've been cooking particularly fatty foods (like cheeseburgers or hotdogs), or you've burnt your curry *ahem*, hand washing won't cut the mustard. You can obliterate the filthy interior of your ceramic-coated air fryer pot on the 'Steam' setting.
Pour 150 ml of hot soapy water into the non-stick pan, and set the multicooker to steam for 5 minutes. After the preheat cycle and five minutes in a Ninja sauna, that stubborn food will wipe right off.
Baking Soda is Your Friend
In times of culinary catastrophe where even the steam function hack doesn't work, breaking out the backing soda (bicarbonate of soda) could save the day.
Mix a solution (three parts baking soda & one part water) to create a paste. Apply your homemade cleaner to the gross areas and leave it to dry. It'll take about 30 minutes.
Once dried, take your damp cloth and lightly scrub away the paste residue, and if the air fryer gods are smiling upon you, you'll be met with gleaming baskets and pots.
Mastering the Art of How to Clean an Air Fryer
Don't be like me; make systematic cleaning part of your air frying routine. Regular maintenance will ensure you don't have to do deep cleans too often and prevent future headaches.
I will be taking my own advice from here on in so that I don't have to work as hard to get my air fryer back in tip-top shape.
You Might Also Like:
How to Use an Air Fryer: Tips and Tricks
Ninja Foodi 11-In-1 Smartlid Multi-Cooker Review
Leave a Reply