

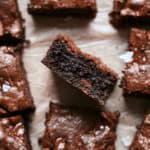
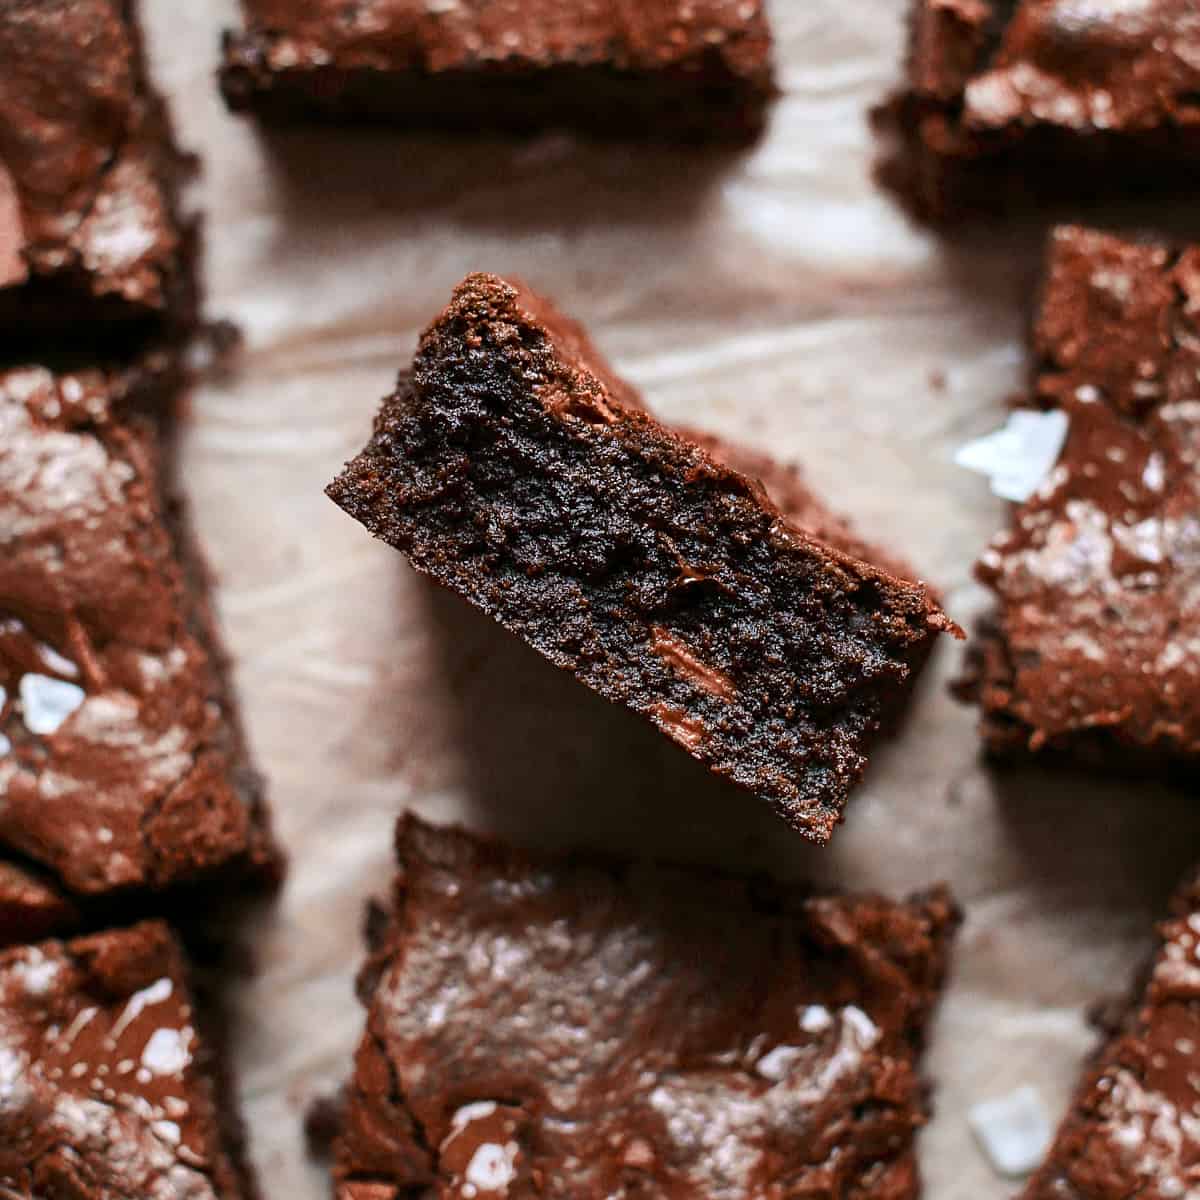
Learn how to make fudgy homemade brownies from scratch. This recipe is quick and easy to make and you need just 9 ingredients. Crispy top, fudgy center, and melting chocolate chunks. Better than box mix brownies and crowd approved. It's literally the best chocolate brownie recipe. By the way, have you tried my air fryer brownies or my edible brownie batter yet?
Jump to:
Ingredients notes and substitutions
- Cocoa - You can either use natural or Dutch-processed unsweetened cocoa powder. I tried this recipe with both and it works with both types of cocoa.
- Butter - European butter gives the best results due to its 82% fat content, but it works just as well with US butter (80%). You can replace butter with oil 1:1 if you like. I had great results with olive oil, coconut oil, and mild vegetable oil.
What pan size is best?
You get the most even baking results when you use an 8x12" (20x30cm) or 9x13" (23x33cm) baking pan, but you can also use a 9x9" (23x23cm) brownie pan. However, the baking results in a 9x9" (23x23cm) baking pan will be the most uneven, and the edges will turn out a little cakey.
Below you see a side-by-side comparison of the thickness. The brownies on the left are baked in a 9x9" baking pan and the ones on the right in a 9x13" baking pan. The ones on the left are about 1-inch thick.
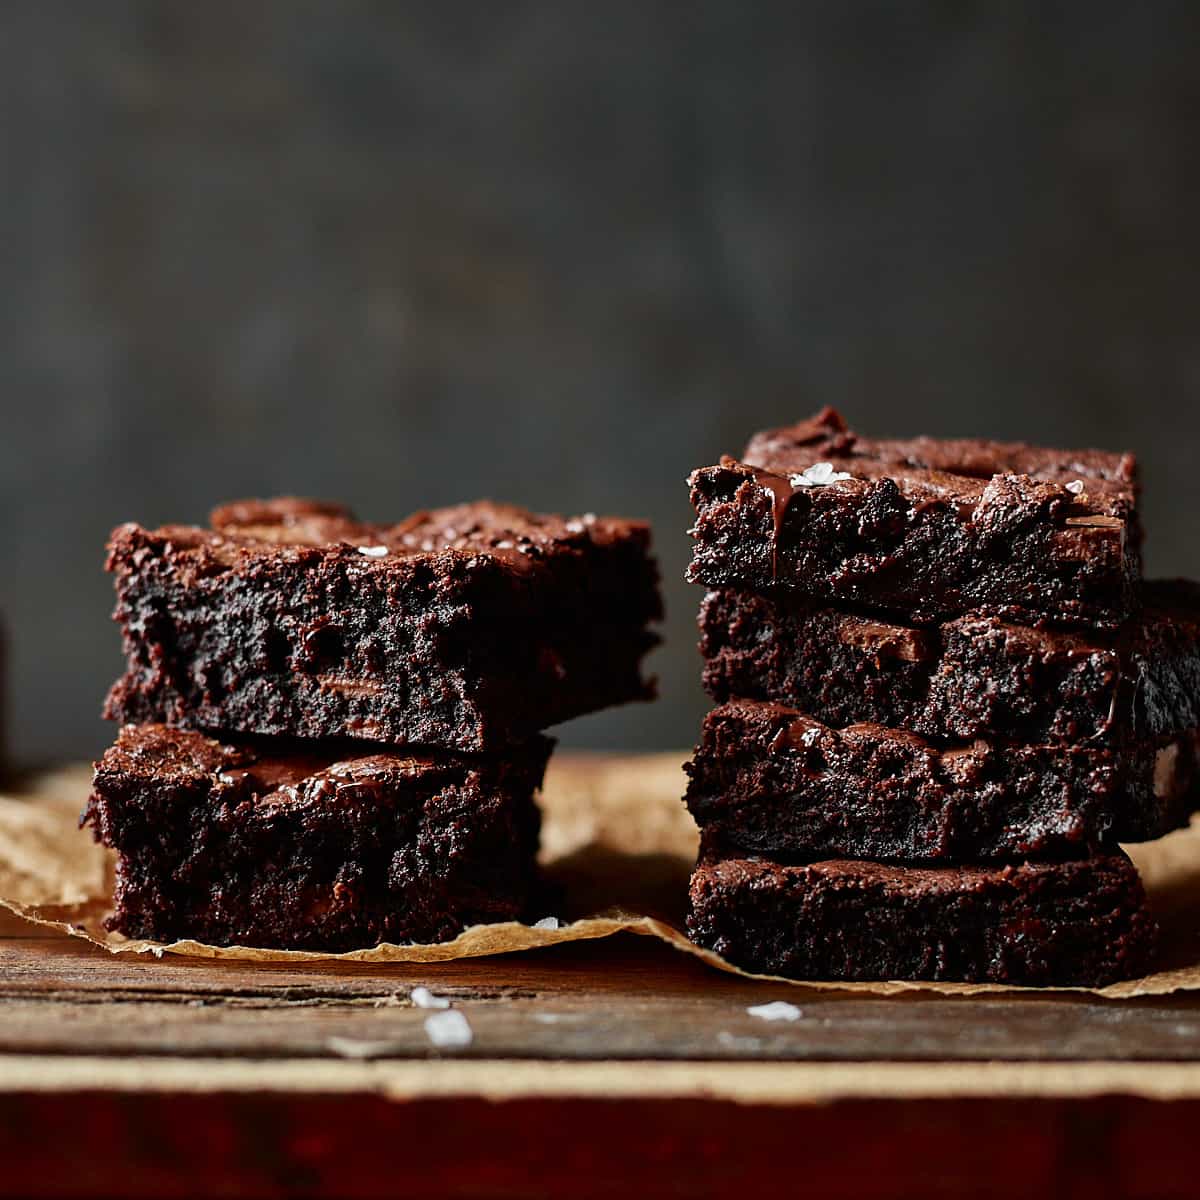
Photo instructions
Combine melted butter, both sugars, eggs, and vanilla in a large bowl and whisk until combined about 1-2 minutes. Alternatively, consider using an egg substitute for brownies if needed.
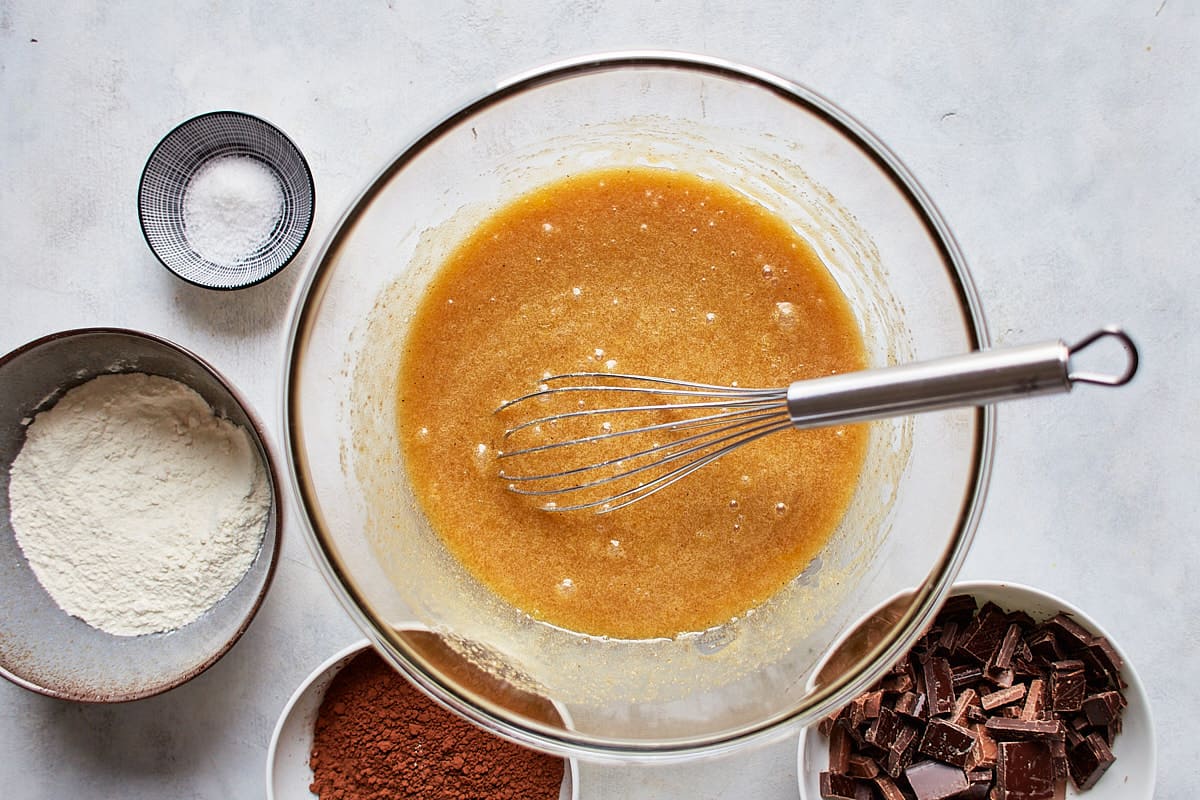
Place a mesh strainer on top of the bowl and sift in the flour, cocoa, and salt. Whisk just until combined.
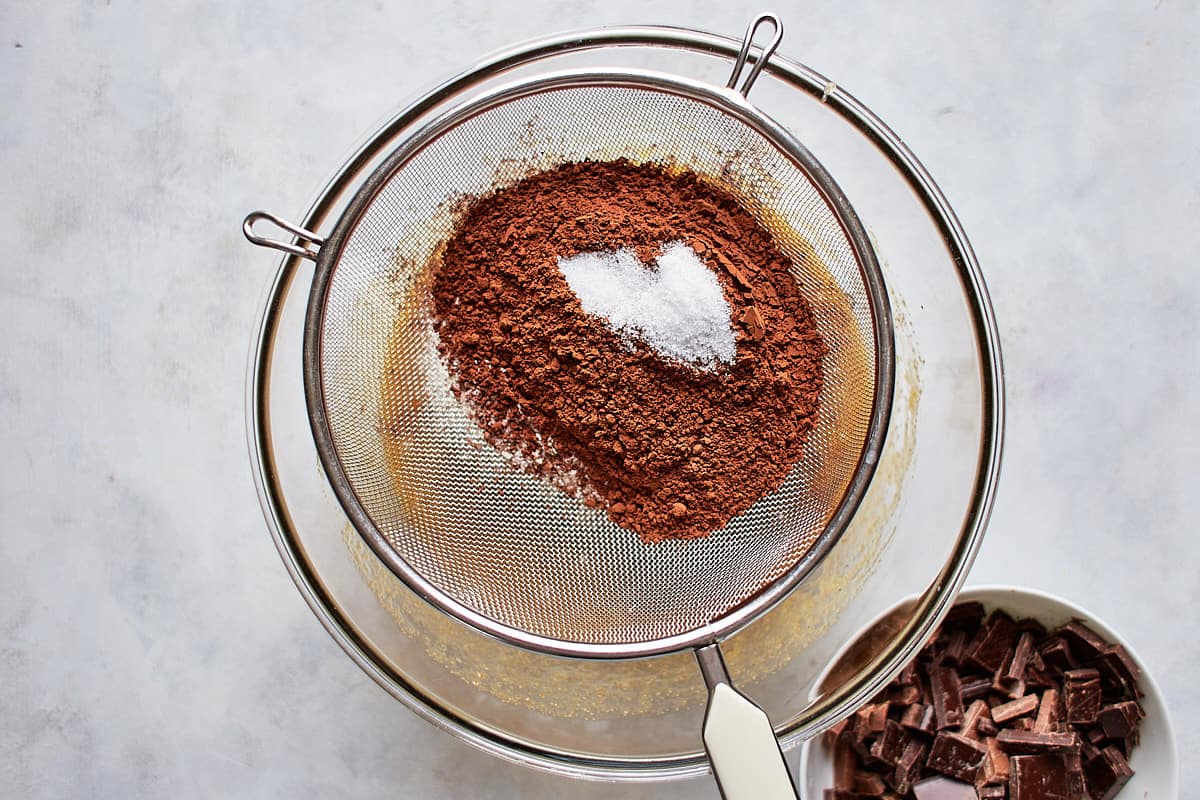
Add about 1 cup of the chocolate to the batter and whisk just to combine.
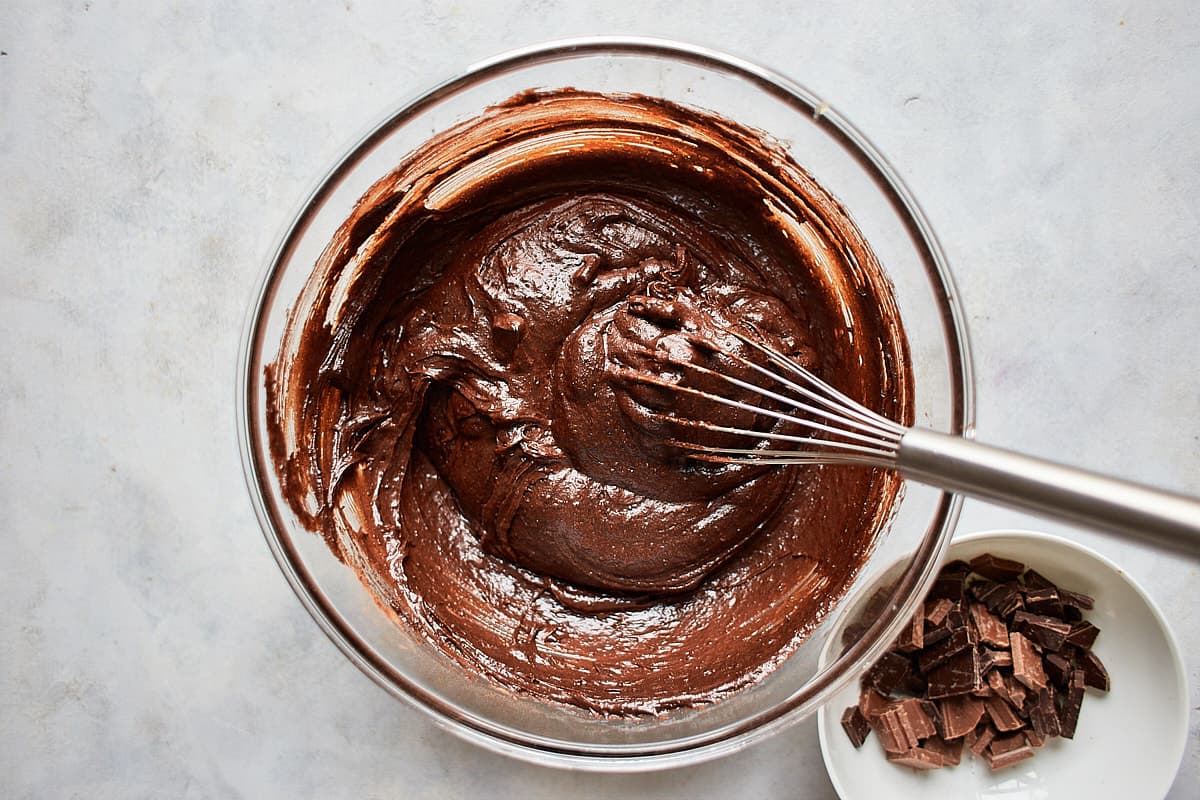
Transfer the batter to a parchment paper-lined pan and spread until even. Top with the remaining chocolate.
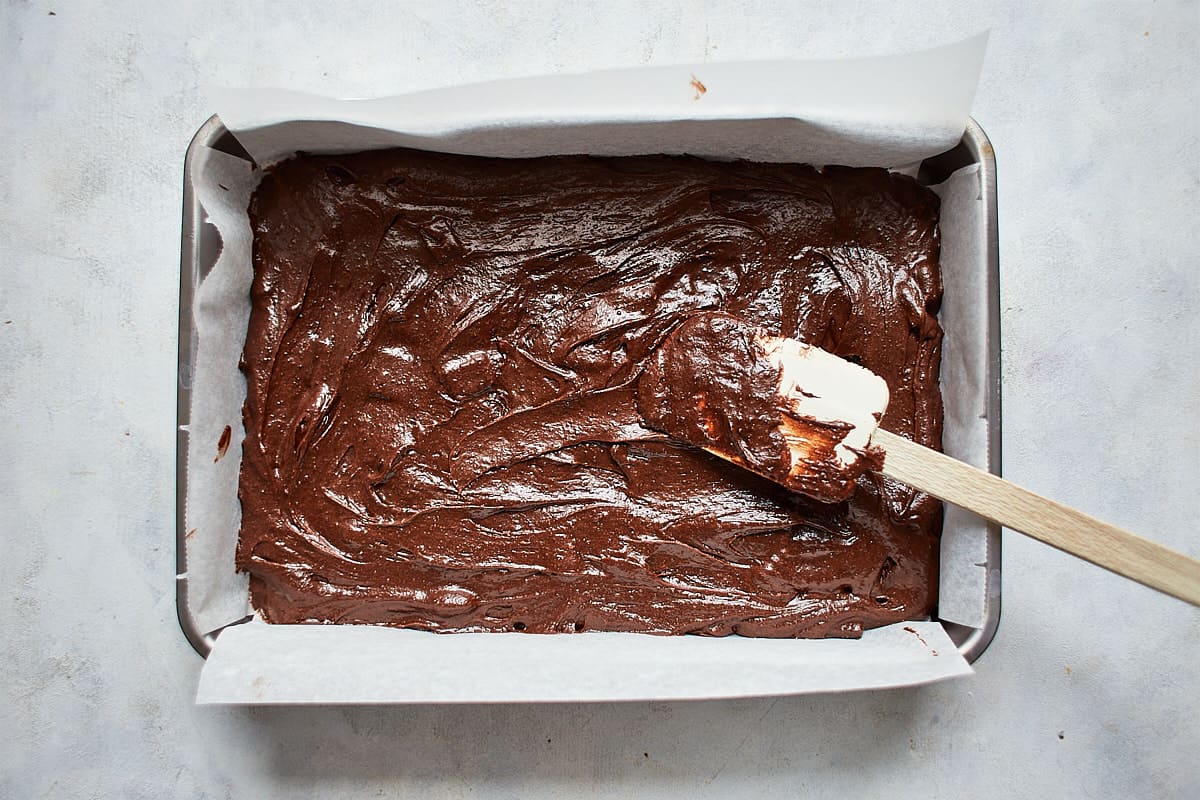
Bake until a toothpick in the center comes out lightly dirty with a few moist crumbs attached for lightly underbaked brownies with a fudgy texture. The center should no longer jiggle and the they are just set to the touch.
They will continue baking in the hot pan, so be sure that you don't overbake them.
How to do the toothpick test
The best method to tell when fudge brownies are done is with a toothpick test. A toothpick inserted into the center should come out slightly dirty with a few crumbs attached to it. See the picture below to see how my toothpick looks like when I remove the pan from the oven.
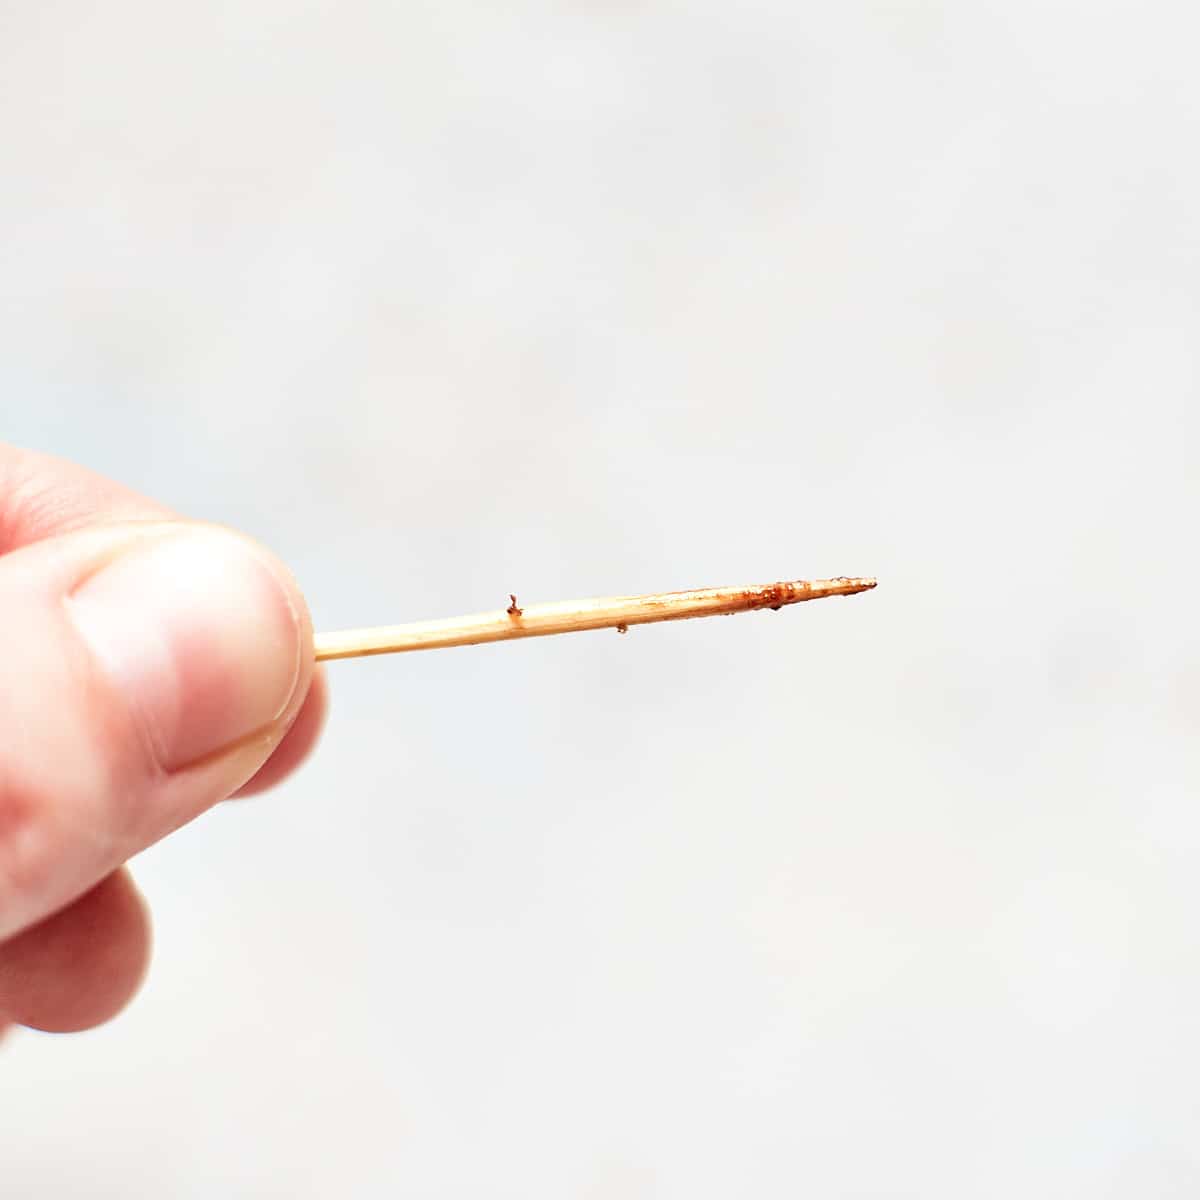
Maybe you don't get perfect results for the very first time. Don't worry too much and learn for the next time. When you write down how long you baked them exactly, you can adjust the baking time in both directions for the next time.
I baked mine for exactly 27 minutes in a 9x13" and 33 minutes in a 9x9" baking pan. But it's very important to find out the baking time for your oven.
Every oven works differently. Older ones maybe don't have the full power anymore. There are so many different reasons why baking time is never the same in different ovens.
Expert tips for best results
- Line the baking pan with parchment paper with an overhang around the sides to easily lift them out of the pan after baking.
- Use the spoon and level method for measuring the flour and cocoa.
- Mix the batter just until combined, using a whisk. This makes sure that you don't incorporate any air into the batter and they turn out fudgy.
- Don't overbake them. Remove them from the oven is there is no jiggle anymore in the center and are just set to touch. A toothpick inserted in the center should come out dirty.
- If you make this recipe for the first time, set the baking timer to 20 minutes for the very first time. Then check them every 1-2 minutes until they reach the desired consistency. Then jot down the exact time, that you know how long to bake them for the next time.
- Let them cool down in the pan for about 15-30 minutes. Then lift them with the parchment paper carefully out of the pan and let cool completely before you cut them.
Cooling and cutting recommendations
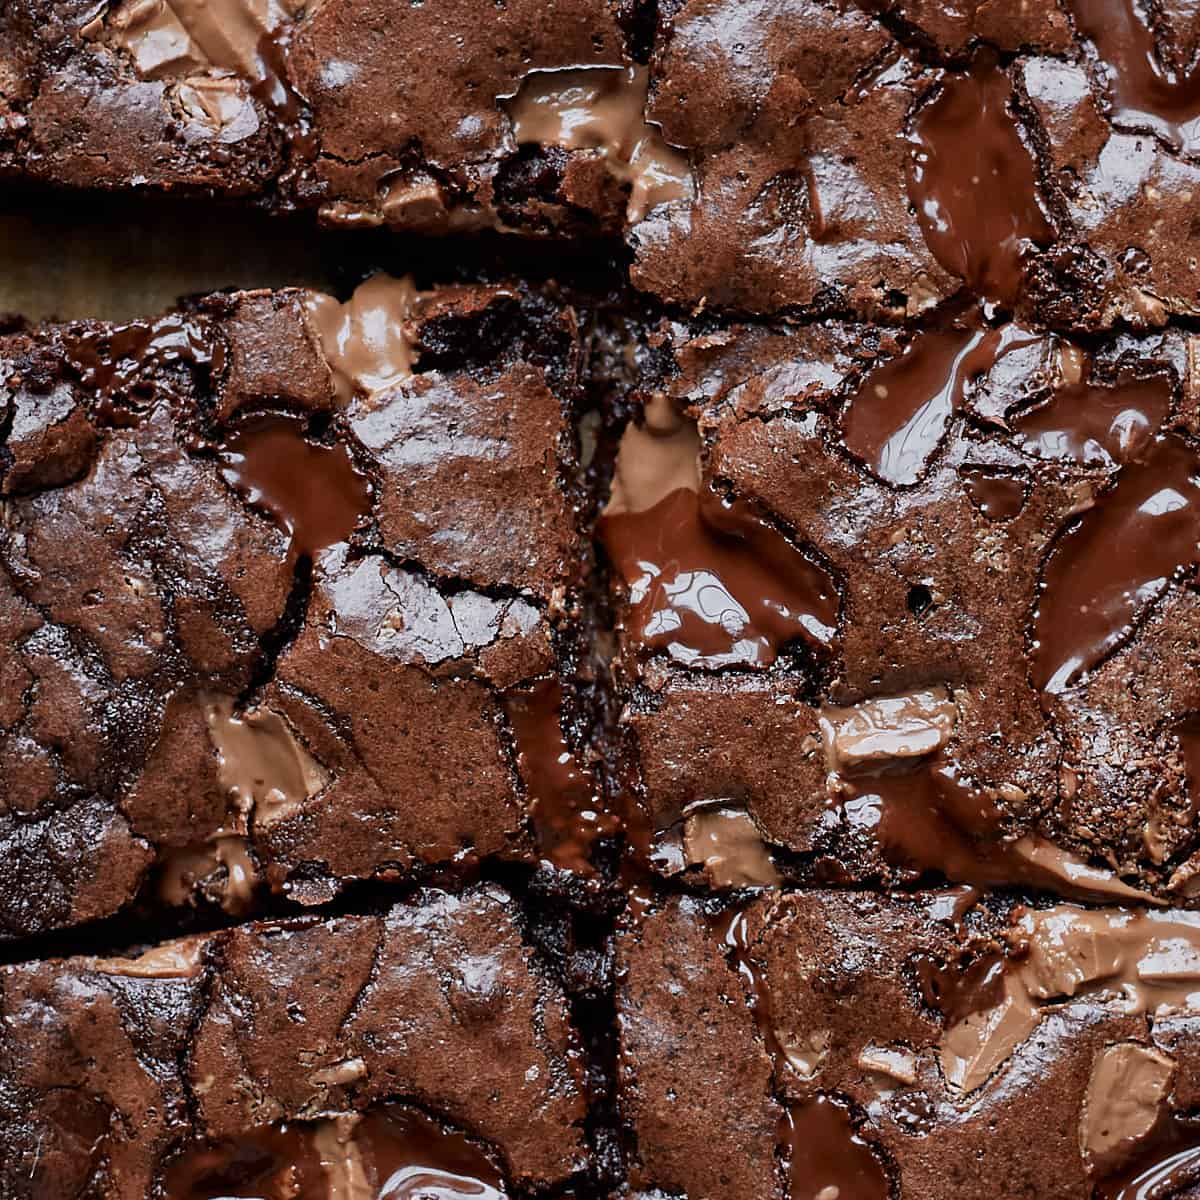
After removing the fudge brownies from the oven, let them cool in the pan for about 15-30 minutes until you can lift them with the parchment paper out of the pan and transfer to a wire rack to cool completely.
When the brownies are too soft to lift them out of the pan, then you might have baked them too short, and they are underbaked. In this case, just let them in the pan until they can be lifted out of the pan easily.
When they are too underbaked, the middle pieces will be very, very soft. Still delicious, of course, but you might need a fork to eat them.
Before you cut the brownies, let them cool completely. This makes sure that you get the most accurate cutting results. Use a sharp long knife for cutting. If necessary, clean the blade after each cut.
Why are mine not fudgy but cakey?
There are multiple reasons why they can turn out cakey rather than fudgy. If you follow this recipe, measure the flour correctly, and don't swap ingredients, all you have to do is make sure you don't overbake them, and you'll have super fudgy chocolate squares. Brownies should not be baked as long as a chocolate cake. The longer they bake, the cakier (=drier) they become.
Storing and freezing instructions
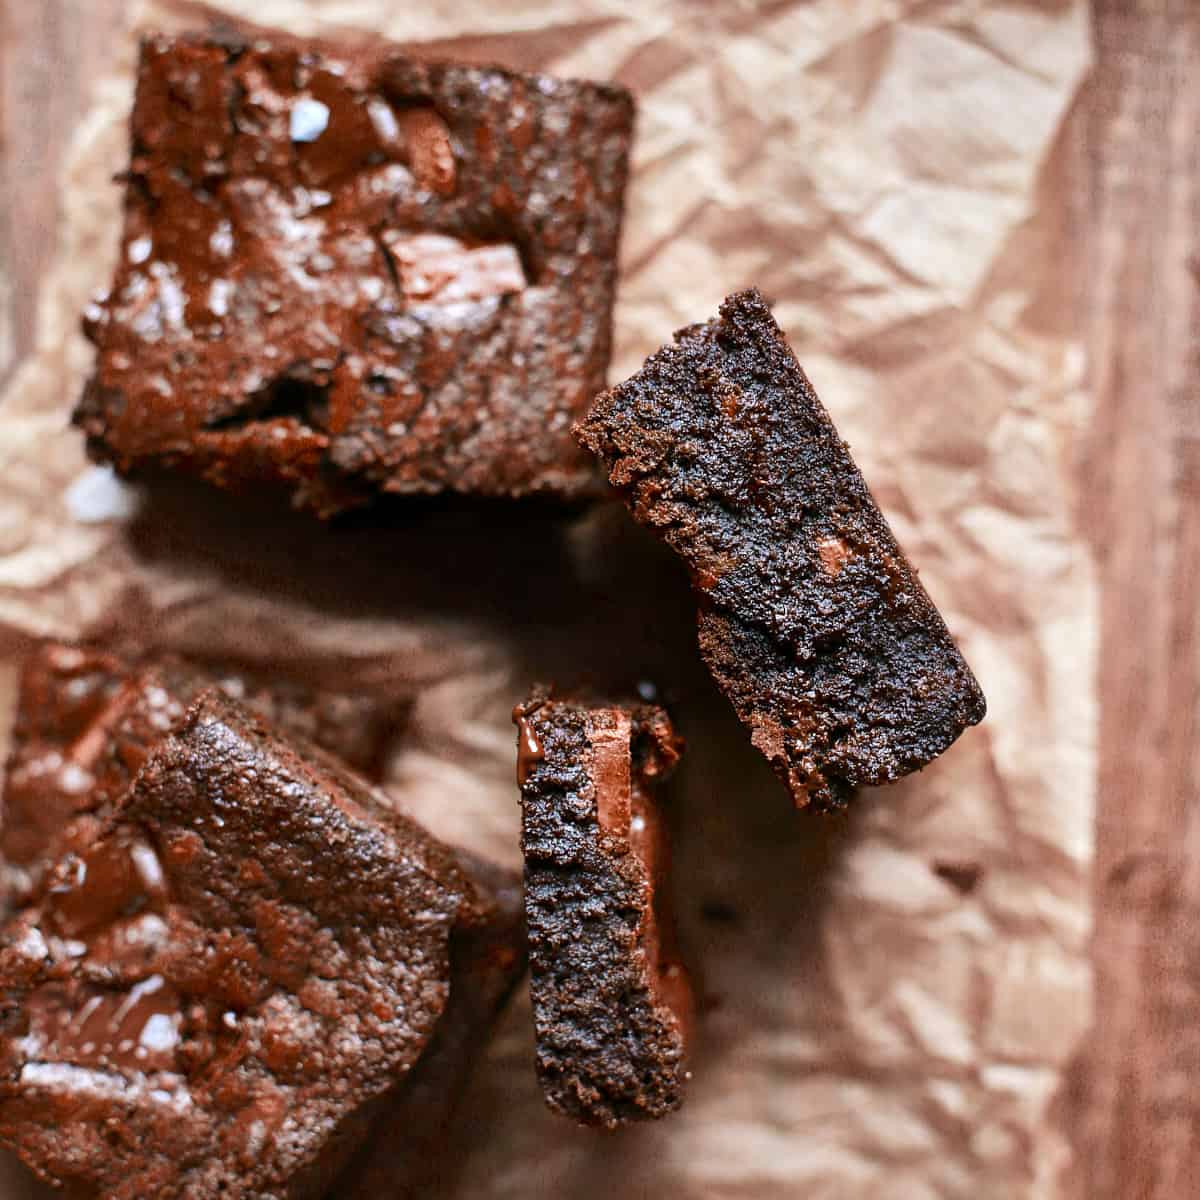
- Store them in a container at room temperature for up to 4 days or in the fridge for up to 5 days.
- If you freeze them, let them cool completely and then cut. Wrap single pieces in plastic wrap, place in freezer bags and freeze for up to 3 months. To thaw, unwrap and let sit at room temperature for about 1 hour. Reheat in the microwave if desired.
More chocolate recipes to try
If you don't get enough of these fudgy treats, I have you covered. Maybe you would love to try my peanut butter brownies, brownie cookies, brownie cupcakes, or chocolate brownie ice cream cake. Also in my cookbook is a whole chapter dedicated to them.
Recipe
Homemade Brownie Recipe from Scratch
Ingredients
- 1 cup unsalted butter, melted
- 1 cup granulated white sugar
- 1 cup packed light or dark brown sugar
- 4 large eggs
- 2 teaspoon vanilla extract
- 1 cup all-purpose flour, spooned and leveled
- 1 cup Dutch-processed or natural unsweetened cocoa powder, spooned and leveled
- 1 teaspoon salt
- 1 ¼ cups high-quality chocolate bars, chopped
Instructions
- Preheat the oven to 350°F / 175°C (in the video stands 375°F but this is a typo, 350°F are correct). Line a 9x13–inch* (23 x 33–cm) baking pan with parchment paper with an overhang around the sides and set aside.
- In a large bowl, whisk together the melted butter, white and brown sugar, eggs, and vanilla just until combined, about 1 minute. Then, sift in the flour, cocoa powder, and salt and stir just to combine, another minute. Add 1 cup of the chopped chocolate bars and whisk to combine.
- Transfer the brownie batter to the prepared baking pan and sprinkle the remaining chocolate bars evenly on top. Bake for 23-30 minutes, or until the brownies don’t jiggle anymore when the pan is moved and they are just set to touch. A toothpick inserted into the center should come out slightly dirty with a few crumbs attached to it. The time varies from oven to oven, so check the first time after 20 minutes and then frequently until they are done.
- Remove from the oven and let cool in the pan for about 15-20 minutes—the brownies will continue to bake in the pan. Then, carefully lift them out of the pan and transfer to a wire rack to cool completely before cutting. Cut into 15 bars and store in an airtight container at room temperature for up to 3 days or freeze for up to 3 months.
Video
You can find the video in the post above. If you don't see a video, please check your browser settings.
Ashleigh
I’ve made these brownies several times and they are always a fantastic hit! I add peanut butter chips as well as chocolate chunks and it’s so decadent. I recently switched out the flour for a gluten free flour and used coconut oil instead of butter to be GF & DF and they still turned out decadent and mouth watering. I used a gf flour I bought at Sprouts and used the same measurements and I did 8oz of coconut oil in place of the butter. Thank you for this recipe and I highly encourage anyone who hasn’t made these yet to do so immediately.
Kathryn
These will be my new go to brownie. So good and moist. Made them for the first time tonight and brought them to a neighborhood party. Got tons of compliments on them. I added some espresso coffee powder - they are amazing. Followed the recipe exactly, didn’t change a thing. So good! Try them you won’t be disappointed!!
Raegan
I am a 11 year old baker and I am using your recipe for a brownie lemonaid stand (I am giving proper credit) but I could not get the chocolate bars do I have to add that chocolate or is it fine with the other 8 things? Thanks for the recipe!
Sabine
You can absolutely make them without the chopped chocolate bars. They are delicious either way. Good luck!
NaeNae
Best brownie recipe that I've come across so far!
Maha
I want to half this recipe but idk in which pan should I bake to in so that it bakes evenly and doesn't have cakey edges on the sides. Any tips?
Sabine
If you make just half the recipe I suggest baking it in an 8x8-inch (20x20cm) brownie pan. I hope that helps.
Marisol
Delicious!!! I this will be my go to recipe for brownies from now on.
I added espresso powder and it enhanced the chocolate flavor nicely. Thank you for all the great recipes you post
Louise
I made this so many times and its soooooo good. But, my brownies doesnt have cracks on the surface. Any suggestion what to do?
Sabine
A crackly crust depends on how long you mix the batter after the eggs are added. The more you beat the more crackly they are on top. I don't recommend overbeat the batter otherwise they could turn out cakey. If you do want to have a crackly crust you could whisk the eggs in a separate bowl until foamy and frothy for about 2-3 minutes and then add them to the batter and continue as described. I hope that helps!
Rachel Clark
What do you think about using coconut oil instead of vegetable or olive oil?
Sabine
As you would need to add 1 cup of coconut oil, keep in mind that they would taste very strong like coconut but it works. Hope that helps.
Sarah
Would they turn out OK if I use eggbeaters instead of the eggs?
Sabine
I've never tried to use eggbeaters for this recipe but I'm pretty sure that they would end up drier and not fudgy because of the missing egg yolks. I recommend sticking to eggs. Hope that helps!
Katie Swanson
Love!
I couldn’t remember my normal brownie recipe for the life of me! After some time searching, I decided to try this recipe.. and it did not disappoint! I have now found my new brownie recipe!
Thanks so much!