
Learn how to make homemade condensed milk from scratch. You only need two ingredients, and it's so easy to make. It's a key ingredient for many different desserts, including cakes, pies, ice cream, and fudge. You can use this recipe in place of store-bought condensed milk. I used it for my pumpkin pie, for example.
Condensed milk is not always available in stores, so it's best to know how to make this sweet, thick, and syrupy milk from scratch and have it available whenever you need it.
It's milk that has been cooked to reduce the water content of the milk, and then sugar is added. It's referred to as condensed milk and sweetened condensed milk, and both terms can be used interchangeably.
Jump to:
Ingredients and substitutions
- Milk: You can either use whole milk or 2%. To make it dairy-free or vegan, use your favorite whole milk substitute such as oat milk, almond milk, cashew milk, or coconut milk - condensed coconut milk is very delicious and perfectly suitable for all kinds of desserts where a lovely coconut taste is desired. Substitute 1:1.
- Sugar: Either regular or superfine sugar work perfectly. If you don't want to use refined sugar, you can substitute it for honey or maple syrup. Use Splenda granulated sweetener to make sugar-free condensed milk. Substitute Splenda 1:1 and any liquid sweetener 1 cup for 1 cup (240ml).
How to make this recipe with evaporated milk
What's the difference between evaporated milk vs. condensed milk? Evaporated milk is just cooked, and reduced milk without sugar added. The sugar is the difference between these two.
If you want to use evaporated milk instead of regular milk, the cooking time reduces a lot. Use 1 can (14oz / 397g) of evaporated milk and ¾ cup of sugar (150g) and cook for about 15-20 minutes until the sugar is completely dissolved and reach the desired consistency as directed in the recipe. Don't cook it for too long that the evaporated milk doesn't reduce in volume by much.
If you're looking for an alternative, consider using a suitable substitute for evaporated milk in your culinary endeavors.
Photo instructions
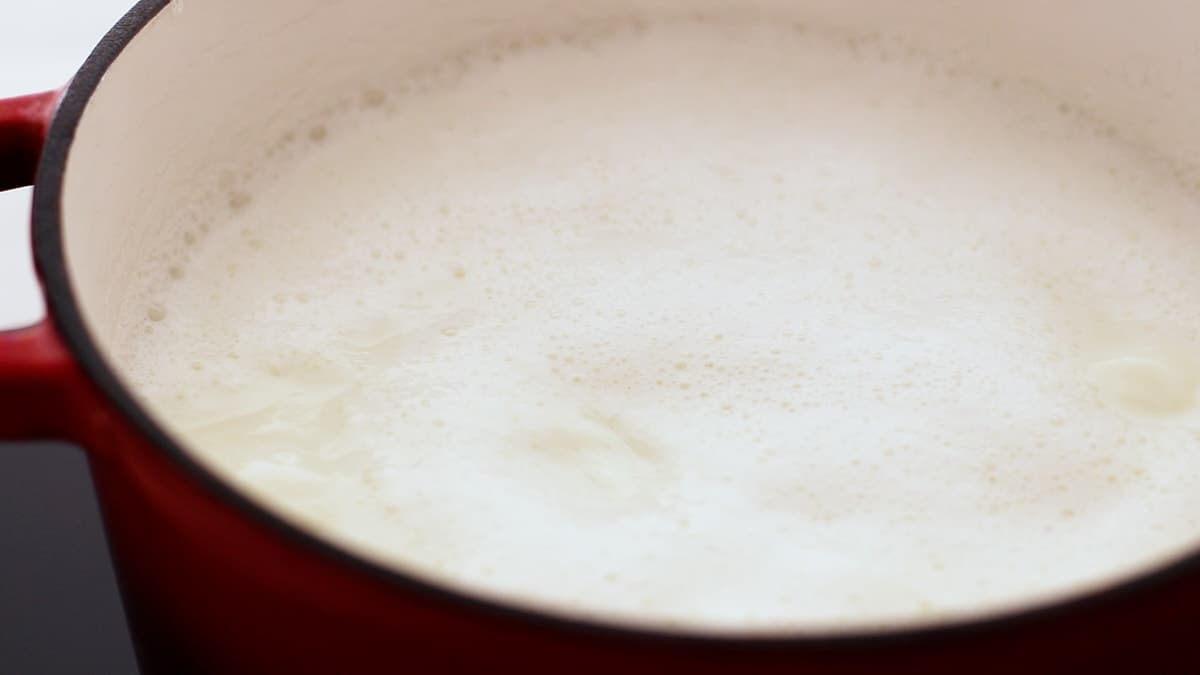
In a medium-sized heavy-bottomed saucepan, combine the milk and sugar over medium-low heat and whisk until the sugar is completely dissolved. Bring to a low simmer and occasionally whisk - every 10 minutes.
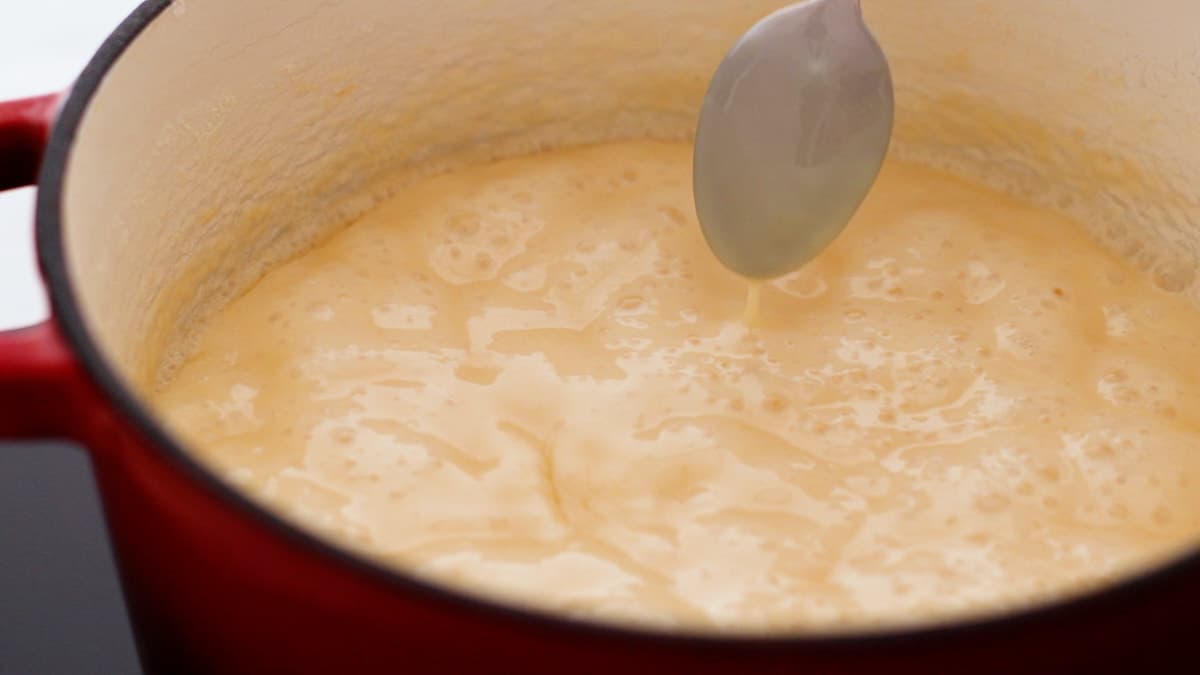
Simmer for about 1 - 1 ½ hours or until it is reduced by half and changed its color to a light creamy tone.
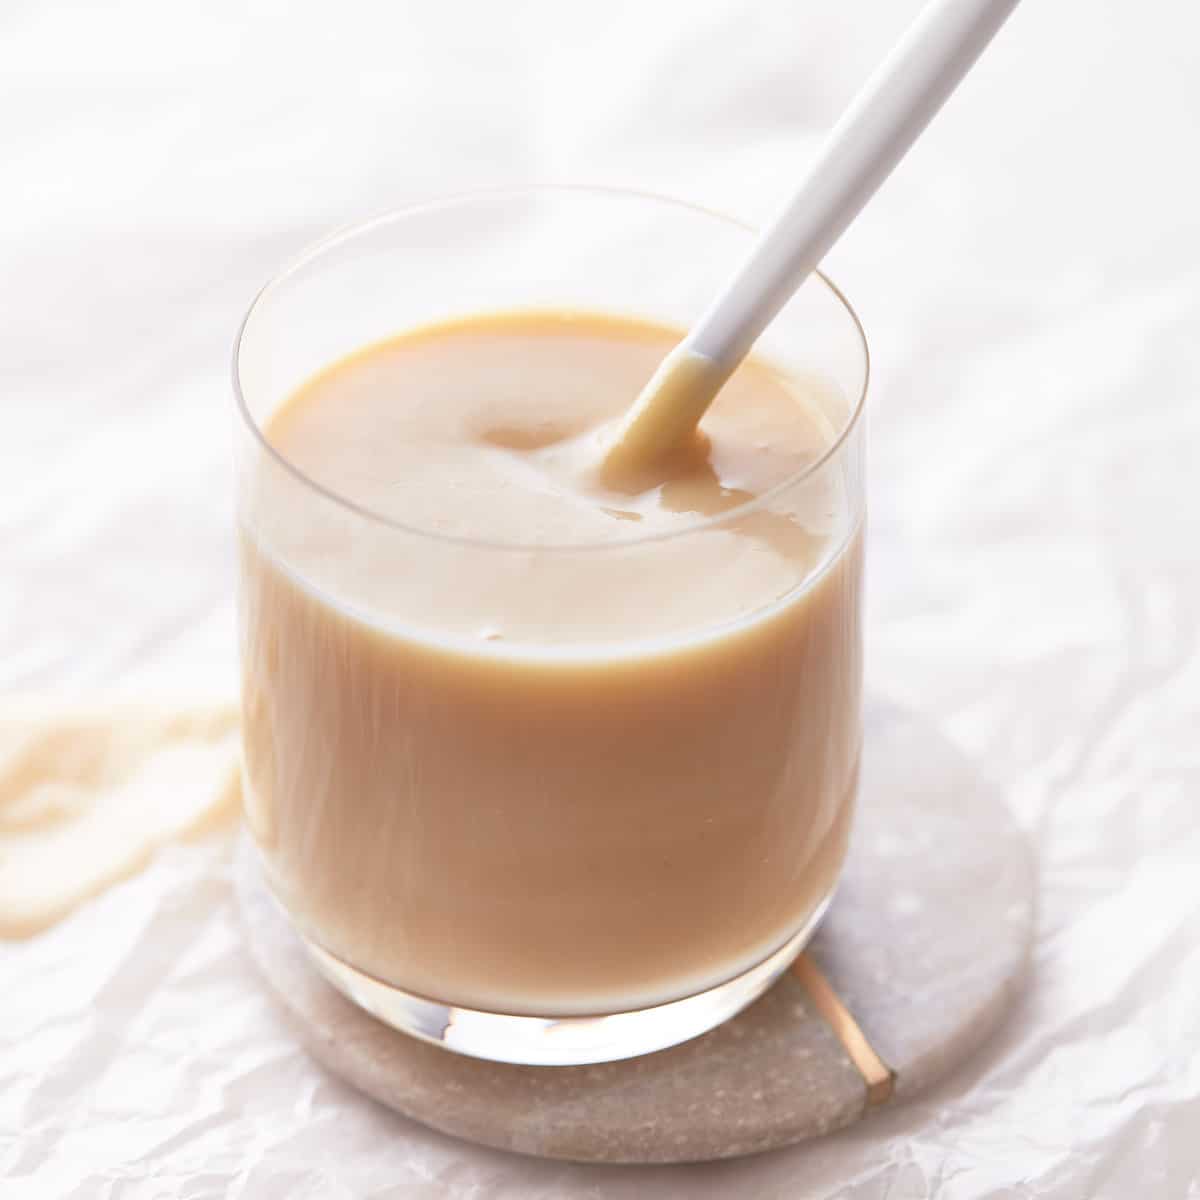
Note: The color of the milk in the following two pictures appears slightly darker as it is. This is because the photos in this chapter are exported pictures from the recipe video, and the shadow of the saucepan made it appear slightly darker. Look at the first and last photo in this post for color reference of the cooked and chilled endproduct.

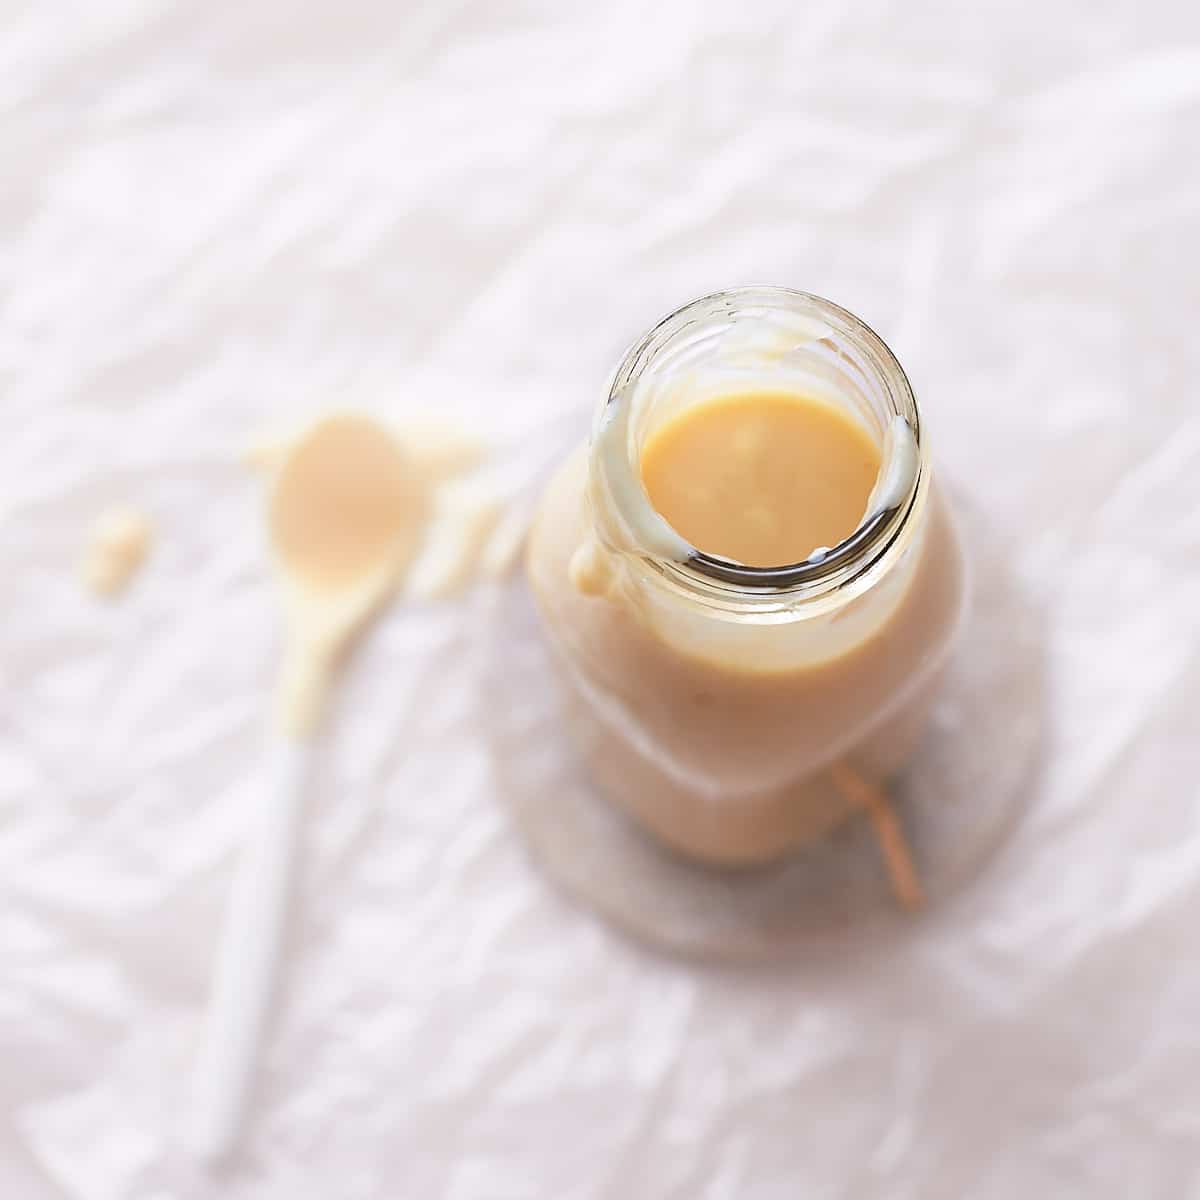
You know when it's done when it coats the back of a spoon. It will be more liquid than a store-bought one at this point, and this is absolutely fine. It will thicken a lot once it's cooled. I ended up with 18oz (510g).
Expert tips for success
- You may notice that foam skin is forming on top throughout simmering. Skimm off the skin with a spoon and don't whisk it into the milk, or the chilled milk could end up with small flaky lumps in it. However, the lumps are not hard, nor do they negatively affect the quality.
- Cook it long enough until it has thickened slightly, darkened in color, and coats the back of a spoon. It should be reduced by half. If you accidentally undercooked it and it is too thin after chilling, you can return it to the saucepan, bring to a simmer, and cook for a little longer.
- If you accidentally overcooked the milk and it can't be poured easily, return it to the saucepan along with ¼ cup of milk (60ml) and bring it to a low simmer for a few minutes. Once it coats the back of a spoon, it's done.
- When you cook it long enough until it caramelizes and darkens to a deep brown, you end up with homemade Dulce de Leche.
Storage and freezing
It will last for 3 months when stored in an airtight jar in the refrigerator. You will notice that it will thicken a lot in the refrigerator.
You can use it straight out of the fridge or when you want the consistency to be a little thinner, let it sit at room temperature for about 1 hour before using it for your recipes. It freezes well for up to 6 months. Let it thaw in the fridge overnight.
Related desserts
There are a lot of delicious recipes using sweetened condensed milk, but here are some of my favorites:
- Mirror Glaze Galaxy Cake
- Key Lime Bars
- Peanut Butter Ice Cream Cake
- S'mores Cake
- Brownie Ice Cream Cake
- Pumpkin Pie
- Chocolate Fudge
- No-churn Ice Cream
You'll also find some of my favorites in my chocolate cookbook.
Recipe

How to Make Sweetened Condensed Milk
Instructions
- In a medium-sized heavy-bottomed saucepan over medium-low heat, combine the sugar and milk and whisk until the sugar is completely dissolved. Be sure that your saucepan isn't too small. It should be a maximum of ⅔ full.
- Bring to a low simmer and cook for about 1 - 1 ½ hours and stir occasionally. For the first hour, it's fine to stir every 10-15 minutes. At the point where it already thickens a little, keep a closer eye on the milk and stir more frequently. Skimm off any foam skin that is building throughout cooking.
- You know when it's done when it has slightly thickened, is reduced by half, has a bright, creamy color, and coats the back of a spoon. It will be more liquid than store-bought condensed milk at this point, and this is absolutely fine. It will thicken a lot once it's cooled. Transfer to a heat-proof jar and let cool to room temperature. Store it sealed in the refrigerator for up to 3 months or freeze it for up to 6 months.
Notes
Video
You can find the video in the post above. If you don't see a video, please check your browser settings.
Leave a Reply