

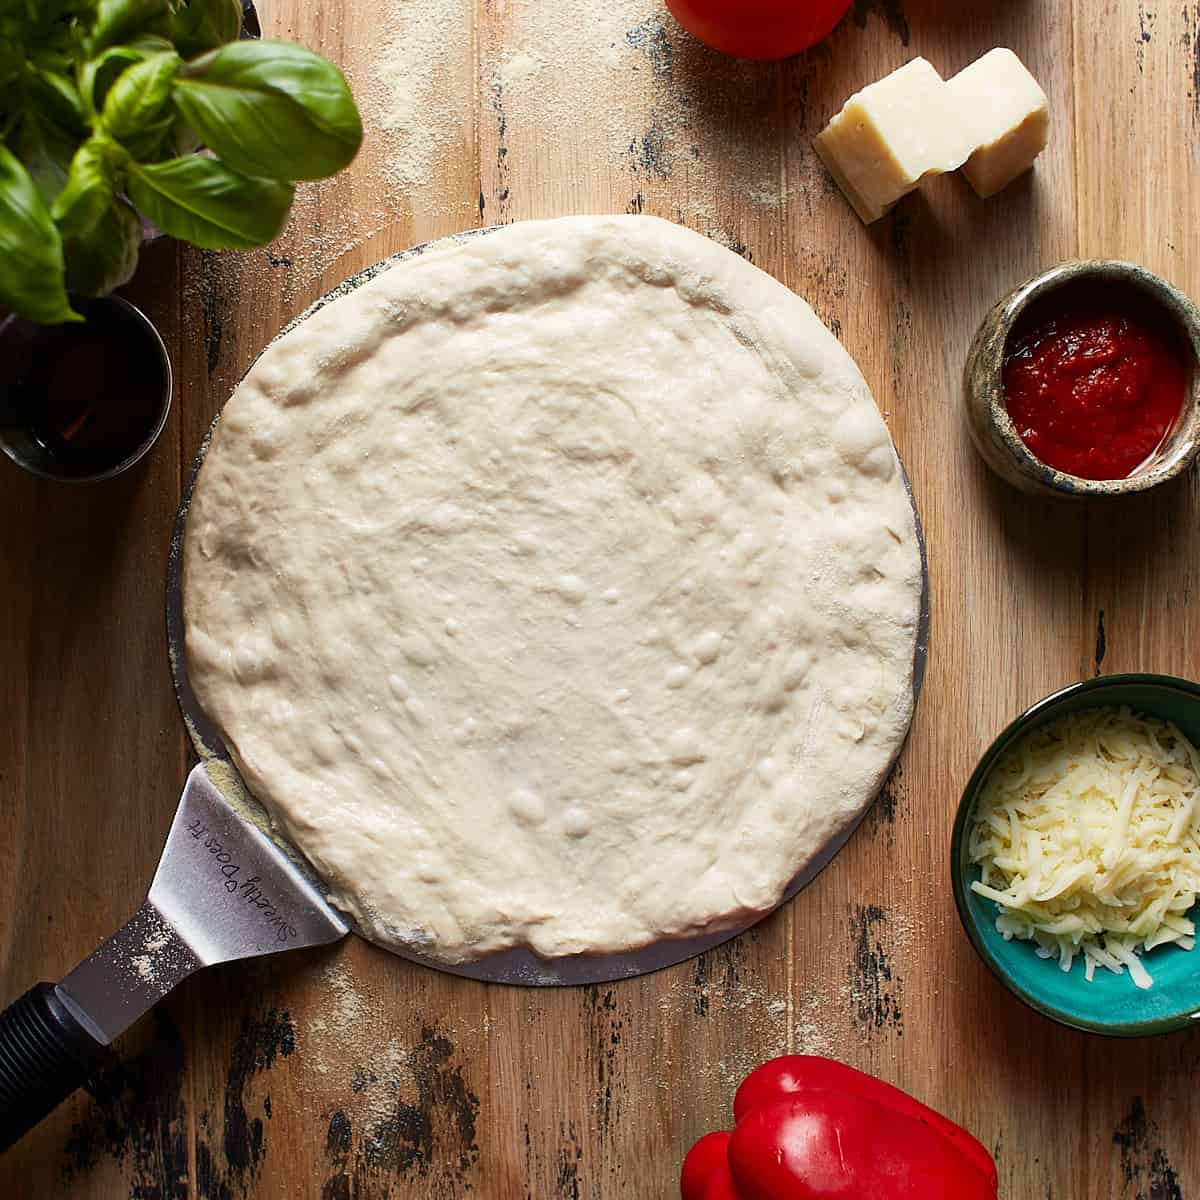
Learn how to make pizzeria-style pizza at home with this easy cold fermented pizza dough recipe. Very little active time is required from your side and it has only 5 ingredients. Most of the time, the dough will rise in the refrigerator to develop a chewy, crispy, and bubbly pizza crust. The dough can be stored in the fridge for 1-5 days. If you want something same day, I would recommend you try Sourdough Pizza Dough.
Jump to:
Video Tutorial
Ingredients notes
- Best flour - I highly recommend using bread flour. The reason for this is that you need a strong flour with a high protein (=gluten) content if you choose a slow-rise cold fermentation. The longer the fermentation time, the stronger the flour needs to be. I've had great results with either organic white bread flour with 13.4% protein or very strong Canadian bread flour with 14.9% protein. If you choose an overnight rise, you can use all-purpose flour.
- Water - I prefer using filtered or bottled water for lean bread dough, but tap water works well too.
- Yeast - Instant dry yeast is the best for pizza dough because it doesn't need to be activated or hydrated before adding it to the flour. If you prefer sourdough over yeast, try my sourdough pizza crust.
- Best oil - The best oil is, without a doubt, olive oil. It makes the pizza crust crispy and adds a savory Italian flavor.
Hydration
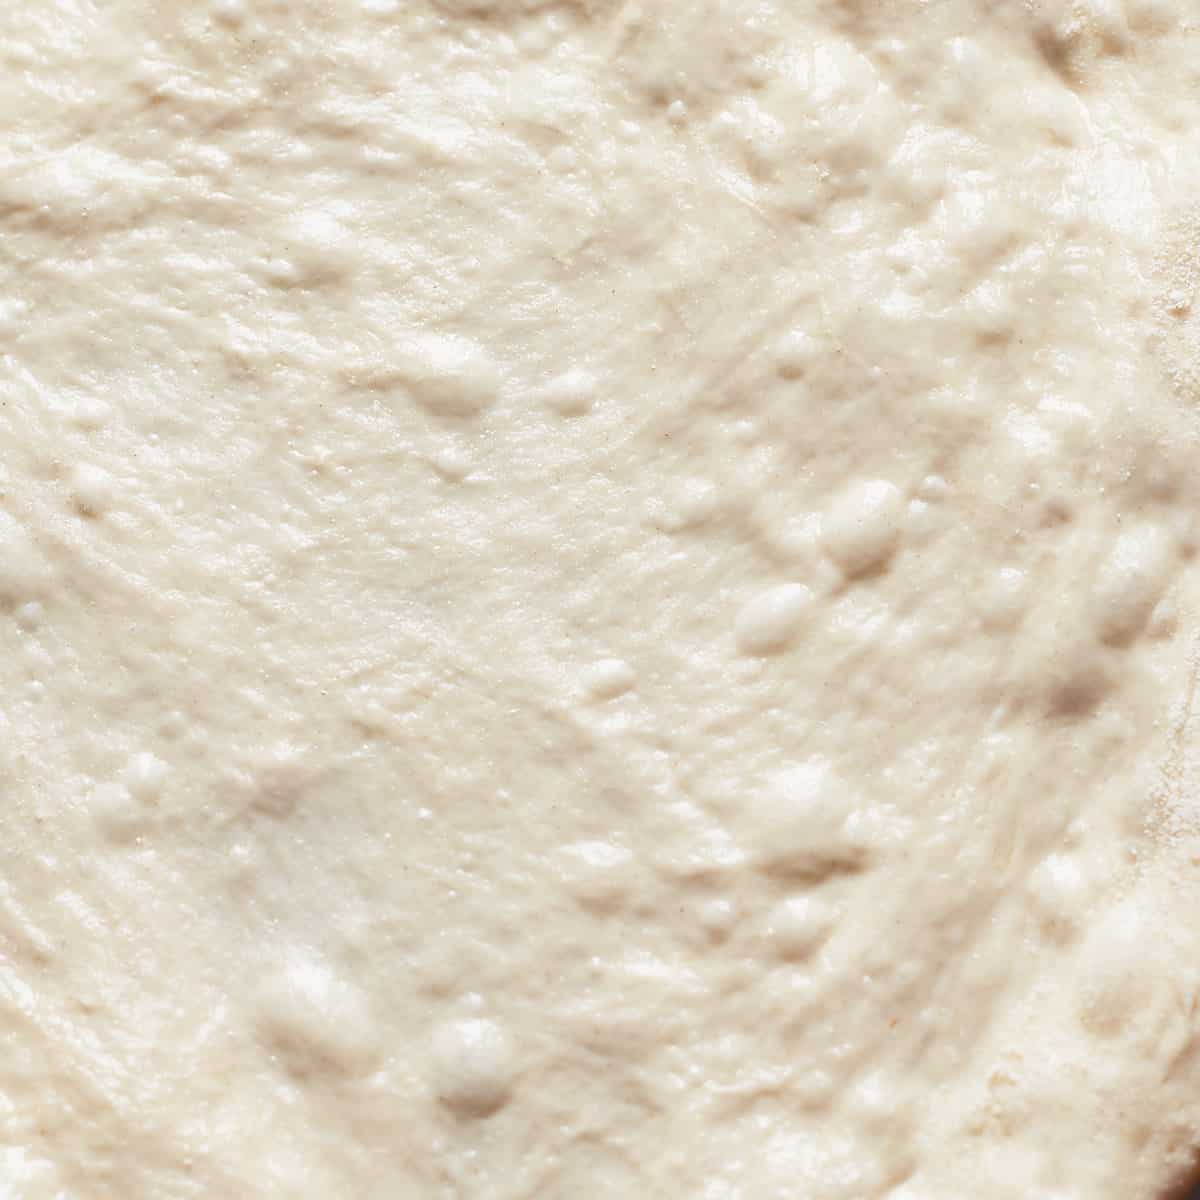
The hydration level of this pizza dough is 70% and is basically a lean, high-hydration bread dough. Hydration affects the stickiness, elasticity, and rise of the dough. The higher the hydration, the more elastic, stretchy, and sticky the dough will be. It will also rise faster. For homemade pizzas made in a domestic oven, the ideal range of hydration is between 65-70%. Below that, the crust needs considerably longer to bake through and ends up hard.
Baker's percentages for this recipe:
| Ingredient | Weight | Baker's Percentage |
| Bread Flour | 250g | 100% |
| Water | 175g | 70% |
| Salt | 6g | 2.4% |
| Instant Yeast | 1g | 0.4% |
Temperature
Temperature determines how fast your dough will rise. You have full control over the rise and can decide when the dough should be ready for baking. If you prefer an overnight rise, let the dough rise at room temperature for 1-2 hours until it has doubled, fold it as described in the recipe, and then place it in the refrigerator overnight to let it double in size. The dough will rise and double in the refrigerator, just at a much slower rate.
To make the dough 3-5 days in advance, prepare the dough, let it sit in a cool place at room temperature for 30 minutes, and then put it in the refrigerator. If your dough hasn't risen much after 2 days in the refrigerator, take it out for a few hours to let it rise a little, and then put it back in the fridge.
Helpful equipment
- Straight-sided vessel - If you regularly make bread or pizza dough, I recommend investing in straight-sided vessels because it's so much easier to tell when the dough has doubled in size.
- Pizza peel - Transferring the pizza to the oven will be so much easier when you use a pizza peel. You could use parchment paper, but it's not as hassle-free as using a pizza peel.
Pro equipment
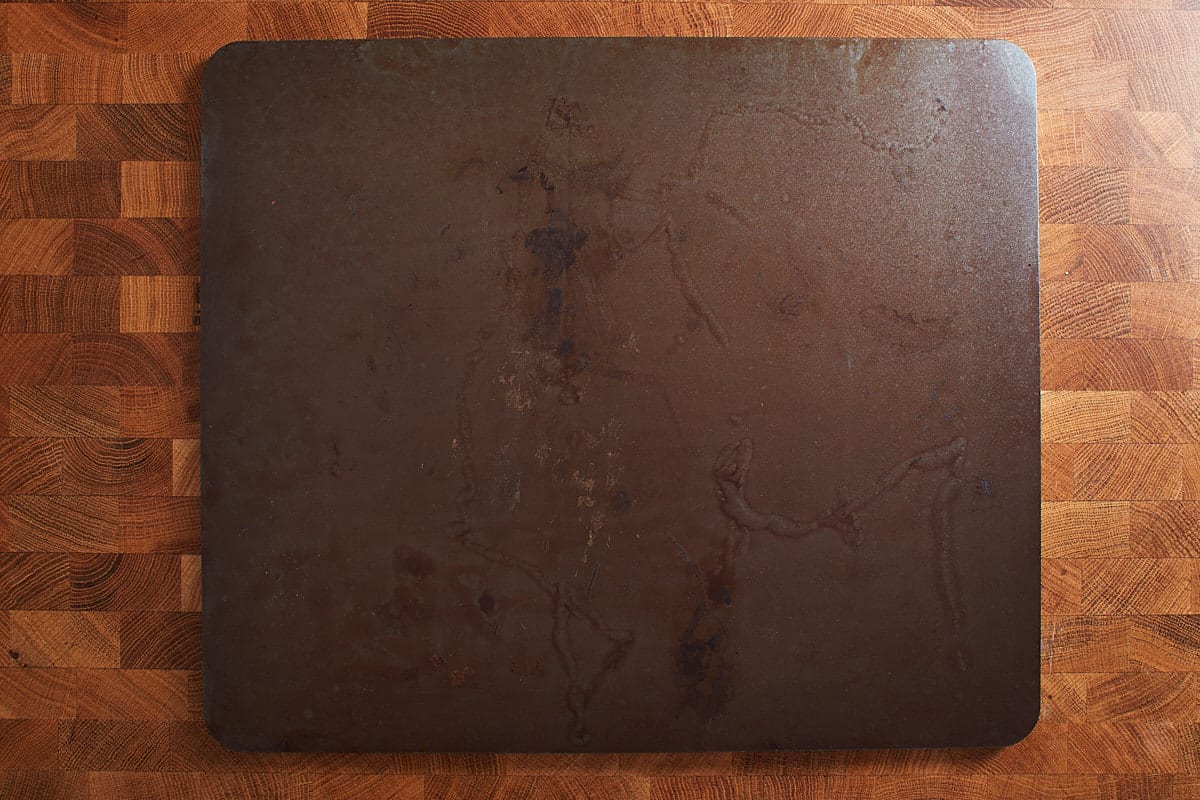
If you love a thin, crispy, yet chewy, and bubbly pizzeria-style pizza crust, baking/pizza peel is a must-have. It will transform your home pizza from okay to unbelievably amazing. Trust me. Using pizza steel makes all the difference. The benefit of using pizza steel is that the crust bakes faster and gets crispier.
If this is new to you, learn how to bake with baking steel here. Pizza steels come in different thicknesses. Mine is ⅓-inch (8mm) thick. The thickness affects the preheating and baking time. If you're thinking of investing in one, you need to know how to pick the right pizza steel thickness for your domestic oven. Alternatively, a pizza stone works as well, but my experience is that the crust is better when baked on pizza steel.
Top tips for dough success
- Give the dough time - the longer the dough ferments, the better the texture and the taste. It's necessary for the gluten to have enough time to develop. Otherwise, the dough will bounce back or tear while stretching. I find a cold fermentation between 3-5 days is best. You want the yeast dough lively, bubbly, and at least doubled in size.
- Do not overwork the risen dough - the more you handle the ready-to-bake dough, the more bubbles will pop. This makes the dough tough and the crust hard.
- Let the dough relax before baking - let the dough rest at room temperature to allow the gluten to relax after the long cold rise. This will prevent the dough from shrinking while stretching. Take the dough out of the fridge an hour before baking, but keep it in the proofing container. After 30 minutes, remove from the container, divide and shape it into balls with as few movements as possible and let rest for 20 minutes. If the dough sits longer than an hour at room temperature, it could become too elastic and difficult to handle.
- Use flour to keep the dough from sticking - I dust the pizza dough, the surface, and my hands as I shape and stretch the dough.
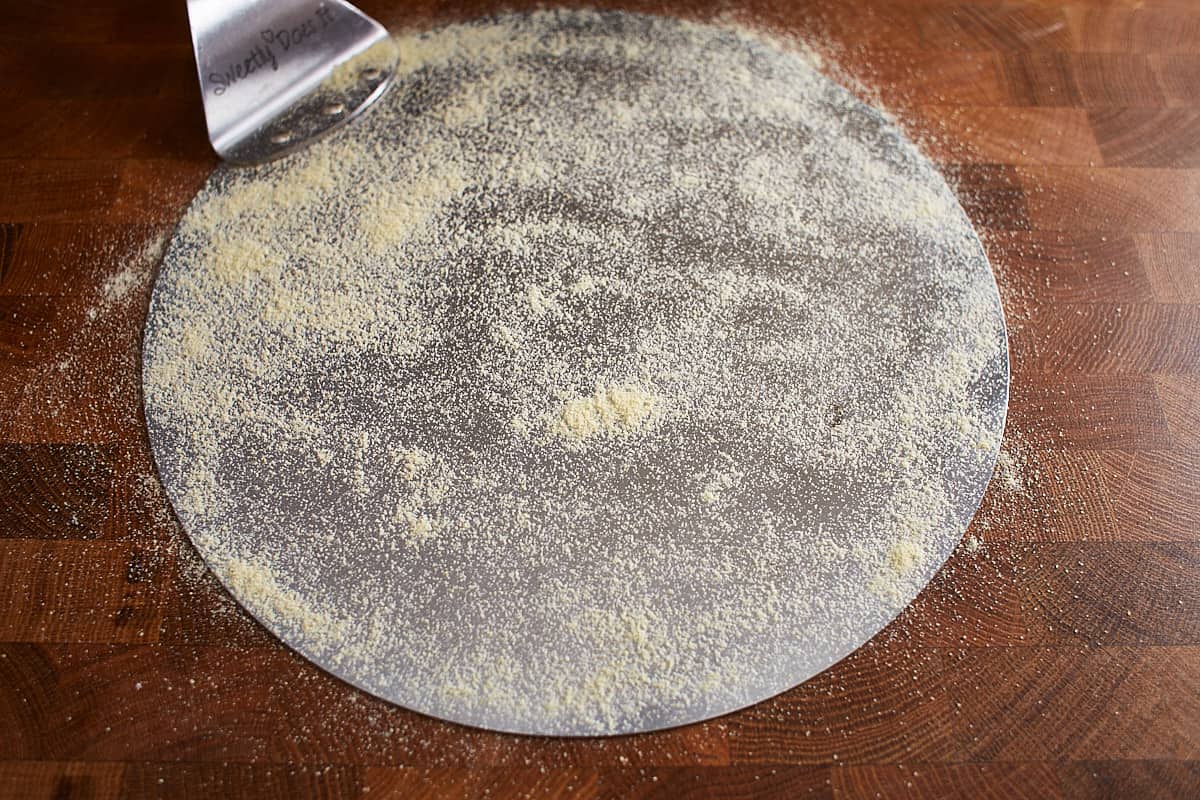
- Use semolina flour for the pizza peel - so that the pizza dough does not stick to the pizza peel when it is transferred to the oven, dust the pizza peel generously with semolina flour. You will need more of it in the beginning, and the more pizzas you bake and the more experienced you are, the less you will need.
- Make sure the oven is hot - preheat the oven for at least 20-30 minutes if you are using a regular baking sheet and for 45-60 minutes if you are using pizza steel. Preheat the baking sheet or pizza steel as well. This is necessary for the crust to rise properly and quickly.
Photo tutorial
In a large mixing bowl, mix the flour, salt, and yeast. Then add the water and stir with a spatula until it comes together and a shaggy dough forms.
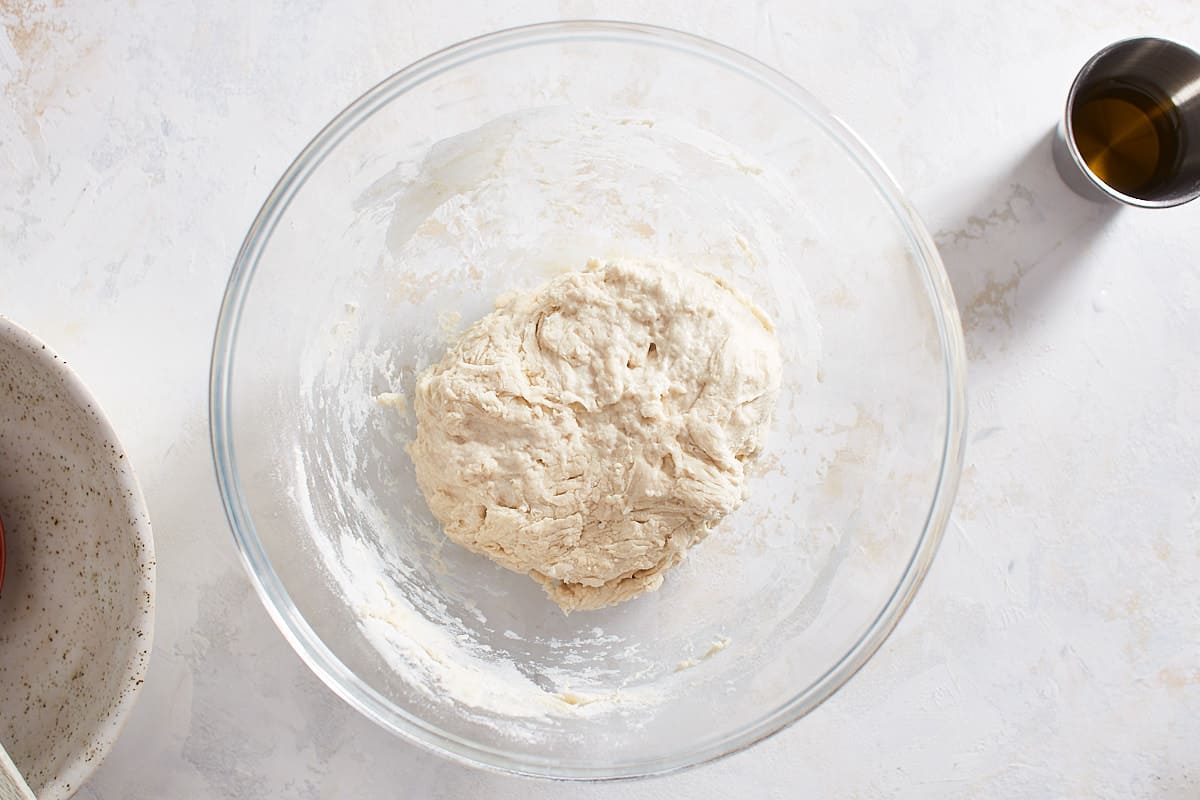
Pour a little olive oil in the palm of your hand and knead the dough for a few minutes until it's smooth and releases from the bowl.
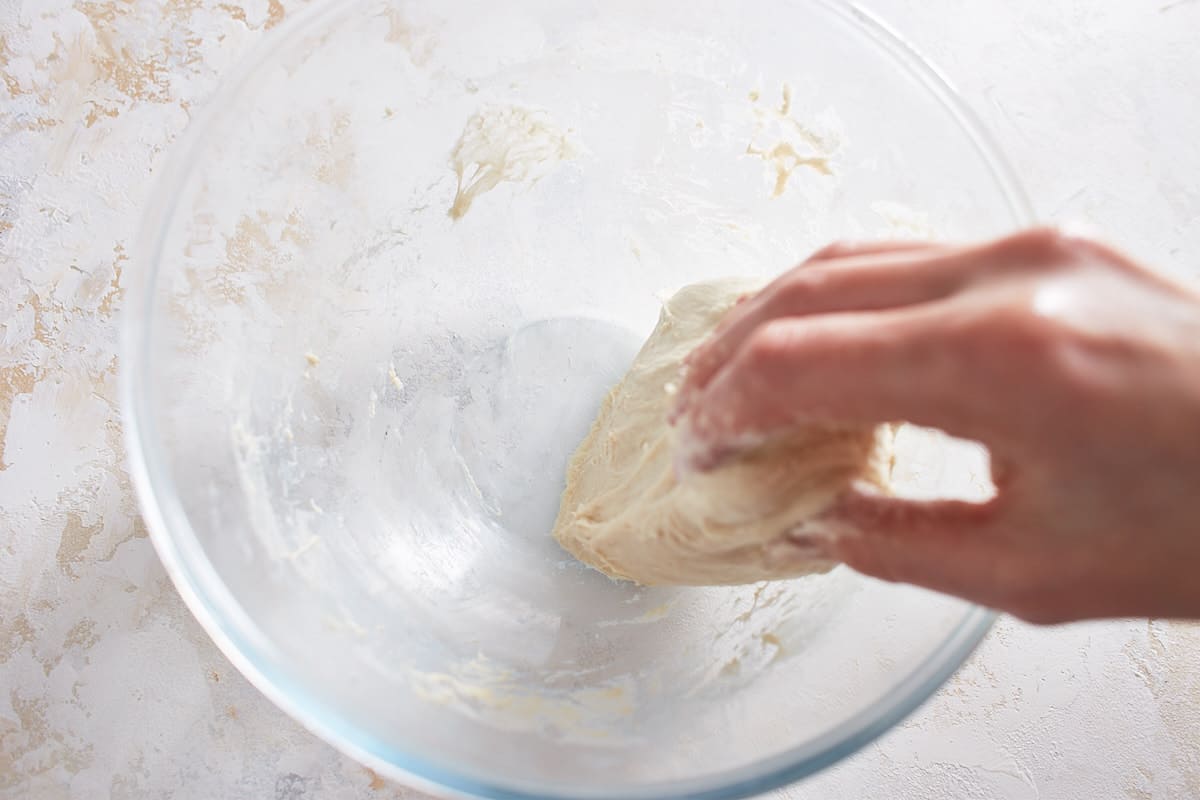
Transfer the dough to a well-oiled container, also oil the top of the dough, lightly press the dough into the bottom of the container, cover, and let rest.
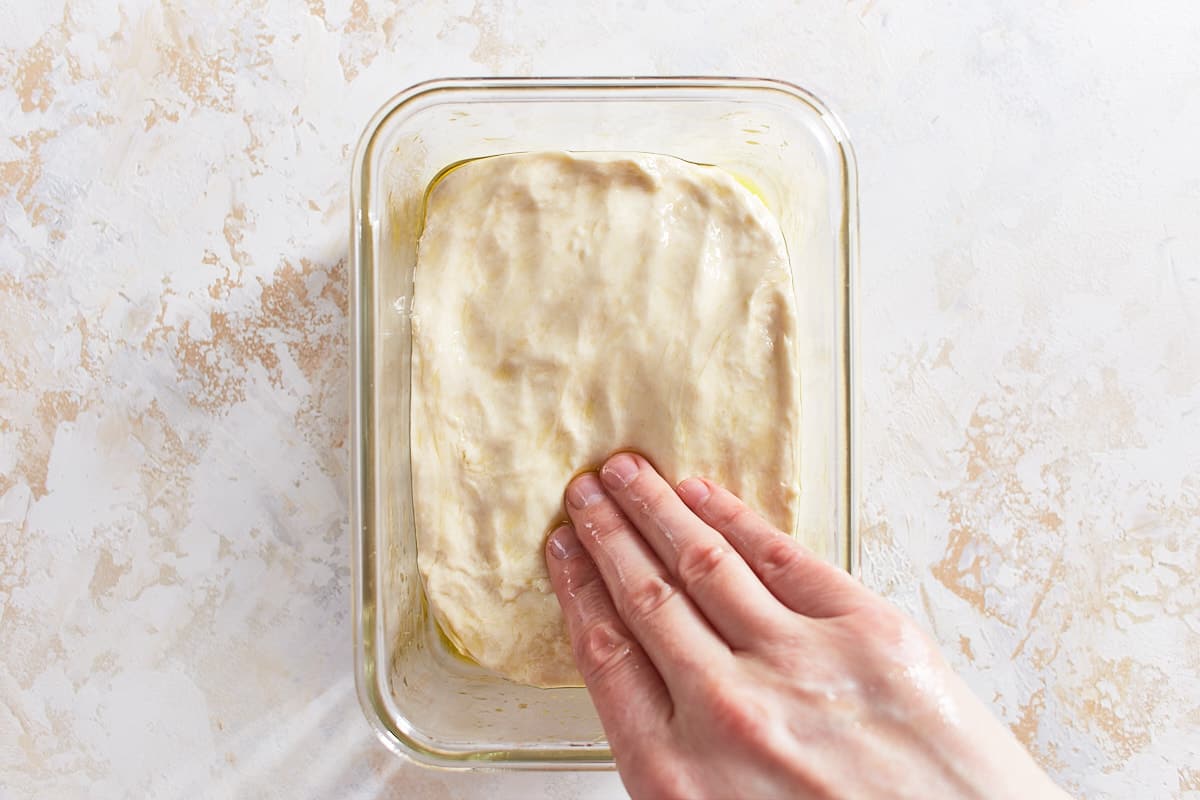
Then transfer to the refrigerator until it has doubled in size.
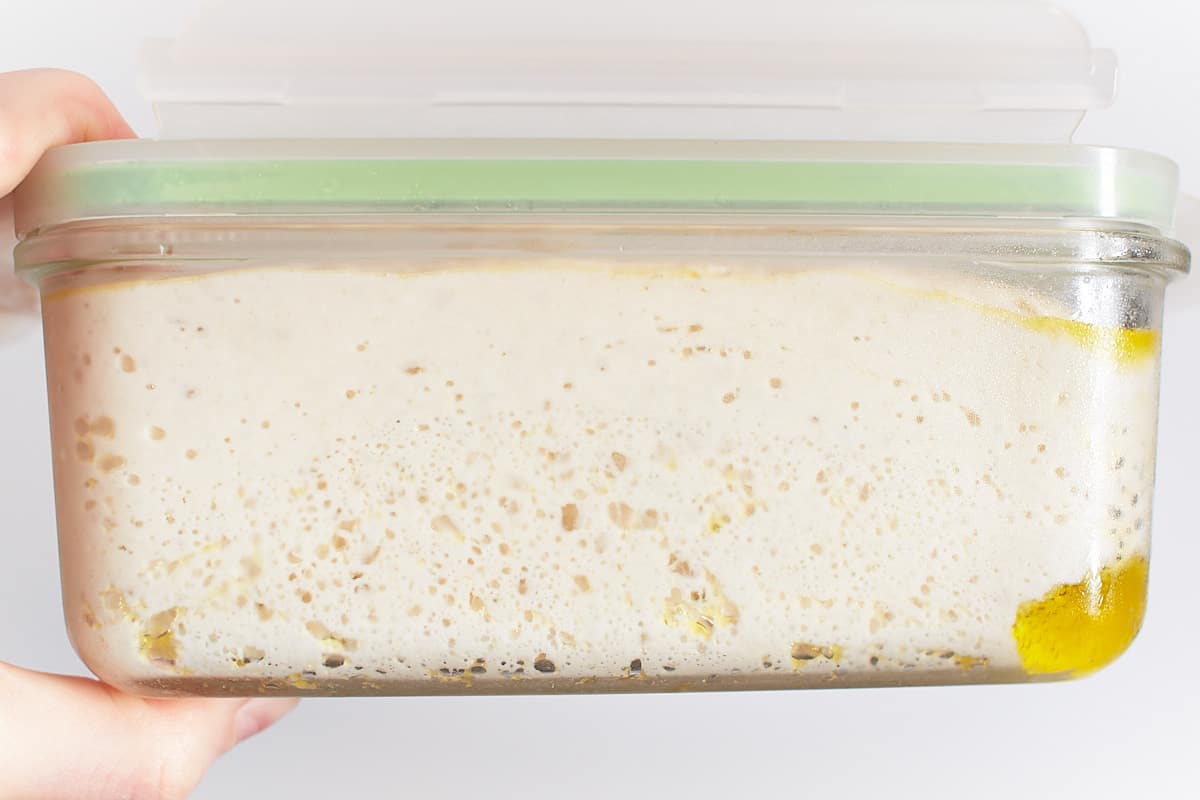
Once the size has doubled, lightly oil your hand, grab one side of the dough, stretch it up, and fold it onto itself.
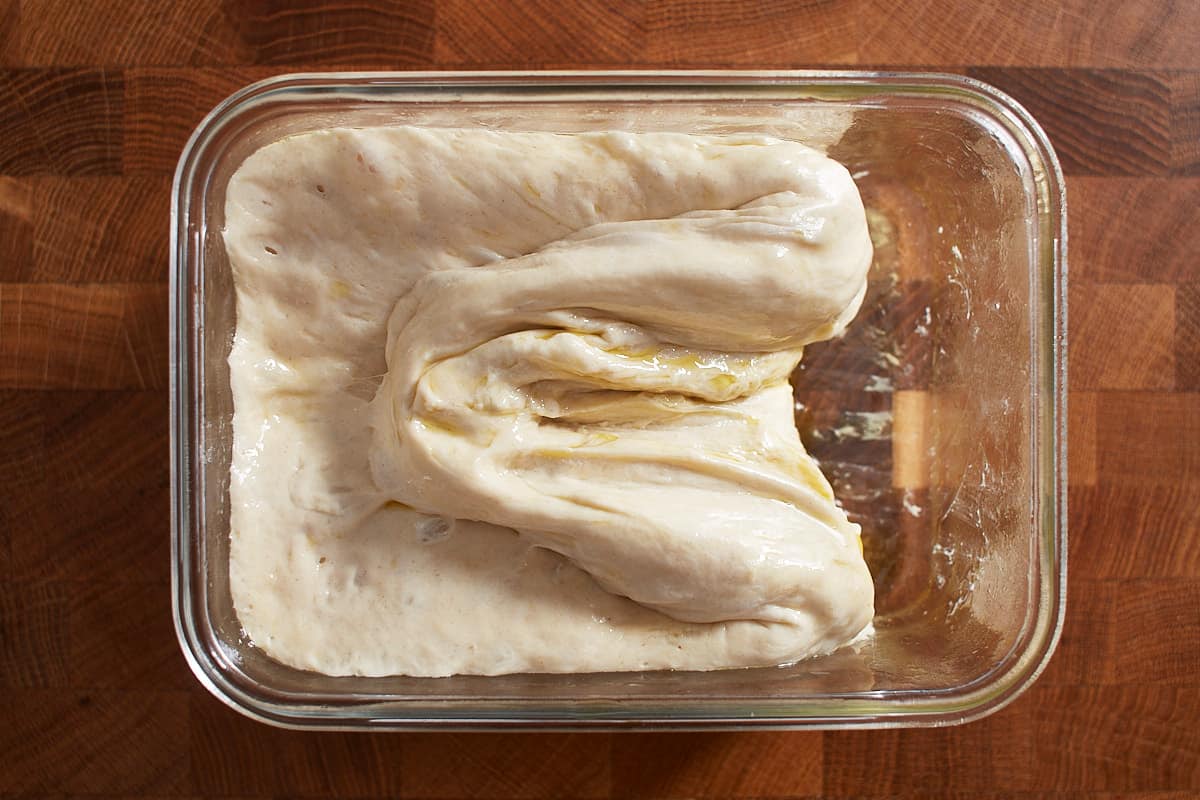
Turn the bowl by 90° and stretch it and fold it again. Repeat two more times.
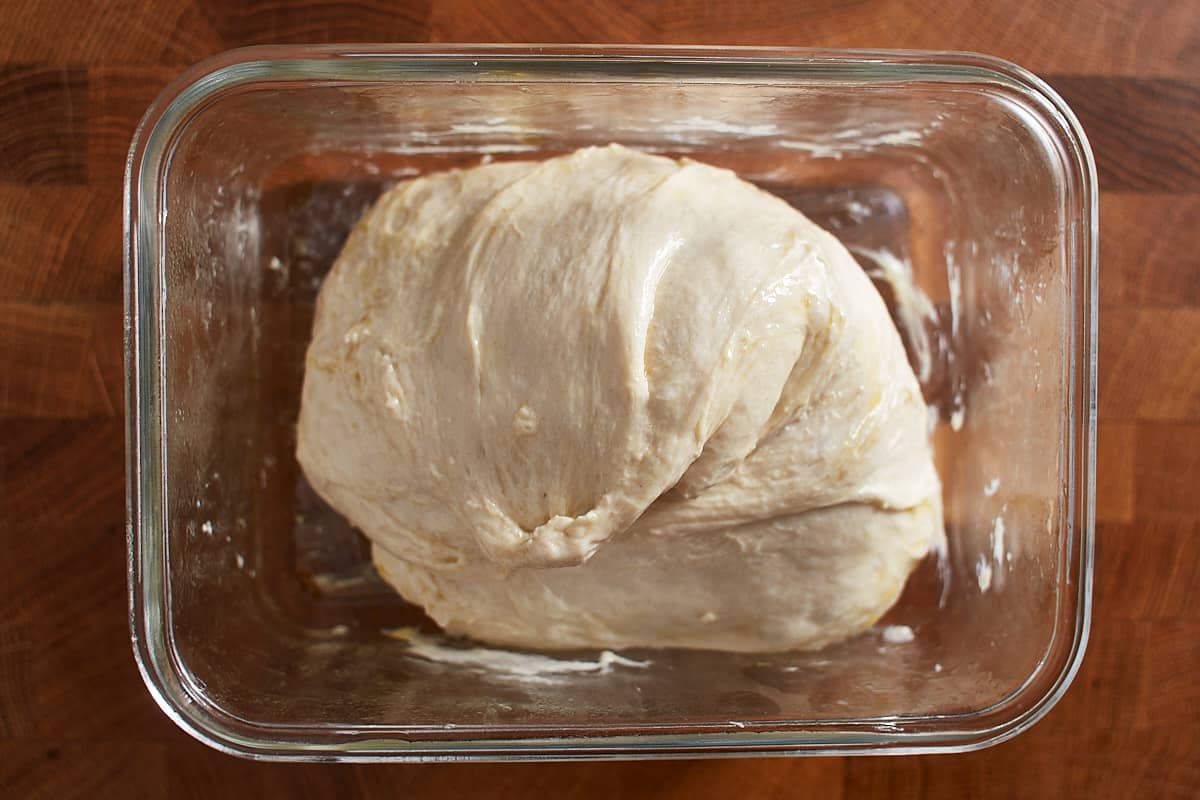
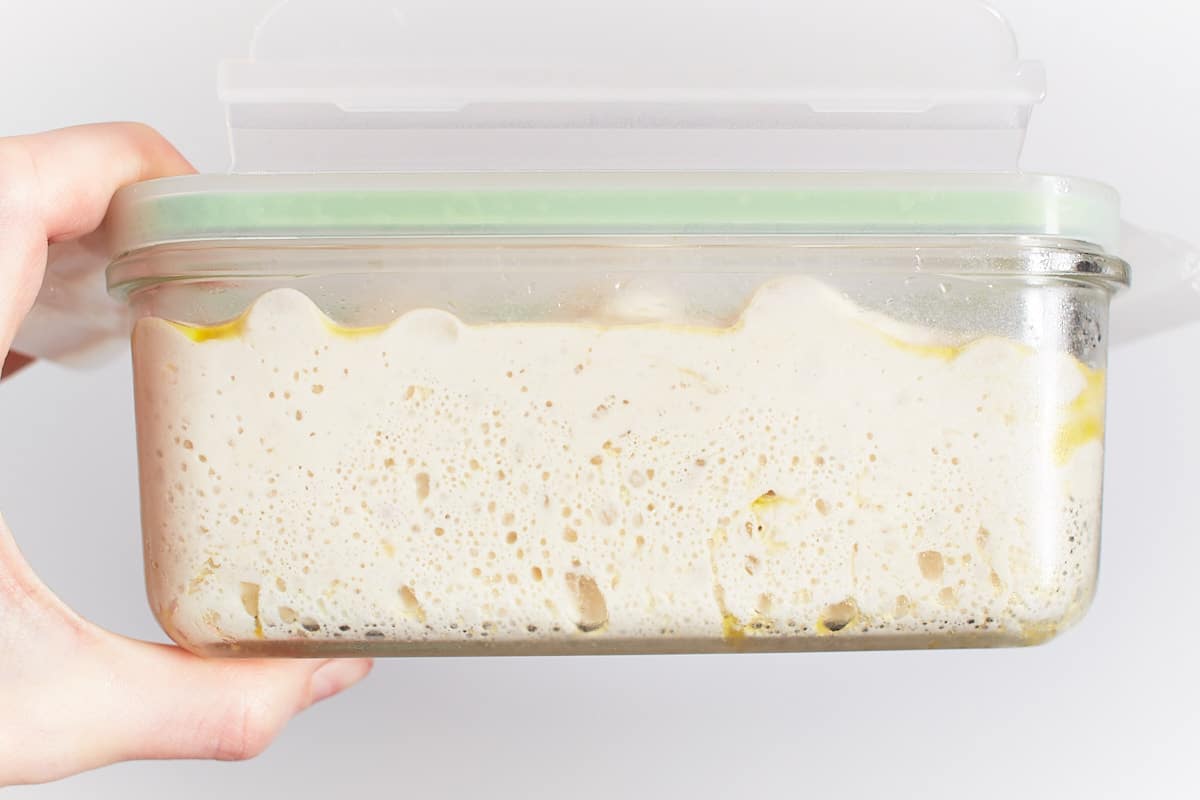
Then turn the dough upside down and lightly press the dough into the bottom of the container. Cover and chill for 3-5 days. The dough will double in size and have lots of bubbles.
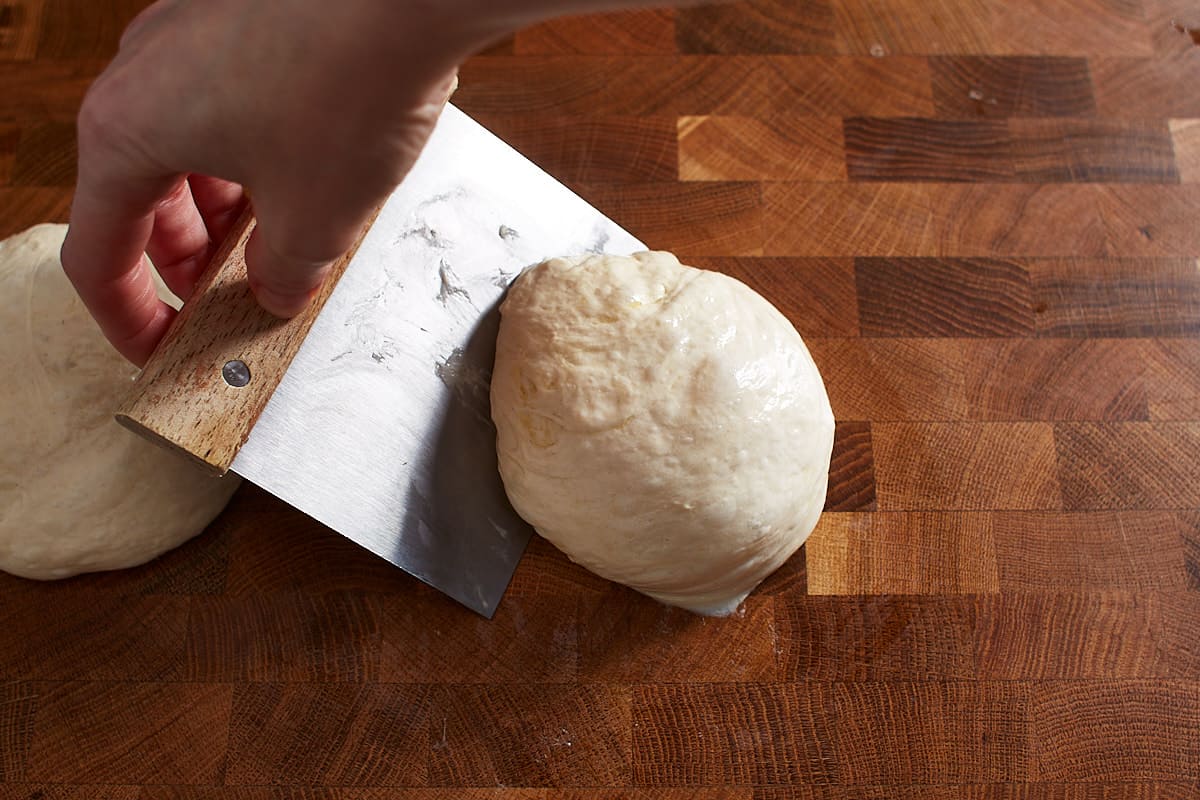
Before baking cut the dough in half and preshape both halves into rounds using a bench knife with as few moves as possible. Holding the bench knife at a shallow angle with the work surface, push the bench knife under the dough and from you away starting at 6 o'clock and make a fluid rotation up to 12 o'clock...
and push the dough back toward you to tighten the dough and shape it into a round ball.
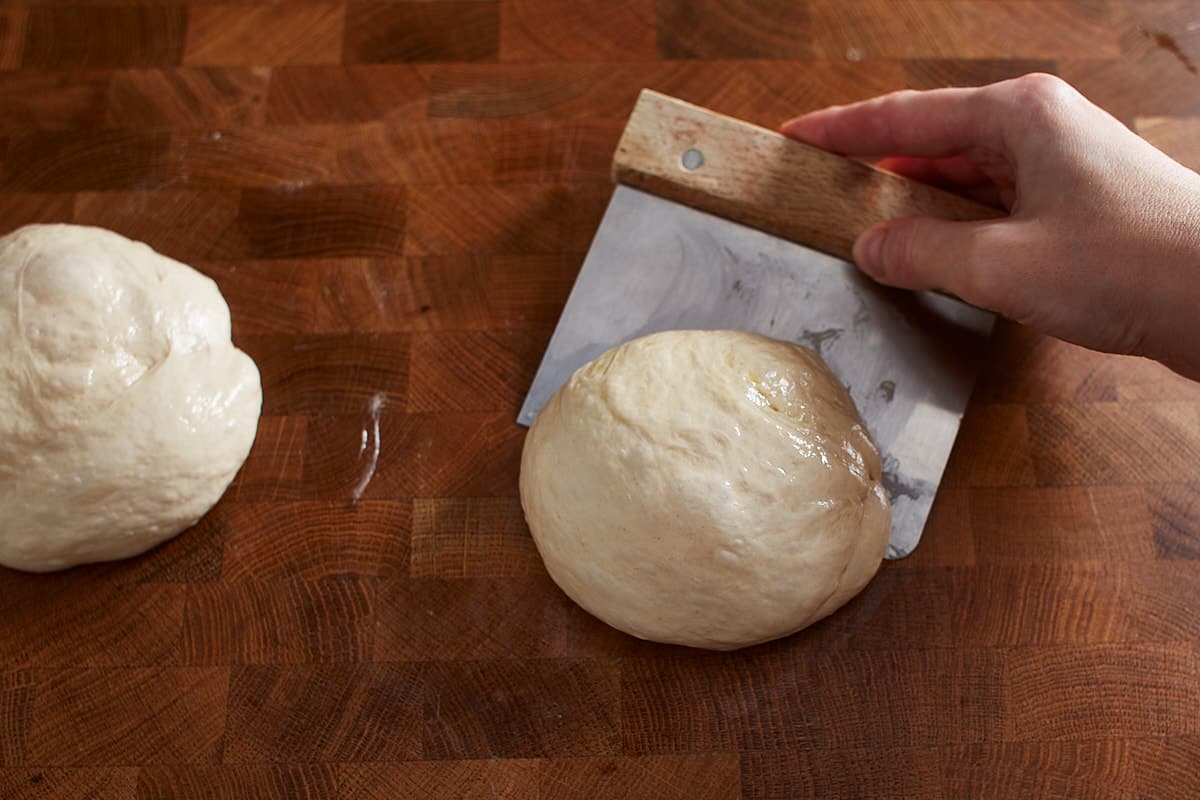
If the dough sticks to the bench knife, then flour the bench knife a little. Then flour the tops of the dough balls and cover with a dry and clean kitchen towel for 20 minutes. In the meantime, cover a pizza peel with semolina flour and set aside.
Flour the work surface and the dough generously and turn the balls over with the bench knife.
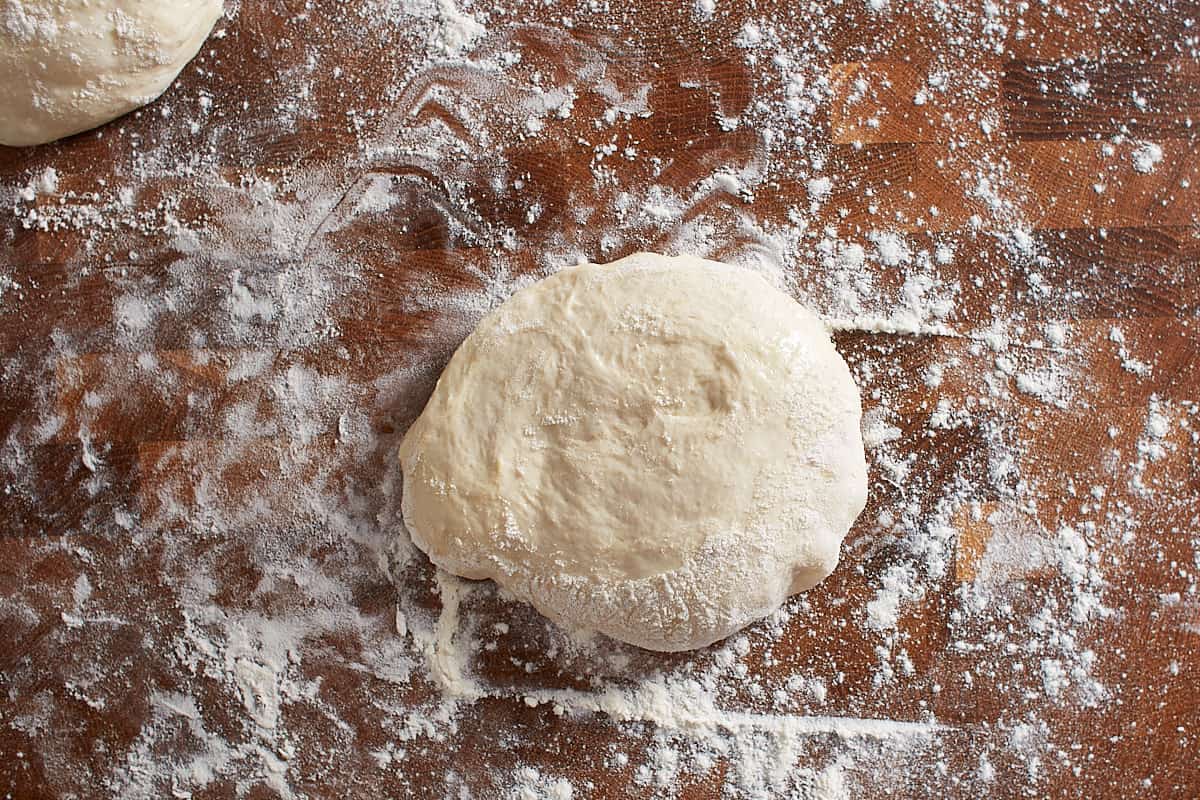
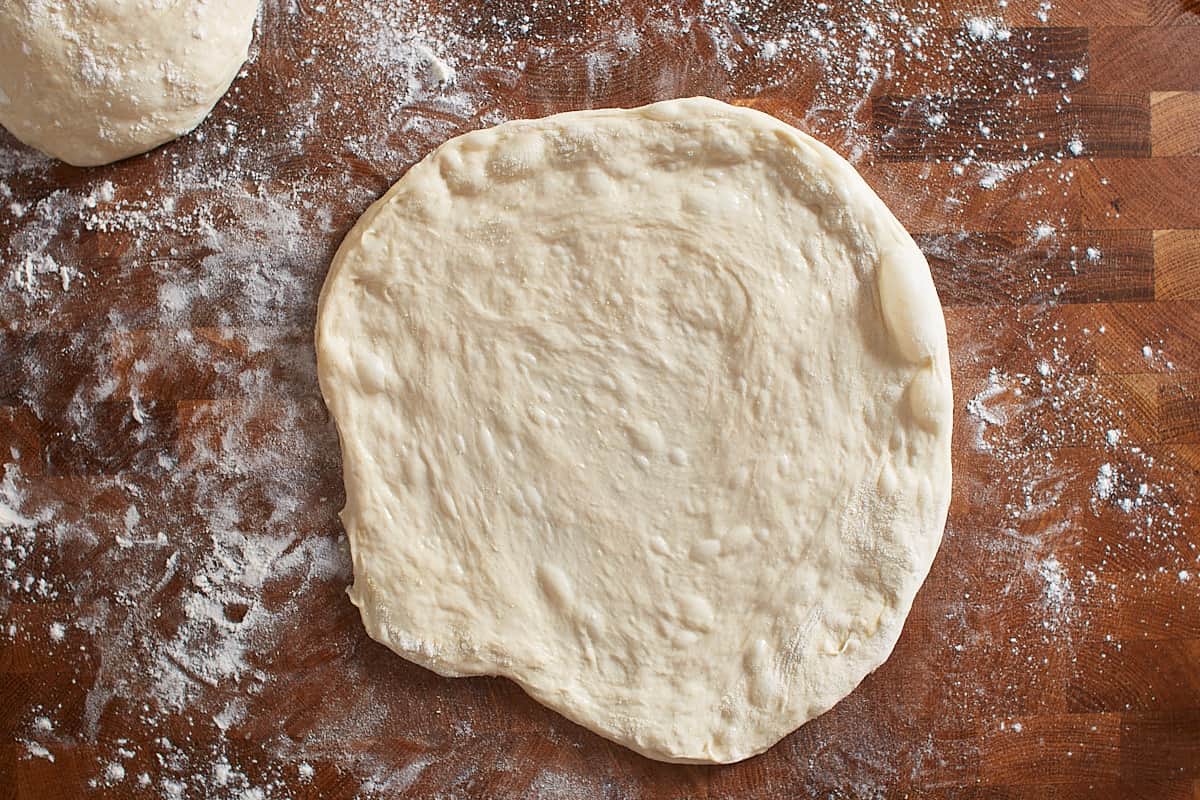
Then stretch the dough and shape to your liking.
Note: Check out the video at the end of this post to see how I make, shape, and stretch the dough.
Then transfer the dough to the prepared pizza peel and shape it into an even round shape if necessary.
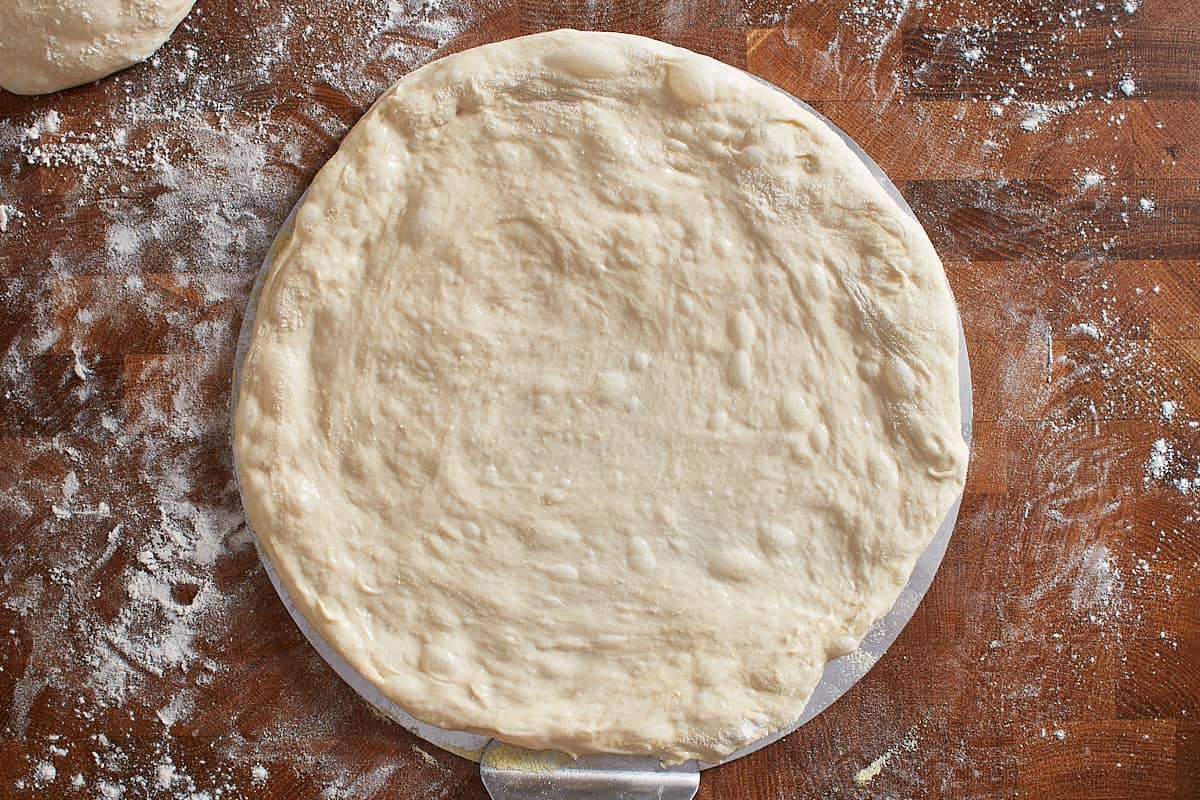
Top with San Marzano pizza sauce, mozzarella cheese, and your favorite toppings, transfer the pizza to the oven and bake.
What to make with it
Need some ideas on what to do with this delicious pizza crust? Try the following recipes:
Recipe
Cold Fermented Pizza Dough
Equipment
- Large mixing bowl
- Silicone spatula
- Straight-sided vessel
- Dough scraper
- Bench knife
- Pizza Peel
- Pizza steel
Ingredients
- 2 cups bread flour, spooned and leveled
- 1 teaspoon salt
- ¼ teaspoon instant dry yeast
- ¾ cup water
- 2-3 tablespoon olive oil
Instructions
- In a large mixing bowl, mix the flour, salt, and yeast. Then add the water and stir with a spatula until it comes together and a shaggy dough forms.
- Pour a little olive oil in the palm of your hand and knead the dough for a few minutes until it's smooth and releases from the bowl.
- Transfer the dough to a well-oiled container, also oil the top of the dough, lightly press the dough into the bottom of the container, cover, and let rest for 30 minutes at room temperature. Then transfer to the refrigerator until it has doubled in size.
- Once the size has doubled, usually after about 24 hours, lightly oil your hand, grab one side of the dough, stretch it up, and fold it onto itself. Turn the bowl by 90° and stretch it and fold it again. Repeat two more times. Then turn the dough upside down and lightly press the dough into the bottom of the container. Cover and chill for 2-4 days.
- On baking day, preheat the oven and pizza steel to 482°F (250°C) for 45-60 minutes. Place the baking steel in the top third of the oven. Remove the dough 1 hour before baking from the refrigerator and let rest in the container for 30 minutes.
- Then carefully remove the dough from the container with a dough scraper and place it on a work surface. Cut the dough in half and preshape both halves into rounds using a bench knife with as few moves as possible. Holding the bench knife at a shallow angle with the work surface, push the bench knife under the dough and from you away starting at 6 o'clock and make a fluid rotation up to 12 o'clock and push the dough back toward you to tighten the dough and shape it into a round ball. If the dough sticks to the bench knife, then flour the bench knife a little. Then flour the tops of the dough balls and cover with a dry and clean kitchen towel for 20 minutes.
- In the meantime, cover a pizza peel with semolina flour and set aside.
- Flour the work surface and the dough generously and turn the balls over with the bench knife. Lift one dough ball up and place it on your knuckles. Make two fists and stretch the dough and as the dough expands, gradually open your fists and sprout and stretch your fingers. Then place the dough back on the floured work surface and stretch with your fingers. Let gravity help you stretch the dough. Use enough flour to avoid sticking. Then lift the dough from two opposite sides and transfer it to the prepared pizza peel and shape it into an even round shape if necessary.
- Top with San Marzano pizza sauce, mozzarella cheese, your favorite toppings, transfer the pizza to the oven and bake for 6-7 minutes.* If your oven has a broiler setting, turn it on after 3 minutes. While the first pizza is baking, prepare the second. Then remove the baked pizza with the pizza peel and bake the second. Serve immediately and enjoy.
Notes
Freeze After 3 days of cold fermentation, you can freeze the dough for up to 3 months.
Video
You can find the video in the post above. If you don't see a video, please check your browser settings.
JUDITH MATHEIS
We have a wood fired pizza oven. I have tried several different pizza dough recipes and by far this is the best. Only down size is I have to make plans several days ahead but for the results it's worth it.
Sue Mohre
1st time using pizza steel. Had zero expectations. Crust was amazing. Hubs said best he’s ever had and please write it down before I forget what I did! Next time I will probably 1 1/2 it as the 2 pizzas were a bit small.
Craig
I wanted to forward video to my daughter but can not find it in this post.
But written process is excellent.
Thanks Craig
Sabine
Hi Craig, thanks, I'm glad you find it helpful! If you have an ad blocker, the video player is blocked as well and not visible. I hope that helps!
Tony
Thank you very much.
Tony
Great explanation of dough process. One question.
What should be the water temperature?
Sabine
Thank you so much. I usually use bottled water stored at room temperature. The water temperature is 68-70°F (20-21°C). I hope that helps.