

These oven baked beignets are just as delicious as fried beignets without the extra calories and hassle. They are soft and fluffy and you won't be able to stop eating them. Enjoy them for breakfast, brunch, snack, afternoon treat or dessert. My family loves them with a cup of coffee. By the way, have you tried my cinnamon rolls yet?

Step-by-step video tutorial
Can I either bake or fry them?
Yes absolutely. The sweet yeast dough used in this recipe is suitable for baking or frying. The texture of baked and fried beignets is very similar. When baking, it's important not to overbake them and to brush the surface with melted butter after removing from the oven and before dusting with powdered sugar. Baking is definitely an easier and cleaner method. However, if you love the slightly crispy surface of fried beignets, you can simply fry them at 375°F / 191°C for 30-60 seconds on each side.
Prepare the dough the day before
If you want to make the dough the night before to bake it fresh in the morning, just make it and let it rise in the fridge overnight. It should be at least double or even triple in size. Before rolling and cutting, take the dough out of the fridge for about 30 minutes to allow it to come to room temperature. After cutting, let rise until doubled in size. Since the dough is still cool, this will take a little longer than stated in the recipe.
Expert tips for success
- Resist the urge to add too much flour to the dough. It should be a soft, smooth, slightly tacky dough that is not stiff. Don't work more flour into the dough as needed.
- If your dough isn't rising, it could be due to expired yeast. You can try putting the dough in a warmer environment and see if it just takes longer to rise. If it doesn't rise at all, it's better to start over with fresh yeast.
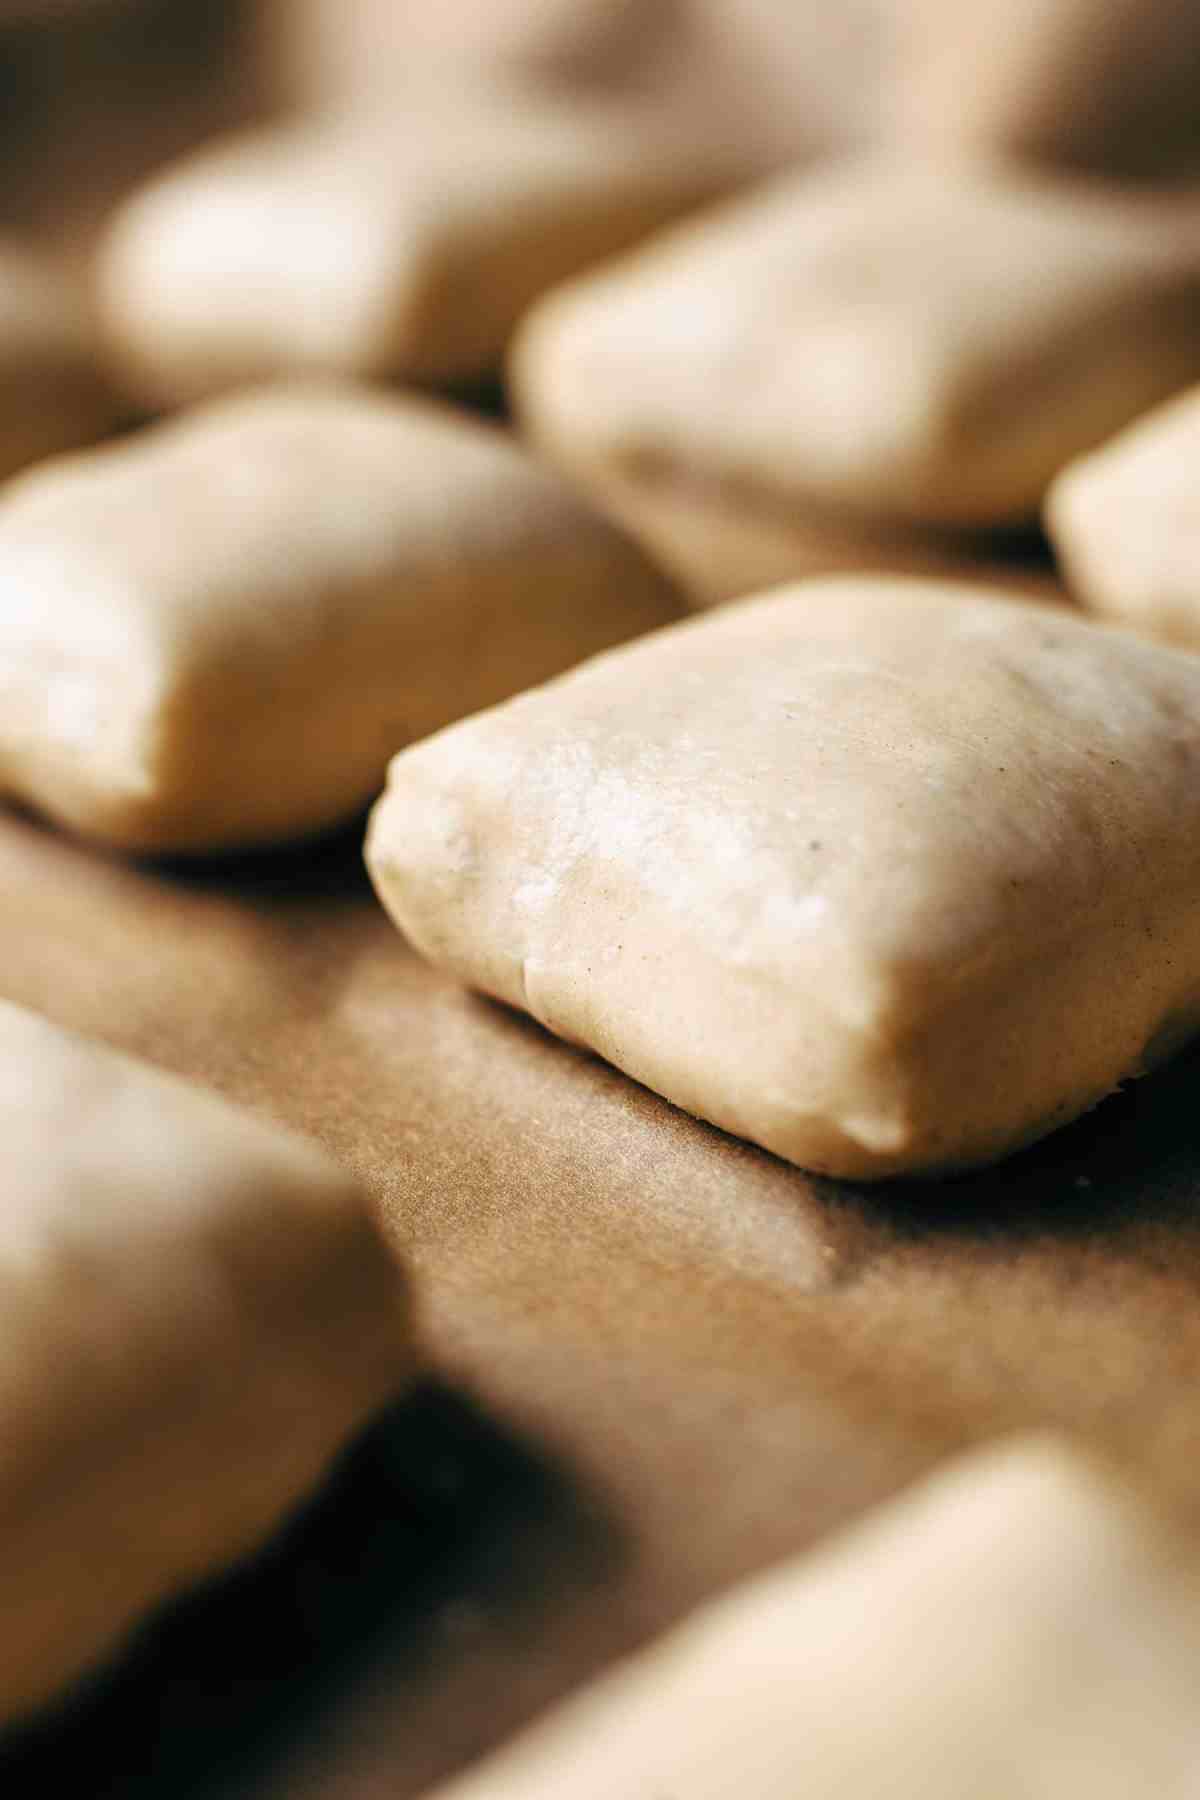
- Do not roll out the dough too thin. Aim for a thickness of ¼ inch (5mm).
- Let the cut dough pieces rise until they have doubled in size. If you bake them under-proofed, your beignets will turn out flat.
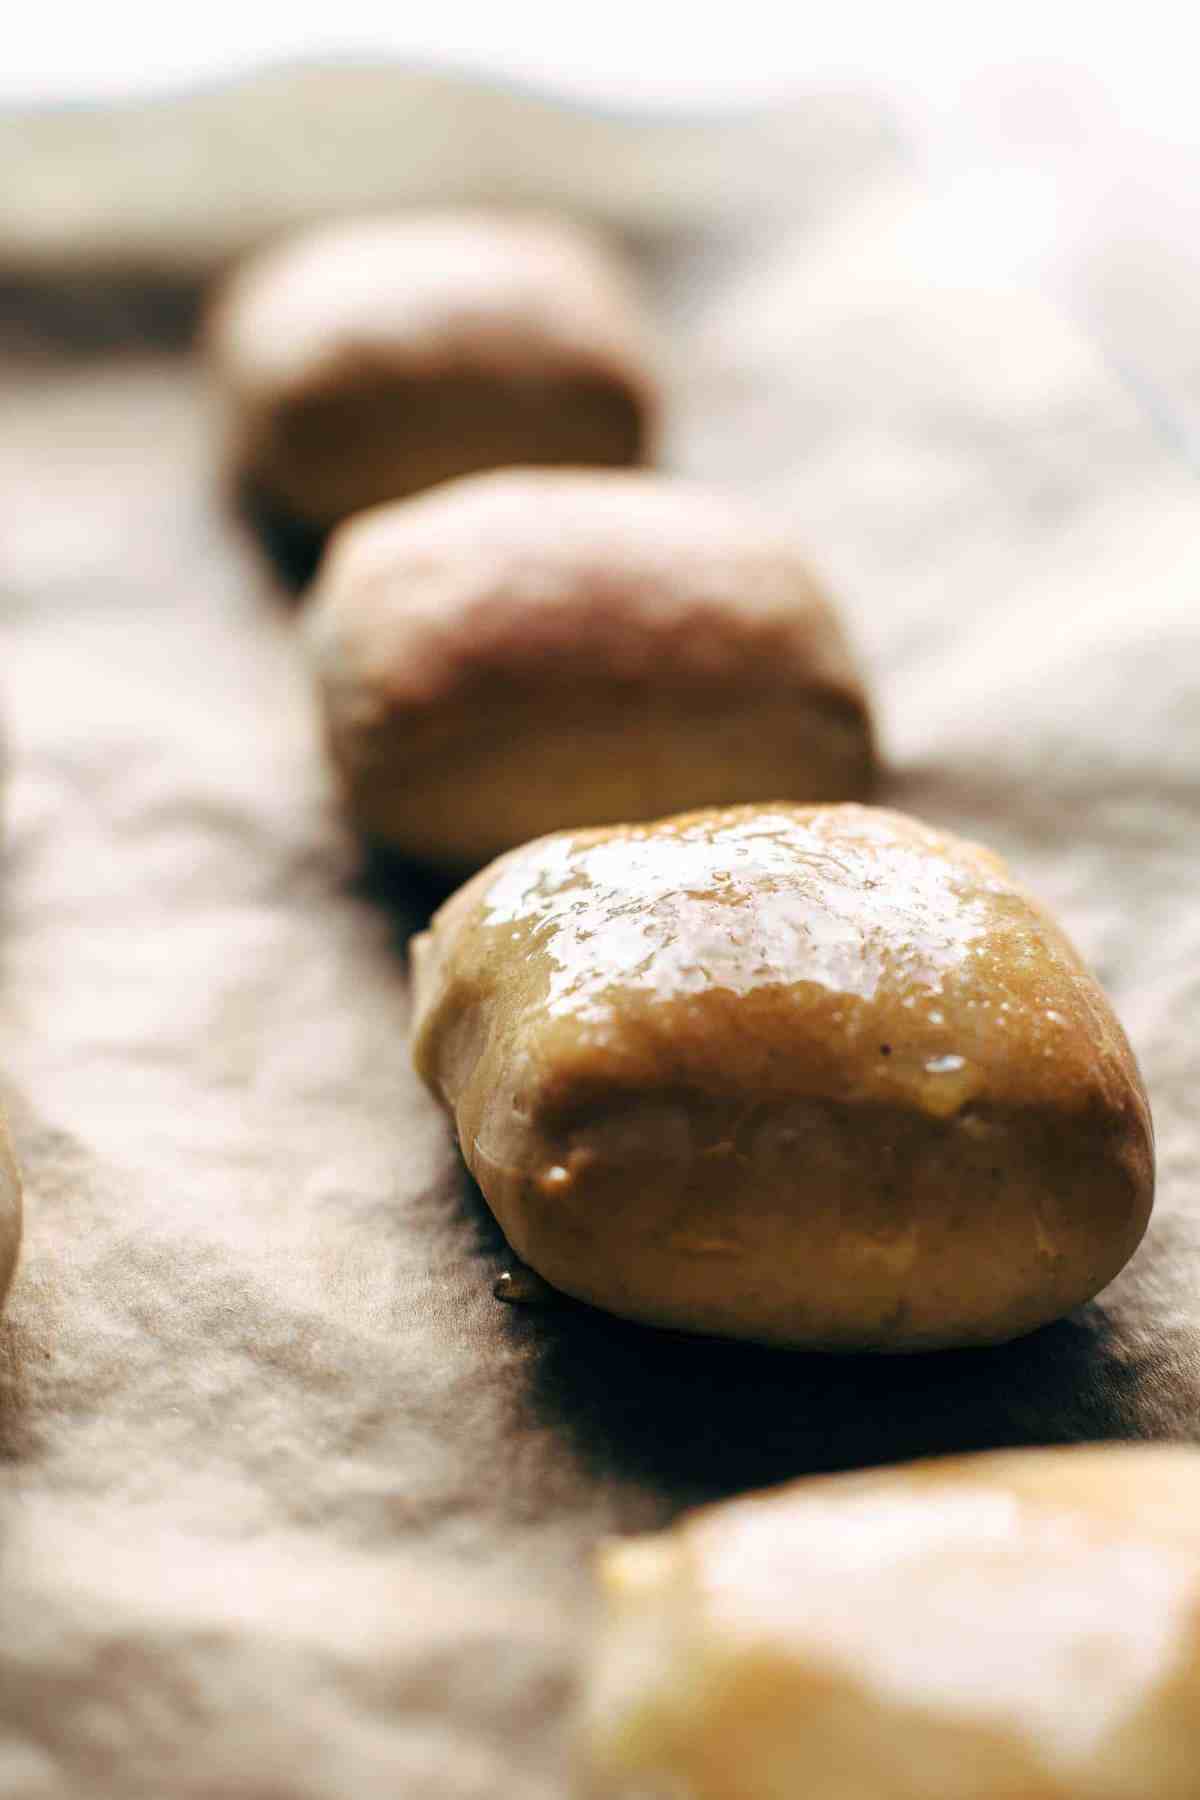
- Make sure your oven is preheated and really hot. When the beignets hit the oven, the first few minutes are crucial and determine how much they will rise. If the temperature is too low, they won't rise enough. Be quick when transferring them to the oven, and don't leave the oven door open for too long.
Storing and freezing instructions
These baked beignets stays soft and fresh in an airtight container at room temperature for up to 3 days. It's also possible to freeze leftovers for up to 3 months. Wrap tightly in plastic wrap and place in freezer bags or containers. To defrost, unwrap and let it sit at room temperature for about 1 hour.
More yeast bread recipes to try
Recipe

Oven Baked Beignets (French-style)
Ingredients
- ¾ cup lukewarm water
- ¼ cup superfine sugar
- 1 ½ teaspoon active dry yeast
- 1 large egg, lightly beaten
- ½ cup buttermilk
- 4 tablespoon unsalted butter, melted (divided)
- ½ teaspoon salt
- 2 teaspoon vanilla extract
- 3 ½ to 3 ¾ cups all-purpose flour, spooned and leveled
- 2 tablespoon milk
- ¼ cup powdered sugar (for dusting)
Instructions
- Preheat the oven to 200°F (100°C). Line 3 baking sheets with parchment paper and set aside.
- In a large mixing bowl, using a stand or handheld mixer fitted with a whisk attachment, combine water, sugar, and yeast and stir to combine. Let sit for about 10 minutes until it starts to get foamy on the surface.
- Add the egg, buttermilk, 3 tablespoon melted butter, salt and vanilla and whisk to combine. Replace the whisk attachment and attach a dough hook. Add 3 + ½ cups of flour and stir on medium-low speed until the dough comes together. The dough should be slightly sticky to touch but shouldn't stick to the bowl anymore. If it does stick to the sides of the bowl add 1 tablespoon of flour at a time until it doesn't stick to the bowl anymore. Then turn on medium speed and knead for about 5 minutes. Transfer the dough to a lightly greased (brush a few drops of oil in a bowl or use a non-stick spray) heatproof bowl. Turn off the preheated oven and place bowl in the oven to rise for about 15 minutes. Leave the oven door ajar.
- Remove the bowl from the oven and preheat again to 200°F (100°C).
- On a lightly floured surface roll the dough out into a rectangle or square, about ¼ inch (0.6 cm) thick and cut 2-inch (5x5cm) squares with a pizza cutter or knife. Place on the prepared baking sheets. Turn off the preheated oven and place all 3 baking sheets in the oven to rise for about 30 minutes until they are puffy and doubled in size. Leave the oven door ajar.
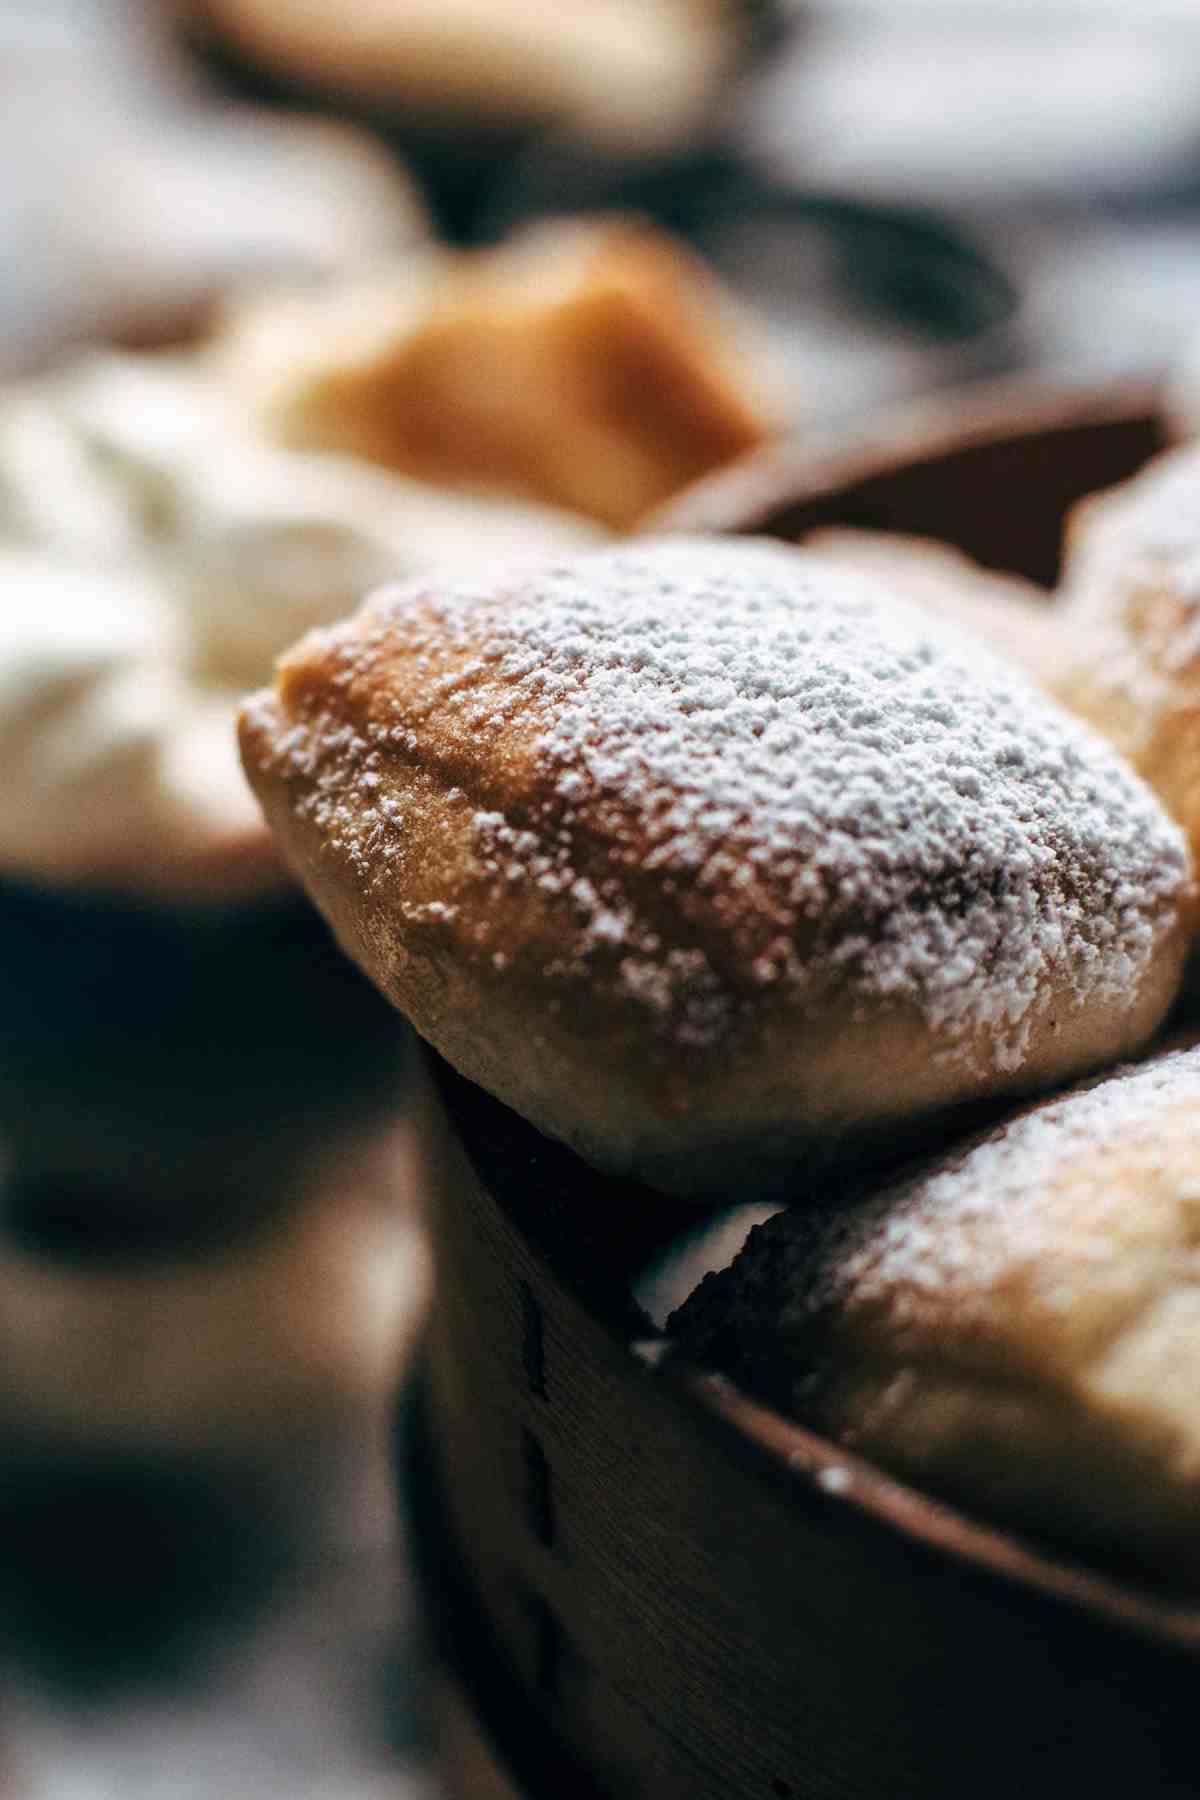
- Remove the baking sheets from the oven and preheat to 375°F (190°C). Brush the tops of the dough pieces lightly with milk. Bake one baking sheet after another for about 10-12 minutes until golden brown. Let cool for about 5 minutes then brush the tops lightly with the remaining melted butter and generously dust with powdered sugar. Serve immediately.
- Note: If you plan to eat them on the next day, you can warm them in the microwave for about 10 seconds if desired. Brush with butter and dust with sugar just before serving.
Video
You can find the video in the post above. If you don't see a video, please check your browser settings.
Juliet
Absolutely delicious! Light, airy and fluffy. But I think the nutrition information is a bit off. I calculated these to be around 50-60kcal if the recipe makes 40 (which it definitely does!). Still low cal for a nice treat, but definitely not 22kcal 😂 otherwise perfect! Definitely would recommend.
April Dalton
Recipe was perfect. And they were fluffy and delicious. It really does make 40 squares.
Anne allen
Can you make the dough a day ahead?
Sabine
Yes, just keep it in the fridge.
Dinda
my oven door can't be opened slightly ajar as it open downwards. Is there any other option to make the dough rise? I really want to make it
Thank you
Sabine
Then I suggest preheating the oven for a few minutes, turn it off, open the door until it cools down to about 80°F (27°C), then place the beignets in the oven and close the door. To make sure the temperature in the closed oven isn't getting too warm for the dough, open the door every few minutes to let the warm air escape. I hope that helps!
Dinda
Thank youu! Can the dough be frozen?
Sabine
Yes, it freezes very well for up to 3 months.
Rani
What would be the substitute for egg? I would want to make them eggless.
Sabine
I've never tried to make them eggless. Please try with your favorite egg replacement and let me know how it worked out.
wTan
Hi Sabine, can I fry these instead of baking them?
Sabine
Yes, absolutely. Check out my Homemade Glazed Donuts recipe on my blog for oil temperature reference. I suggest frying them for about 30 seconds on each side or until golden brown. Hope that helps!
Ee Lin
Hi, Can I use your measurement scale to make 10 pieces? Will it be accurate?
Sabine
When cutting them into 10 instead of 40 pieces they would be very big and you would need to bake them significantly longer. I did not try this yet, so I can't recommend it.